You’ve got a hair dryer, but are you using it to its full potential? The secret to salon-quality styling at home isn’t the dryer itself; it’s how to use hair dryer attachments correctly. These small tools transform your dryer from a basic drying device into a precision styling instrument. Whether you want bouncy curls, sleek straight hair, or tangle-free volume, the right attachment makes all the difference.
Using attachments improperly can lead to frizz, heat damage, or wasted time. But when matched to your hair type and styled with the right technique, they enhance definition, reduce drying time, and protect your hair’s health. This guide breaks down every major attachment, showing you exactly how to use them and which works best for your hair type.
Choose the Right Attachment for Your Goal
Match Tool to Hair Type and Style
Not all attachments work for every look. Using the wrong one can disrupt curl patterns, cause frizz, or overheat delicate strands. The key is aligning your attachment, hair texture, and styling goal.
Best Attachments by Goal:
- Diffuser for defining curls and reducing frizz on wavy to coily hair
- Concentrator nozzle for smooth, straight blowouts on straight and wavy hair
- Comb attachment for detangling while drying thick and coily hair
- Brush attachment for adding volume and prepping for protective styles
Always attach the right tool before turning on your dryer. Never blast hair directly from the bare dryer nozzle.
Use a Diffuser for Curls and Volume
:max_bytes(150000):strip_icc()/How-to-Diffuse-Curly-HairV2-9efd514cb1154f6a80f23e812bdaf036.png)
Why Curl-Friendly Drying Matters
The diffuser is essential for anyone with waves, curls, or coils. It spreads airflow gently, preserves natural clumping, and lifts roots without disturbing the curl pattern. Skipping it is like blow-drying curls with a leaf blower chaotic and frizzy.
Diffusers work by dispersing heat and reducing wind speed. Some models have inward-facing vents that compress the cuticle instead of blasting it open, locking in moisture and shine.
Attach and Prep Correctly
- Snap on the diffuser securely before turning on the dryer
- Start with damp, not soaking wet, hair
- Apply leave-in conditioner and curl cream or gel
- Gently scrunch to encourage clumping
Pro Tip: Use a microfiber towel or cotton T-shirt to blot excess water. Regular towels create friction and frizz.
Dry Curls with the Cupping Method
For defined, bouncy curls, flip your head upside down and place a section of hair into the diffuser bowl. Gently lift upward from the roots, holding for 30 seconds per section. Keep your fingers still and let the heat do the work. This method enhances root lift and prevents shrinkage.
Try the Hover Method for Frizz Control
Before touching curls, hold the diffuser 12 inches above your head. Use low heat and low speed for one to two minutes. Move in circular motions to create a protective cast around curls. This pre-dry step sets the foundation for frizz-free results.
Finish with Cool Shot
Once dry, press the cool shot button to lock in your shape. Sealing the cuticle adds shine and longevity. Apply a few drops of anti-frizz oil if needed.
Never touch curls after drying. This breaks the cast and causes puffiness.
Style Smooth Blowouts with a Concentrator Nozzle
Focus Heat for Sleek Results
The concentrator nozzle narrows airflow for precision styling. It’s your go-to for straightening, smoothing flyaways, or creating a polished blowout. Unlike the diffuser, this attachment is all about control and direction.
Use it to align the hair cuticle downward, reducing frizz and boosting shine. It also pre-smooths hair before flat ironing, cutting down on heat exposure later.
Pre-Dry Before Styling
Towel-dry hair to 70 to 80 percent dry before using the nozzle. Apply heat protectant spray, which is non-negotiable. Optional: use a blow-dry balm for added smoothness. Starting with wet hair under high heat causes steam damage and weakens the cortex.
Direct Air Down the Hair Shaft
Set your dryer to medium or high heat with high airflow. Hold the dryer six to eight inches from hair. Aim the nozzle from roots to ends, following the brush. This downward motion closes the cuticle, creating a glossy finish.
Use With a Round or Paddle Brush
For volume and tension, section hair no wider than the brush. Wrap a section around a round brush. Lift at the roots while directing heat along the barrel. Pull down slowly for a sleek finish.
Avoid Common Damage Traps
Even though the concentrator is safe when used correctly, risks come from holding it too close to the scalp, staying on one section too long, or using high heat on fine hair. Keep the dryer moving constantly and never linger in one spot.
Detangle and Stretch with a Comb Attachment

Dry While You Detangle
The comb attachment, also called a pik, is a game-changer for coily, dense, or tightly curled hair. It combines warm airflow with gentle detangling, reducing breakage and prep time. It’s ideal for wash-and-go routines, twist-outs, or stretching 4C hair before styling.
Prep Hair for Low-Stress Drying
Apply leave-in conditioner or heat protectant to damp hair. Start with small sections no wider than two inches. Begin detangling from the ends, working up to roots. This prevents snagging and minimizes tension.
Guide Comb From Roots to Ends
Attach the comb to your dryer. Set to medium heat and speed, or low for fragile hair. Place at the scalp, then slowly move down the strand. Use steady, gentle pressure and don’t yank. The airflow softens the hair as you go, making knots easier to release.
Style After Drying
Once near-dry, apply styling cream or gel for hold. Create twist-outs, braid-outs, or afro puffs. Finish with a cool shot to set the style.
Speed Up Styling with a Brush Attachment
One Tool, Multiple Benefits
A blow-dry brush attachment combines drying and styling in one step. While not a traditional nozzle, it functions like an advanced attachment, especially for curly and coily hair. It smooths, detangles, adds volume, and enhances length while reducing styling time.
Prep Like a Pro
Wash and condition hair. Apply leave-in conditioner. Detangle with a wide-tooth comb or shower brush. Section into six equal parts. Smaller sections mean better control and even drying.
Dry From Ends to Roots
Apply heat protectant generously. Start at the ends of a curl section. Slowly pull the brush upward, adding a gentle twist to form smooth coils. Keep heat moving and don’t pause on one spot.
Finish with a Scrunched Set
After drying each section, scrub the ringlet gently to reactivate curl formation. Use the cool shot to lock in shape. The result is defined, voluminous curls ready for any style.
Universal Best Practices for All Attachments
Always Use Heat Protectant
No matter your hair type or tool, apply heat protectant before turning on the dryer. It forms a barrier against moisture loss and cuticle damage. Using a heat protectant is essential.
Section Hair for Even Results
Divide hair into six to eight sections using clips. This ensures full coverage and prevents missed spots. It’s critical for thick or curly hair.
Keep the Dryer Moving
Never hold the dryer in one place for more than 10 to 15 seconds. Constant motion prevents hot spots and thermal damage. This works for diffusers, nozzles, and brushes alike.
Attach Before Powering On
Always snap on the attachment before plugging in or switching on. This prevents accidental burns, hair snags, or flying attachments.
Finish with Cool Shot
Press the cool shot button at the end of every session. It seals the cuticle, boosts shine, and sets the style. It takes just five to 10 seconds but makes a lasting difference.
Clean and Maintain Attachments Regularly
Wipe Down After Each Use
Use a dry microfiber cloth to remove product buildup. This prevents clogged vents and airflow blockages.
Deep Clean Monthly
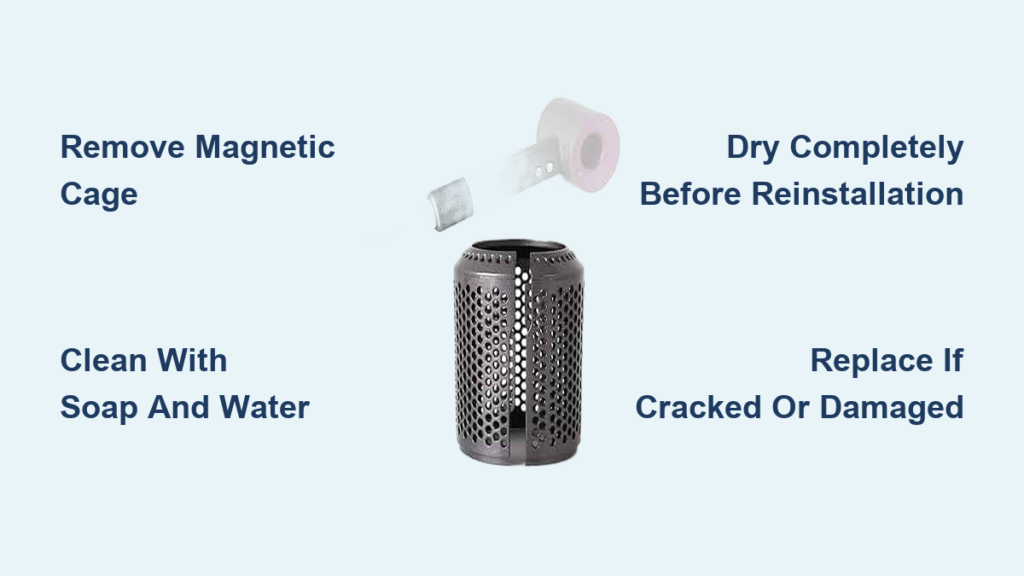
Wash with mild soap and warm water. Use a soft toothbrush to clean tines, vents, or teeth. Rinse thoroughly and air-dry completely before reuse.
Replace attachments if prongs are bent or bristles broken.
Store Properly
Keep in a dry place away from humidity. Use original packaging or a brush roll to prevent warping. Avoid stacking heavy items on top.
Choose Compatible Attachments
Check Your Dryer Model
Not all attachments fit all dryers. Most Bio Ionic models support universal snap-ons, but always verify compatibility.
Popular Dryer and Attachment Pairings:
- SMART-X dryer with diffuser for curly and wavy hair
- 10X UltraLight dryer with concentrator and comb for multi-use styling
- Universal diffuser and comb attachments sold separately for most models
Key Takeaways for Using Hair Dryer Attachments
Understanding how to use hair dryer attachments transforms your styling routine. Diffusers preserve curl patterns and add volume, concentrator nozzles deliver sleek blowouts, comb attachments detangle while drying, and brush attachments speed up the styling process. Always use heat protectant, section your hair, keep the dryer moving, and finish with a cool shot for professional results.
Rotate attachments based on your daily style, hair moisture level, and product load. With the right technique, your hair dryer becomes a versatile styling powerhouse. Now that you know how to use hair dryer attachments like a pro, dry smarter, not harder.
Frequently Asked Questions About Hair Dryer Attachments
Which attachment is best for curly hair?
The diffuser is best for curly hair. It spreads airflow gently to preserve curl patterns, reduce frizz, and enhance definition. Use low heat and low speed for best results.
Can I use a concentrator nozzle on curly hair?
No, avoid using a concentrator nozzle on curly hair. It disrupts the curl pattern and increases frizz. Stick with a diffuser instead.
Do I really need to use heat protectant with attachments?
Yes, using a heat protectant is essential regardless of the attachment or hair type. It prevents moisture loss, cuticle damage, and long-term breakage.
How often should I clean my hair dryer attachments?
Wipe attachments down after each use with a microfiber cloth. Perform a deep clean monthly with mild soap and warm water, especially if using heavy styling products.
Can I use multiple attachments in one session?
Yes, you can rotate attachments based on your styling goal. Use a diffuser for diffusing curls, then switch to a concentrator for smoothing edges. Just ensure the dryer is off before swapping attachments.
What happens if I don’t use the cool shot?
Skipping the cool shot means your style won’t set properly. The cuticle remains open, leading to frizz and shorter-lasting results. Always finish with a cool shot to seal the cuticle and lock in your look.