If you’re searching for a natural way to transform dull, dry hair into hydrated, healthy strands, learning how to make aloe vera gel for hair is your first step. Fresh aloe vera gel extracted from the Aloe barbadensis miller plant delivers deep moisture to parched strands, calms itchy scalps, and may even stimulate hair growth by nourishing follicles. Unlike commercial products packed with preservatives and synthetic thickeners, homemade gel gives you complete control over every ingredient.
This guide walks you through selecting the right leaf, extracting pure gel without irritation, creating three different formulations for various hair needs, and storing your creation properly. You’ll also learn which additives work best for your specific hair type and how to avoid common mistakes that compromise results.
Choose the Right Aloe Vera Leaf
Selecting the correct leaf determines the quality of your final product. Mature leaves from the outer edges of the plant contain the highest concentration of beneficial compounds.
Pick Thick, Fleshy Leaves from the Base
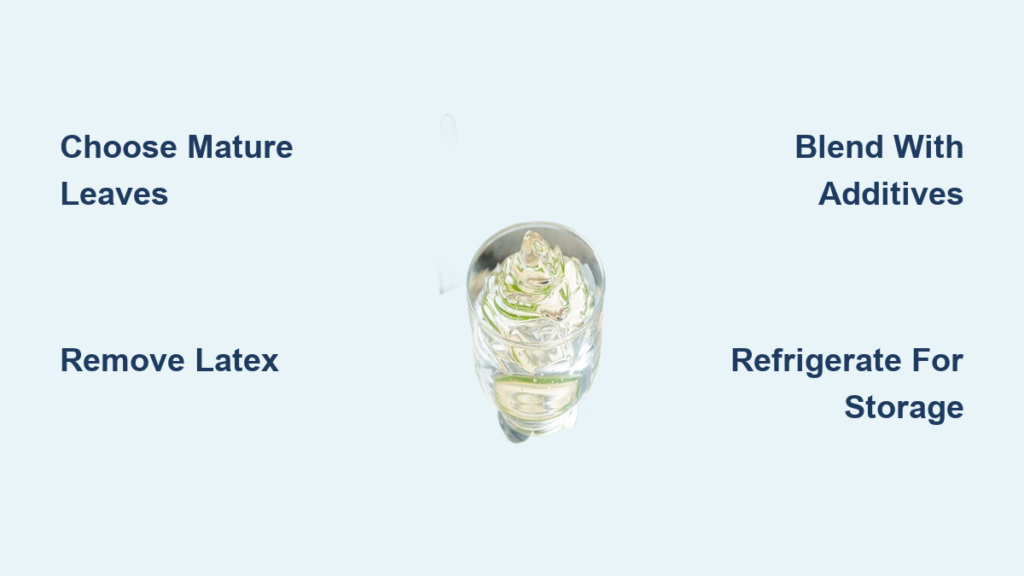
Always choose large, plump leaves from the bottom outer edges of a healthy Aloe barbadensis miller plant. These mature leaves yield more gel and contain richer nutrients than younger inner leaves. Look for leaves that feel firm and heavy for their size.
Pro Tip: Harvest one leaf at a time using clean shears cut close to the base. This keeps your plant healthy and producing new leaves.
Identify True Aloe Vera
Not all spiky succulents deliver the same benefits. Some ornamental plants resemble aloe vera but may cause skin irritation. True Aloe barbadensis miller features green leaves with serrated edges and a plump, hydrated structure. When in doubt, purchase from a reputable nursery rather than guessing.
Wash and Prepare the Leaf
Proper cleaning removes contaminants and, more importantly, eliminates irritating compounds that can cause scalp problems.
Rinse Thoroughly Under Running Water
Place the leaf under cool running water and scrub gently with your hands to remove dirt, dust, and any pesticide residue. This step also helps flush out latex, a yellow sap found just beneath the leaf skin that contains anthraquinones known to cause skin irritation or allergic reactions.
Cut Into Manageable Sections
Lay the clean leaf flat on a cutting board. Slice off the base where it connects to the plant, then divide large leaves into three to four inch segments. This makes scraping the gel much easier and more efficient.
Storage Tip: Wrap unused leaf pieces in plastic wrap or foil and store in the refrigerator for up to five days.
Extract Pure Aloe Gel Safely

The extraction process requires precision to collect only the beneficial gel while avoiding irritating compounds.
Slice Open Lengthwise
Using a sharp knife, carefully split each leaf segment down the center, like opening a sandwich roll. This exposes the translucent inner fillet, which is the part you want.
Scrape Out the Clear Pulp
With a spoon or dull butter knife, gently scoop out the jelly-like gel. Avoid the green rind and any yellow or yellowish-green latex streaks. Even small traces of latex can trigger scalp sensitivity in some people.
Visual Check: Your extracted gel should be crystal clear and odorless. Cloudy or tinted gel indicates contamination from the rind or latex.
Basic DIY Aloe Vera Hair Gel Recipe
This simple recipe creates pure, versatile gel perfect for daily conditioning and scalp treatment.
What You Will Need
Base Ingredients:
- One fresh aloe vera leaf yielding approximately two to four tablespoons of gel
- Sharp knife
- Spoon for scraping
- Bowl
- Blender or whisk
- Airtight glass jar
Optional Boosters:
- Three to five drops essential oil such as lavender or rosemary
- One tablespoon carrier oil like coconut, almond, or olive
- One to two teaspoons vegetable glycerin for added moisture and shine
Step-by-Step Instructions
Step 1: Place the scraped gel into a clean bowl.
Step 2: Add any optional ingredients you prefer for your hair type.
Step 3: Blend until smooth and creamy, approximately one to two minutes in a food processor. A fork or whisk works for small batches.
Step 4: Transfer to a clean, labeled glass jar and store properly.
Application Hack: Use a coin-sized amount on damp hair. Distribute evenly using your fingers or a wide-tooth comb from roots to ends.
Enhance Gel for Specific Hair Goals
The basic recipe works well, but adding specific ingredients tailors the gel to your unique hair needs.
Flax Seed Shine Gel for Definition
This variation adds luster and light hold, making it ideal for curly or wavy hair types.
Ingredients:
- Quarter cup flax seeds
- Two cups filtered water
- One tablespoon fresh aloe vera gel
- One to two teaspoons vegetable glycerin (optional)
- Three to five drops essential oil (optional)
Instructions:
Step 1: Soak flax seeds in water overnight or for six to eight hours.
Step 2: Bring the mixture to a boil, then reduce heat and simmer for ten to fifteen minutes until thick and slimy. Stir frequently.
Step 3: Strain through a fine-mesh sieve, pressing gently to extract maximum gel.
Step 4: Let the liquid cool completely before mixing in aloe vera gel and optional ingredients.
Step 5: Pour into a jar and refrigerate. Use within one to two weeks.
Result: This formula adds definition without crunch, perfect for wash-and-go styles.
Gelatin Hold Gel for Curly Hair
This stronger hold option provides protein-rich support to reduce breakage while defining curls.
Ingredients:
- One packet (seven grams) unflavored gelatin
- One cup water
- Two tablespoons fresh lemon juice
- Four tablespoons fresh aloe vera gel
- One teaspoon melted coconut oil (optional)
Instructions:
Step 1: Heat water and gelatin over medium heat, stirring until completely dissolved.
Step 2: Remove from heat and stir in lemon juice.
Step 3: Pour into a heat-safe container and refrigerate for twenty-five to forty minutes until fully set.
Step 4: Add aloe vera gel and coconut oil if using.
Step 5: Blend on low speed until smooth and creamy. Transfer to an airtight jar.
Performance Note: This gel offers firmer hold than flax or basic aloe, making it ideal for frizz control and curl clumping.
Store Gel Properly to Prevent Spoilage

Homemade gels lack synthetic preservatives, so storage method directly impacts how long your product remains effective.
Storage Options:
Refrigeration: One to two weeks in a clean jar. This is the most effective method for maintaining freshness.
With Natural Preservatives: Adding the contents of one vitamin E capsule extends shelf life to approximately two months. Vitamin E acts as an antioxidant, preventing oxidation and bacterial growth.
Freezing: Pour gel into ice cube trays and freeze for three to six months. Thaw individual cubes overnight in the refrigerator before use.
Labeling Tip: Always mark containers with the preparation date. Inspect carefully before each use.
Spot Signs of Spoilage Early
Using compromised gel can cause scalp irritation or infection. Discard immediately if you notice any of these warning signs.
Texture Changes: Watery, lumpy, or slimy consistency indicates bacterial activity.
Color Shifts: Yellowing or browning means the gel has oxidized or degraded.
Smell: A sour, fermented, or unpleasant odor signals spoilage.
Safety Warning: Never use gel that shows any signs of spoilage. When in doubt, throw it out.
Apply Correctly for Best Results
Even the best gel delivers poor results if applied incorrectly. Follow these guidelines for maximum benefit.
Use on Damp, Not Dry, Hair
Damp hair absorbs gel more evenly and deeply, reducing patchiness and maximizing hydration absorption.
Start Small to Avoid Buildup
Begin with a quarter-sized dollop. Too much gel leads to stiffness, residue, or weighed-down hair. You can always add more if needed.
Comb Through for Even Coverage
A wide-tooth comb ensures the gel reaches every strand without tugging or causing breakage.
Style Naturally
Air dry or diffuse on low heat for defined curls and minimal frizz. Avoid heat styling immediately after application.
Frequency: Safe for two to three uses per week. Daily application works for most people if no irritation occurs.
Customize for Your Hair Type
Matching your formulation to your specific hair needs delivers better results.
Dry or Damaged Hair: Add one tablespoon coconut oil or olive oil per two tablespoons aloe gel for deep conditioning and repair.
Fine or Oily Hair: Skip oils entirely. Use pure aloe gel or the flax seed variation to avoid weighing hair down or causing greasiness.
Curly or Coily Hair: Choose gelatin or flax seed formulas to enhance curl pattern, reduce shrinkage, and fight frizz.
Pro Tip: Freeze extra gel in ice cube trays to always have fresh gel ready. Thaw overnight in the refrigerator.
Safety and Patch Testing
Natural ingredients can still cause reactions in sensitive individuals. Taking precautions prevents problems.
Always Do a Patch Test
Apply a dime-sized amount behind your ear or on your inner arm. Wait twenty-four hours to check for redness, itching, swelling, or other reactions.
Stop Immediately if any irritation occurs. Rinse thoroughly with water and avoid using the product.
Avoid Latex Contamination
Double-check that your extracted gel is one hundred percent clear. Even trace amounts of yellow latex can trigger sensitivity, especially with repeated scalp application.
Use Clean Tools and Distilled Water
Contamination from dirty equipment or tap water introduces bacteria. Keep tools clean and use distilled water in any formulation requiring mixing.
Why Fresh Beats Store-Bought
Commercial aloe gels often contain ingredients that reduce effectiveness or cause problems.
Common Additives to Avoid:
- Carrageenan: A thickener linked to inflammation in some studies
- Parabens: Preservatives with potential hormonal effects
- Alcohol: Drying agent that counteracts moisture benefits
- Artificial fragrances: Potential irritants and allergens
Homemade gel delivers maximum potency with zero unwanted additives. Fresh aloe contains active enzymes and polysaccharides that degrade over time in bottled products.
Expert Insight: “Fresh aloe delivers active enzymes and polysaccharides that degrade over time in bottled products.” — Jasmin Todd, Master Stylist
Frequently Asked Questions About Making Aloe Vera Gel for Hair
Does aloe vera cause hair loss?
No. Aloe vera does not cause hair thinning or loss. It supports scalp health and may actually stimulate hair growth by improving circulation and unclogging follicles. Allergic reactions are rare but possible.
Can I use aloe gel every day?
Yes for most people. Monitor your scalp for signs of dryness or flaking. If irritation occurs, reduce frequency to two to three times per week.
How long does homemade gel last?
One to two weeks when refrigerated. Adding vitamin E (one capsule per batch) extends shelf life to approximately two months. Frozen gel lasts three to six months.
Can I freeze aloe vera gel?
Absolutely. Pour into ice cube trays and freeze for up to six months. Thaw individual cubes overnight in the refrigerator before use.
What happens if I accidentally include latex in my gel?
Latex causes scalp irritation, itching, or allergic reactions in sensitive individuals. Always ensure your gel is crystal clear with no yellow tint. If irritation occurs, discontinue use immediately.
Which type of aloe vera should I use?
Always use Aloe barbadensis miller, the true aloe vera plant. Other species may lack beneficial compounds or contain irritating substances.
Key Takeaways for Making Aloe Vera Gel at Home
Creating effective aloe vera gel for hair starts with selecting mature leaves from the outer edges of a healthy Aloe barbadensis miller plant. Thorough washing eliminates latex, the irritating yellow sap that causes scalp problems. The extraction process requires careful scraping to collect only the clear, jelly-like pulp.
Three formulations serve different needs: basic gel for everyday conditioning, flax seed gel for shine and light hold, and gelatin gel for strong curl definition. Storage matters significantly since homemade versions lack preservatives. Refrigeration provides one to two weeks of freshness while freezing extends life to three to six months.
Customization based on your hair type delivers the best results. Dry hair benefits from added carrier oils while fine hair needs pure gel or lightweight flax variations. Curly hair thrives with hold-enhancing formulas. Always patch test before full application and discard any gel showing signs of spoilage.
Start with the basic recipe, then experiment with boosters and specialized variations as you discover what your hair responds to best. The natural power of fresh aloe vera awaits.