
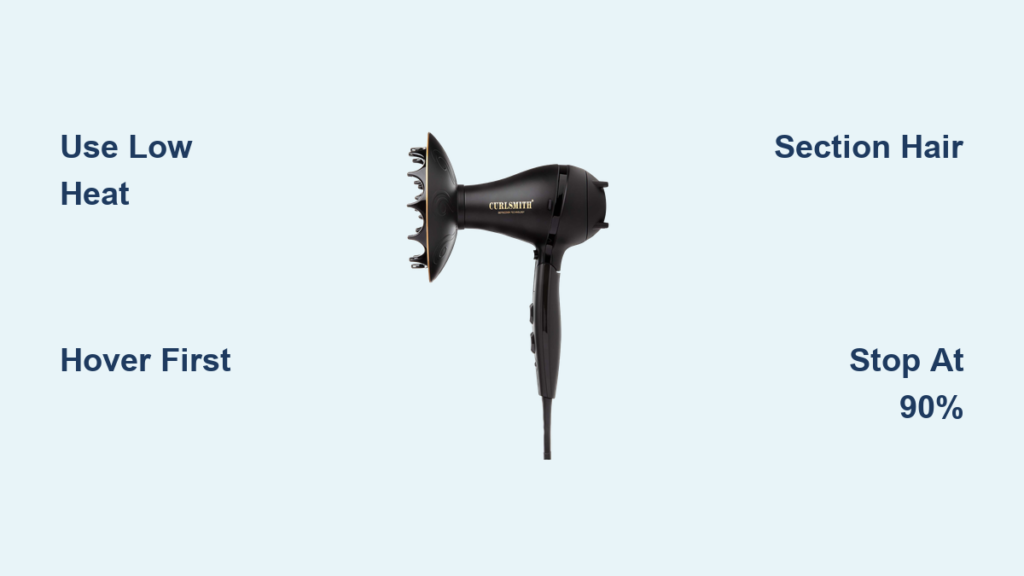
If you have curly hair, you know the struggle: air-drying takes forever, but using a blow dryer without the right technique can leave your curls frizzy, flat, or completely unrecognizable. The solution is diffusing curly hair with a blow dryer, a game-changing method that enhances definition, boosts volume, and cuts drying time in half. Whether you’re rocking 2a waves or 4c coils, diffusing correctly helps lock in moisture, preserve clumps, and activate your styling products for bouncy, frizz-free results. In this guide, you’ll learn the exact steps, tools, and pro tips to master the art of diffusing.
Choose the Right Diffuser Type
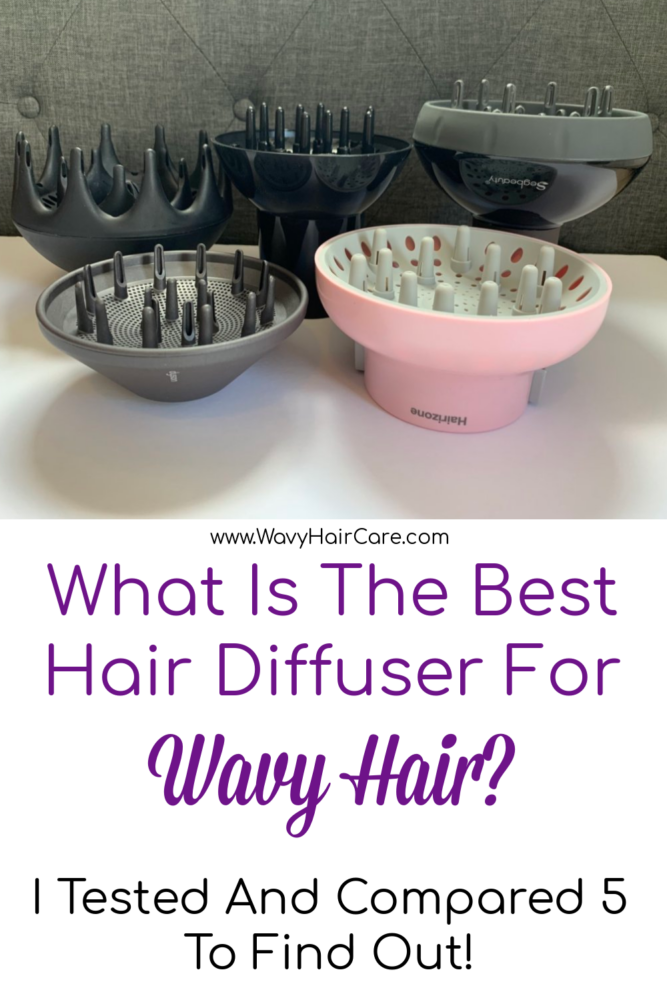
Picking the right diffuser attachment is the first step to achieving salon-quality results at home. Not all diffusers work the same, and your curl type should guide your choice.
Cup Diffuser for Wavy to Loose Curls
Ideal for Type 2a to 3b hair, the cup diffuser features a dome shape with short prongs that evenly distribute airflow. It’s perfect for scrunching techniques and adds volume when used upside down.
• Best for enhancing S-curls, reducing frizz, and defining waves
• Pro tip: Use on low heat to set a gel cast without disturbing curl formation
Sock Diffuser for Delicate or Short Curls
Made of soft fabric, the sock diffuser is gentle on fragile textures and minimizes friction. It’s a favorite for short curly styles and fine, easily frizzed hair.
• Best for fine curls, short lengths, and sensitive scalps
• Drawback: Less volumizing and requires frequent cleaning due to moisture absorption
Hand-Shaped Diffuser for Tight Curls
With long, flexible prongs that mimic fingers, the hand-shaped diffuser reaches deep into dense or coily hair. It’s ideal for Type 3c to 4c curls, helping to elongate coils and prevent matting.
• Top picks include Dyson, DevaCurl, and Shark HyperAIR IQ models
• Why it works: Penetrates the root zone and dries from the inside out
Prep Hair Before Diffusing
Skipping prep is the number one reason curls fall flat or turn into frizz. What you do before turning on the dryer sets the foundation for success.
Wash and Condition with Curl-Friendly Products
Start with clean, hydrated hair. Use sulfate-free shampoo and a rich conditioner to maintain natural oils and prevent dryness.
• Recommended products include OLAPLEX curl-specific formulas
• Finish with cool water to seal the cuticle and boost shine
Detangle Gently in the Shower
Always detangle while your hair is still wet and full of conditioner. Use fingers, a wide-tooth comb, or a wet brush. Never use a regular brush after showering.
• Avoid brushing after the shower because it breaks up clumps and causes frizz
Remove Excess Water Without Frizz
Towel-drying with cotton fabric creates friction and puffiness. Instead, squeeze don’t rub using a microfiber towel or cotton T-shirt. You can also try plopping by wrapping damp hair in a T-shirt for 10 to 20 minutes to set clumps and speed drying.
• Goal: Hair should be damp, not dripping. Soaking wet prolongs drying while too dry reduces product activation.
Apply Styling Products Correctly
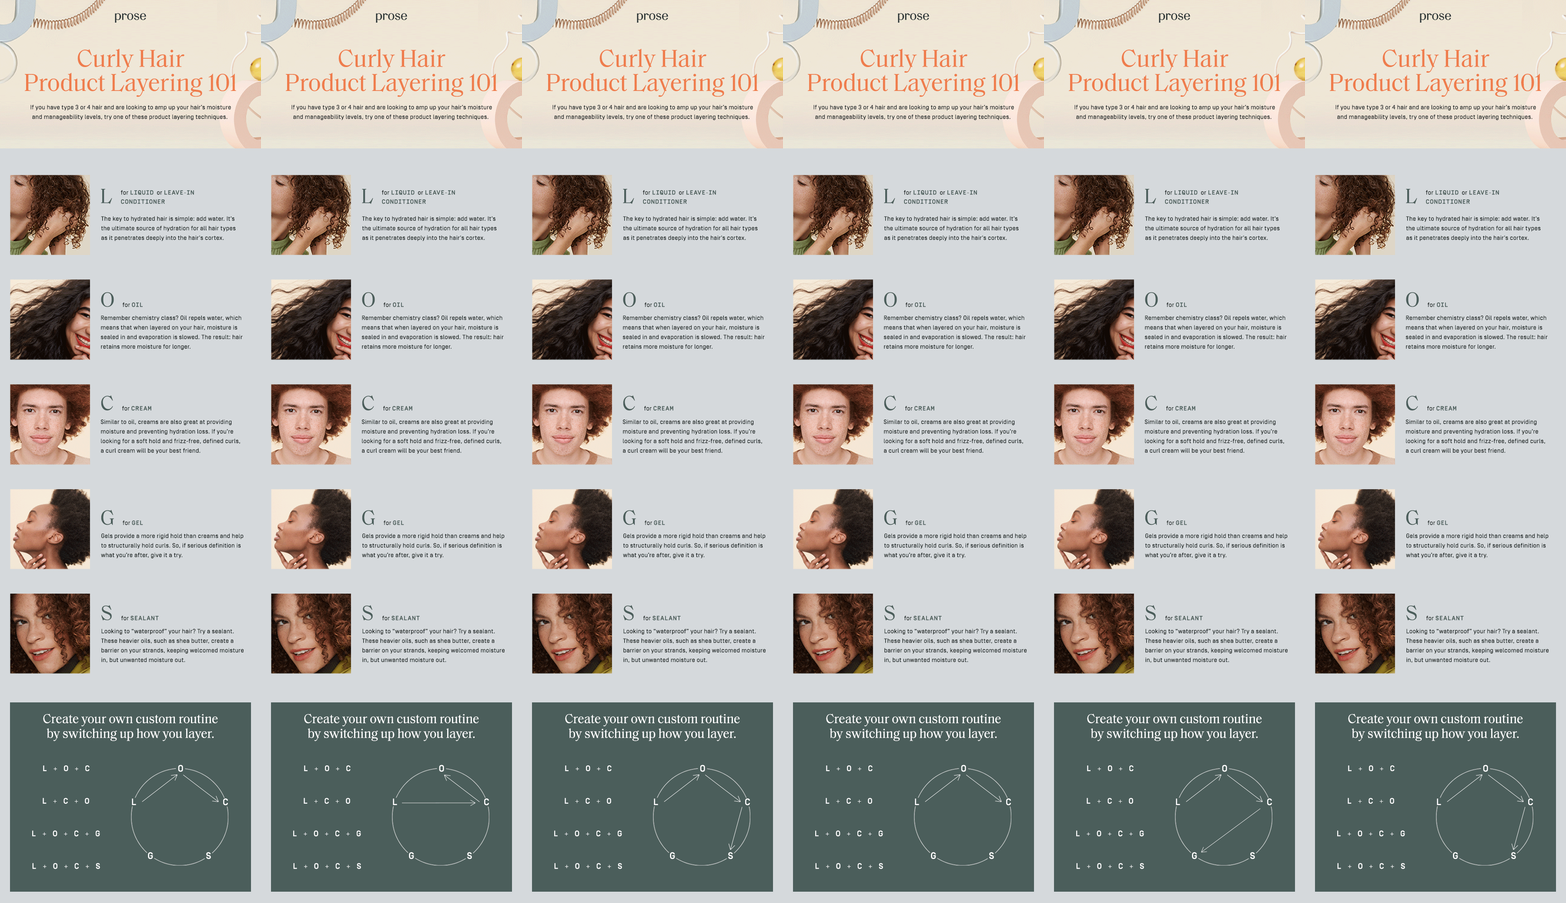
Your products are only as good as your application technique. Apply everything to soaking wet or very damp hair for even distribution.
Essential Products for Diffusing
Use a heat protectant every time to shield from thermal damage. Apply a leave-in conditioner from roots to ends to prevent dry roots and frizz. Use curl cream more on ends for thick hair to enhance definition. Scrunch in styling gel or mousse in an upward motion to form a cast for hold. Use anti-frizz serum sparingly after drying to smooth flyaways without greasiness.
• User mistake alert: Skipping leave-in conditioner at the roots leads to frizzy scalp and dryness
Set the Right Dryer Settings
Heat and airflow settings make or break your curl outcome. High heat may speed things up, but it causes frizz and long-term damage.
Optimal Heat and Airflow Recommendations
Use low to medium heat to preserve curl pattern and prevent frizz. Set airflow to low to medium to reduce disruption to curls. Keep the dryer 30 cm (12 inches) from hair to prevent overheating. Use the cool shot button between sections and at the end to lock in shape and boost shine.
• Smart dryers like Dyson and Shark HyperAIR IQ auto-adjust to low-heat mode when diffuser is attached
Hover Diffuse First to Set the Cast
This is the most critical step many people skip. Hover diffusing sets your styling products before you touch the curls.
Why Hover Diffusing Works
Hold the diffuser above hair without touching. Dry for 1 to 2 minutes, longer for thick hair. Focus on roots first to build volume. This allows gel or mousse to form a cast, preventing frizz.
• Verified user tip: Hover diffusing first is absolutely essential
Use the Cupping Method in Sections
Working in sections ensures even drying and maximum definition.
Step-by-Step Cupping Technique
Divide hair into 4 to 6 sections using clips. Take one section and gently gather curls into the diffuser bowl from underneath. Lift the diffuser toward the scalp, bringing the curl clump up with it. Hold for 10 to 60 seconds depending on moisture. Dyson users should aim for 10 to 20 seconds per section while thick hair may need 30 to 60 seconds. Do not press the diffuser into the scalp because this flattens roots.
• Pro tip: Stop if your scalp feels hot, which indicates too much heat or prolonged exposure
Flip for Volume or Diffuse Inward for Elongation
Your drying position determines your curl outcome: volume versus length.
Flip Hair Upside Down
This method is best for adding root lift and bounce. Flip your head upside down, then diffuse front, sides, and back. Shake roots with fingers after drying for extra volume.
• Caution: Some people with short hair find this causes excessive volume and broken clumps
Try Inward Diffusing for Less Shrinkage
This method is best for 3b to 3c curls that shrink dramatically. Point the diffuser into the curls, not up. Hold stationary and let air flow through mid-lengths and roots. The goal is to maintain length and create a piecey, defined look.
• User-tested: 3b to 3c curl users use this to elongate curls without losing definition
Focus on Damp Roots After Ends Dry
Curls dry from ends to roots, so don’t ignore the scalp zone.
Target the Root Zone
Once ends are dry, shift focus to damp roots. Use long-prong diffusers like Dyson or Shark to reach deeper. Shark users should retract prongs to gather hair, then extend at roots for lift.
Use Cool Shot to Lock in Shape
Do not wait until the end. Use cool air throughout your drying session.
Benefits of Cool Air
Cool air locks in curl shape, enhances shine, reduces frizz, and adds volume.
• Shark users: Alternating low-heat and cool-shot boosts volume while preserving definition
Stop at 80 to 90 Percent Dry
Over-drying is a silent curl killer. It leads to stiffness, brittleness, and frizz.
Why Air Dry the Final 10 to 20 Percent
Air drying the last portion preserves softness and elasticity, prevents heat damage, and maintains natural bounce.
• Expert advice: Dry to 80 to 90 percent with the dryer, then let the rest air dry
Finish with Post-Dry Techniques
The final touches make the difference between good and great curls.
Scrunch Out the Crunch
Once fully dry, gently scrunch with palms to break the gel cast. Use a tiny amount of oil or serum to tame flyaways. Avoid over-application because greasy hair kills volume.
Part After Drying
Never part before diffusing because it flattens volume. Parting afterward gives a natural, bouncy look.
Optional: Detangle Gently Post-Dry
Some users comb curls after drying with a wide-tooth comb to increase volume and definition. This must be done very gently to avoid frizz.
Model-Specific Diffusing Tips

Your dryer’s features can enhance results if you use them right.
Dyson Supersonic Diffuser
The Dyson dries up to 50 percent faster than standard dryers. Its magnetic attachment provides a secure fit, and long prongs reach deep for root drying. Start with the front section, invert for volume, and target roots last.
• Insight: Technique matters more than the tool. Results come from method, not just the device
Shark HyperAIR IQ
The Shark auto-detects the diffuser and switches to low-heat mode. Its extendable prongs allow for root lifting and scalp massage. Smart settings optimize performance automatically.
DevaCurl DevaFuser
This hand-shaped design with long fingers is top-rated for 3c to 4c curls. It provides deep drying and superior definition.
Avoid Common Diffusing Mistakes
Even small errors can ruin your curl day. Here’s how to avoid them.
High Heat Causes Frizz
Using high heat disrupts the cuticle, leading to frizz and dryness. Use low to medium heat only.
Over-Drying Stiffens Curls
Over-drying results in brittle, crunchy hair. Stop at 80 to 90 percent dry.
Pressing Diffuser Into Scalp Flattens Roots
This creates flat hair with no volume. Lift curls up instead of pressing down.
Skipping Hover Diffusing
Skipping this step leads to poor definition and frizz. Always hover first to set the cast.
Touching Hair During Drying
Touching hair during drying causes frizz and breaks clumps. Keep hands off until fully dry.
Tailor Technique to Your Curl Type
One size does not fit all. Adjust your method based on your texture.
2a to 2c Wavy Hair
Use scrunching upside down to define waves and add root lift.
3a to 3b Loose to Medium Curls
Use hover plus cupping to enhance bounce and reduce frizz.
3c to 4a Tight Curls
Use inward diffusing with a hand-shaped tool to elongate and prevent shrinkage.
4b to 4c Coily Kinky Hair
Use sectioned drying with a finger diffuser to define coils and dry thoroughly.
Maintain Your Diffuser for Best Performance
A dirty diffuser reduces airflow and efficiency.
Clean After Every Use
Wipe with a damp cloth to remove hair and product. Deep clean with warm water and a toothbrush. The Dyson diffuser is removable and easy to rinse.
Store Properly
Keep in a dry, cool place. Use a travel case to prevent cracks. Avoid sunlight to prevent plastic degradation.
Frequently Asked Questions About Diffusing Curly Hair
What is the best heat setting for diffusing curly hair?
Use low to medium heat. High heat causes frizz and damages curls over time. Many smart dryers like Dyson and Shark automatically adjust to safe temperatures when the diffuser is attached.
How long does it take to diffuse curly hair?
Diffusing typically takes 15 to 30 minutes depending on hair thickness, length, and dryer power. Thick or long hair may take longer. Stop when hair is 80 to 90 percent dry and let it finish air drying.
Can you diffuse hair that is still wet?
Yes, but hair should be damp, not dripping wet. Soaking wet hair takes much longer to dry and can cause frizz. Use a microfiber towel or T-shirt to remove excess water before diffusing.
Why are my curls frizzy after diffusing?
Frizz usually results from high heat, over-drying, or touching hair while drying. Always use low heat, stop at 80 to 90 percent dry, and avoid touching curls until completely cooled and set.
Should I flip my head upside down when diffusing?
Flipping upside down adds root volume and works well for most curl types. However, people with short hair may find this creates excessive volume and breaks up clumps. Try both methods to see what works for your hair.
Do I need an expensive diffuser to get good results?
No. Technique matters more than the tool. Even affordable dryers produce excellent results when paired with correct prep, low heat, sectioned cupping, and hover diffusing. Premium dryers offer faster drying and smart features, but the method is what delivers definition and volume.
Key Takeaways for Diffusing Curly Hair with a Blow Dryer
Diffusing curly hair is not about the tool. It is about the technique. With the right prep, product application, and drying method, even an affordable blow dryer can deliver stunning results. Focus on low heat, sectioned cupping, hover drying first, and finishing smart. Apply styling products to soaking wet hair from roots to ends, hover diffuse to set the gel cast, then work in sections using the cupping method while lifting toward the roots. Stop at 80 to 90 percent dry and let the final portion air dry to preserve softness and prevent brittleness. Over time, consistent practice leads to healthier, more defined curls that turn heads. No salon required.



