
Mastering how to straighten hair with a blow dryer is the secret to salon-quality results without a flat iron. This technique smooths the cuticle, reduces frizz, and delivers long-lasting shine when done correctly. The key lies in proper tension, directional airflow, and strategic sectioning, not just high heat. In this guide, you will learn step-by-step techniques, the best tools for your hair type, and how to avoid common mistakes that lead to reversion or damage.
Choose the Right Blow Dryer for Straightening
Selecting a high-performance dryer is the foundation of successful straightening. A quality tool reduces styling time and protects hair from excessive heat exposure.
High-Wattage Dryer for Faster Results
A blow dryer with 1800 to 2200 watts delivers strong airflow that smooths hair without prolonged heat exposure. Lower-wattage models struggle to dry hair thoroughly, increasing frizz risk and styling time. High power ensures faster cuticle sealing, which is especially important for thick or curly textures.
Ionic and Ceramic Technology Benefits
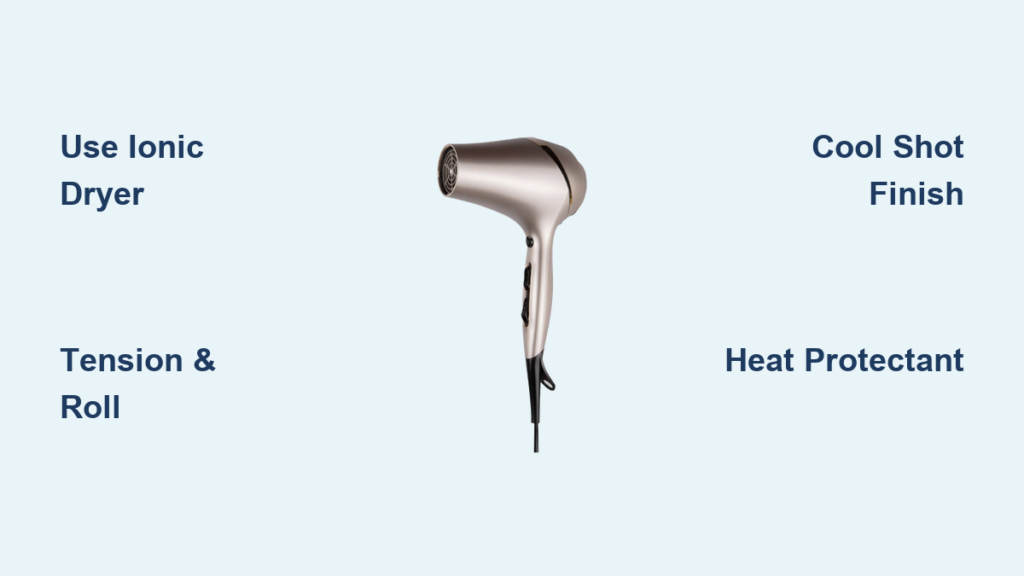
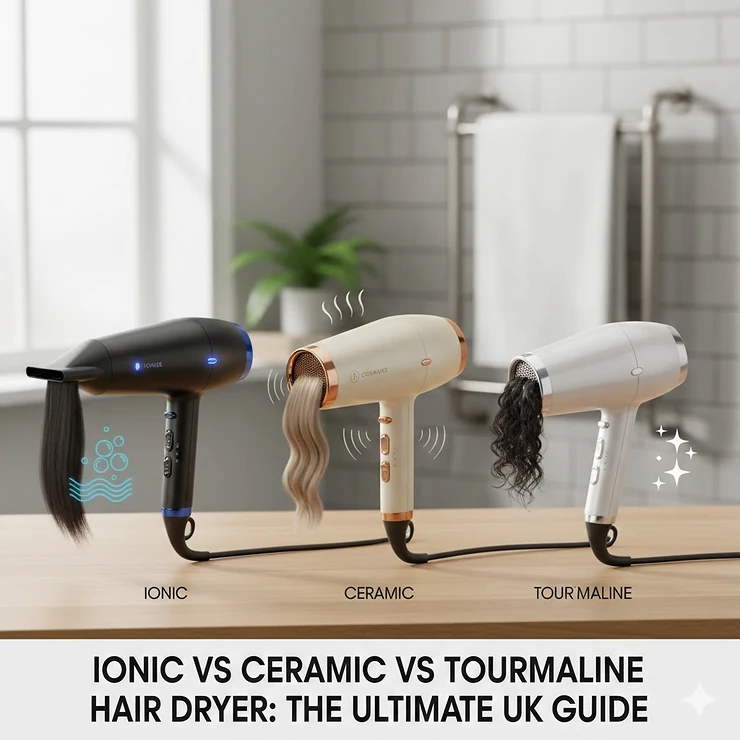
Look for ionic technology to break down water molecules quickly, reducing drying time by up to 50 percent. This also neutralizes static and minimizes frizz. Pair it with ceramic or tourmaline heating elements for even heat distribution and no hot spots that cause damage or uneven results.
Cool Shot Button Is Essential
Always use the cool shot button at the end of each section. Cold air locks in the style, seals the cuticle, and boosts shine. Without it, hair is more prone to humidity and re-waving. Models like the Dyson Supersonic feature intelligent cooling modes for maximum finish retention.
Select the Best Brush for Your Hair Type
The right brush creates tension and smoothness. Using the wrong one leads to frizz, breakage, or flat results.
Round Brush for Volume and Smoothness
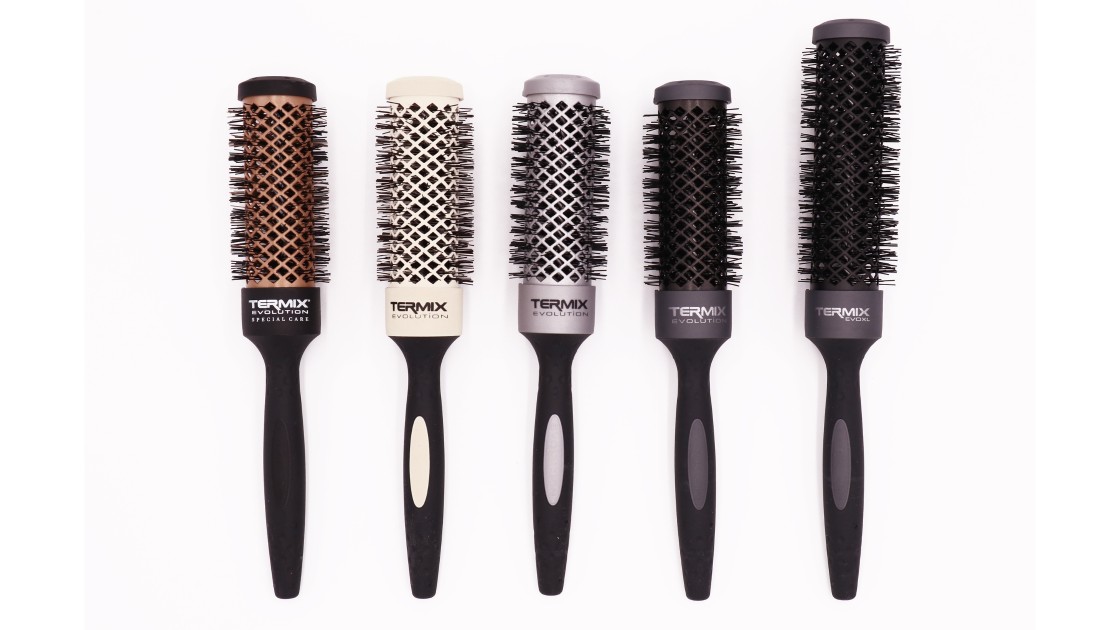
A vented ceramic round brush is ideal for straightening. Barrel size matters. Use 1 to 1.5 inch brushes for fine or short hair. Choose 2 inch brushes for medium length. Use 3 inch or larger barrels for long or thick hair. Larger barrels create straighter results, while smaller ones add root lift.
Paddle Brush for Thick or Coarse Hair
If your hair resists straightening, switch to a paddle brush. Its wide surface maximizes tension and flattens hair against the scalp. Use it with the leafing technique, a page-turning motion that aligns strands and prevents curl formation.
Boar Bristle for Shine Enhancement
Finish with a boar bristle brush or one blended with nylon. It distributes natural oils from roots to ends, adding a polished, glossy finish. Avoid using it during drying. Reserve it for the final pass to prevent tugging.
Prep Hair Properly Before Drying
Proper prep determines your results. Skipping these steps leads to frizz and damage.
Towel Dry with Microfiber, Not Cotton
After washing, blot hair with a microfiber towel or cotton T-shirt. Never rub. This roughs up the cuticle and causes frizz. Pat until hair is 50 to 80 percent dry. Starting too wet prolongs styling and increases heat exposure.
Detangle from Ends to Roots
Use a wide-tooth comb or wet brush while hair is damp. Start at the ends and work upward to prevent breakage. For curly or tangled hair, apply a detangling spray before combing.
Apply Heat Protectant to Damp Hair
This step is non-negotiable. Apply a heat protectant spray or serum from mid-lengths to ends. It shields hair from temperatures up to 450 degrees Fahrenheit and prevents split ends. Recommended options include ghd straight and smooth spray or Dyson Omega leave-in spray.
Section Hair for Even Drying
Proper sectioning ensures every strand gets attention. Working on large sections leads to incomplete drying and frizz.
Divide into 4 Main Sections
Part hair vertically down the middle, then horizontally at ear level. Clip the top two sections away. This ensures every strand gets attention. For thick or long hair, subdivide each section into 1 to 2 inch strips.
Use Horseshoe Clip for Crown Volume
For added lift at the crown, clip the top hair in a U-shaped section from temple to temple. Style the lower layers first, then flip the top down. This prevents flattening the roots under heavy hair.
Keep Sections Small for Control
Large sections lead to incomplete drying and frizz. One to 2 inch wide strips allow better tension and heat penetration. Work bottom-up, starting at the nape, to maintain visibility and control.
Master the Pull-and-Roll Technique
This is the core technique used by professional stylists. It creates smooth, straight results with lasting hold.
Place Brush at the Root
Take a small section. Position the round brush on top of the hair, close to the scalp. Pull down with tension. This stretches the hair and begins the straightening process.
Roll and Pull Simultaneously
Start drying while rolling the brush down and pulling the hair taut. Focus on the first 5 to 6 inches until roots are fully dry. Wet roots cause re-waving, which is the number one reason hair loses straightness.
Flip Brush Under for Smooth Finish
Once roots are set, flip the brush underneath the hair. Let strands drape over it, then continue rolling down. Keep the blow dryer 2 to 3 inches behind, following the brush with airflow.
Try the Leafing Technique for Coarse Hair
This technique works especially well for thick or resistant hair that standard methods cannot smooth.
Use Paddle Brush with Page-Turning Motion
For thick or resistant hair, use a paddle brush. Wrap hair around it and pull down in one direction. As you go, rotate the brush slightly, like turning pages of a book. This leafing motion aligns cuticles and eliminates curls.
Dry Roots First, Then Move Down
Focus on drying the root area completely before advancing. Use high heat and speed. Once roots are set, reduce heat and glide down to ends. Point airflow downward at all times.
Lean to One Side for Access
When styling the back sections, lean forward or to the side for better reach. Keep one hand on the dryer and one on the brush. Synchronize motion. Never let the dryer hover in one spot.
Customize Settings by Hair Type
Using the wrong heat setting leads to damage or ineffective styling. Match your settings to your hair texture.
Fine or Damaged Hair: Low Heat, Medium Speed
Use low to medium heat to prevent breakage. Set speed to medium for gentle drying. Avoid high heat. Even short exposure can damage fine strands.
Thick or Coarse Hair: Medium-High Heat, High Speed
This texture needs penetrating heat and strong airflow. Use medium to high heat with high speed. Smaller sections and longer root drying time are key.
Curly Hair: Medium Heat, Smoothing Cream
Apply a smoothing cream like ghd straight and tame before drying. Use medium heat and high airflow. Pre-dry to 80 percent with hands, then section and straighten slowly.
Finish with Cool Shot and Serum
The final steps lock in your style and add shine. Skipping them leads to quick reversion.
Lock Style with Cold Air
After each section, press the cool shot button for 5 to 10 seconds. Cold air seals the cuticle, reduces frizz, and extends style life. Do a final full-head cool blast when done.
Apply Serum to Ends Only
Use a pea-sized amount of argan oil or finishing serum. Warm it in your palms, then pat gently onto mid-lengths and ends. Never run fingers through. This causes frizz. Avoid roots to prevent greasiness.
Flip and Shake for Natural Movement
Flip head upside down, shake out, then flip back. This removes stiffness and adds subtle volume. Lightly rake with fingers if needed, but keep hands out afterward to prevent oil transfer.
Fix Common Straightening Problems
Even with proper technique, issues can arise. Knowing the solutions keeps your style intact.
Hair Reverts? Dry Roots Longer
If hair returns to waves, the roots were not fully dry. Re-dry the root area with tension. Use the cool shot after to set it.
Frizz in Humidity? Use Anti-Humidity Products
Apply a humidity-blocking serum before styling. Ensure hair is fully dry. Dampness attracts moisture. Point airflow downward to seal the cuticle.
Flat Roots? Dry Upside Down
For fine or flat hair, flip head upside down during initial drying. Lift roots with the brush, then cool on the brush for 1 minute to set volume.
Maintain Results Overnight
Proper nighttime care extends your blowout and reduces morning styling time.
Sleep on Silk Pillowcase
Cotton causes friction and frizz. Silk or satin reduces tugging and preserves straightness. Wrap hair in a silk scarf or use the pineapple method with a loose high ponytail and scrunchie.
Refresh Between Washes
Use dry shampoo at roots to absorb oil. For frizzy ends, lightly mist with water, then re-dry with the concentrator nozzle. A quick anti-humidity spray helps in damp weather.
Protect Hair from Heat Damage
Prevention matters more than repair. Protect your hair with every styling session.
Always Use Heat Protectant
Skipping this invites split ends and dryness. Reapply if you are restyling. Look for formulas with keratin, argan oil, or chitosan for added protection.
Clean Dryer Filter Monthly
A clogged filter reduces airflow, forcing you to use higher heat. Clean the lint screen regularly to maintain performance and safety.
Limit Styling Frequency
Even with protection, daily heat takes a toll. Let hair air-dry 1 to 2 times per week. Use the blow-dry method as a healthier alternative to flat irons, not a replacement for zero heat.
Frequently Asked Questions About Straightening Hair with a Blow Dryer
Can you really straighten hair with just a blow dryer?
Yes, you can achieve sleek, straight hair using only a blow dryer with the right technique. Professional stylists use this method daily. It involves proper tension, directional airflow, and the correct brush. The results rival flat iron styling with less heat damage.
What is the best brush for straightening thick hair?
A paddle brush with holes works best for thick or coarse hair. Its wide surface area maximizes contact and tension. Use the leafing technique, rotating the brush slightly as you pull down. This aligns cuticles and eliminates stubborn curls.
Why does my hair go wavy after blow drying?
Hair reverts to waves when roots are not fully dry. Wet roots cannot hold the straight style. Extend your root drying time and use the cool shot to set each section. Ensure you are maintaining tension throughout the process.
How do I get volume at the roots when straightening?
Dry your hair upside down during the initial phase to boost root lift. Lift roots slightly with the brush while drying. Let hair cool on the brush for about 1 minute, then use the cool shot to lock in volume.
Should I use heat protectant every time I blow dry?
Yes, always apply heat protectant to damp hair before blow drying. It creates a barrier against temperatures up to 450 degrees Fahrenheit. This prevents split ends, dryness, and long-term damage. Reapply if you are restyling the same day.
Key Takeaways for Perfect Blowout Results

Straightening hair with a blow dryer is a skill that improves with practice. The right tools, proper prep, and consistent technique make all the difference. Focus on drying roots thoroughly, maintaining tension, and sealing each section with cool air. Use ionic and ceramic dryers for faster results with less frizz. Match your brush size and heat settings to your hair type. Always apply heat protectant and finish with serum on ends only. Over time, your hair will become smoother, shinier, and easier to style. No flat iron required.



