

If you’re a guy who wants better control over your hairstyle, knowing how to use a hair dryer for guys is a game-changer. It is not just about drying your hair. It is about shaping it. The right blow-drying technique adds volume, creates direction, smooths frizz, and locks in your style all day. Whether you are aiming for a sharp side part, a textured crop, or a sleek quiff, the blow dryer does the heavy lifting. Styling products simply finish the job.
Most men skip this step or use the dryer incorrectly by holding it too close, using only high heat, or skipping attachments. But with the right tools, technique, and timing, you can achieve salon-quality results in under 10 minutes. This guide breaks down everything from prep to finish, tailored specifically for men is hair types and styles.
Why Blow Drying Transforms Men is Hair
Reshape Your Hair is Natural Fall
Wet hair is malleable. When damp, the cuticle opens, allowing you to retrain strands into a new direction. Without intentional drying, your hair dries in its default pattern. This often means flat at the crown, uneven at the front, or frizzy at the sides. Blow drying lets you override that pattern and build structure from the roots up.
Blow drying shapes the hair. Product locks it in. You cannot style uncooperative hair with paste alone. You must start with airflow.
Key Benefits of Proper Blow Drying
Blow drying is not vanity. It is efficiency. A well-dried style holds better, looks sharper, and requires less product.
- Adds volume at the roots, especially for fine or thinning hair
- Creates directional control for side parts, quiffs, and forward sweeps
- Smooths frizz and waves for a polished finish
- Enhances texture and separation in medium-to-long styles
- Extends style longevity throughout the day
- Boosts shine with a final cool shot
Pick the Right Hair Dryer for Men is Styling
Must Have Features
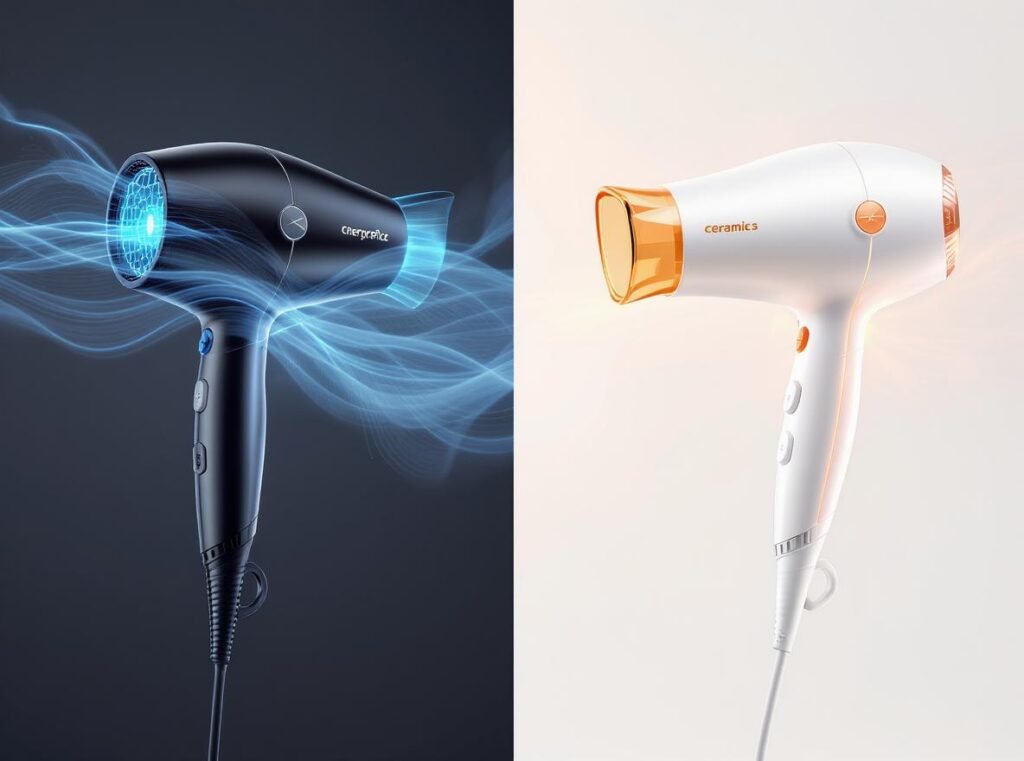
Not all dryers are built for men is styling. Look for these key specifications.
1800W+ wattage delivers stronger airflow for faster drying and better volume.
Ionic technology reduces frizz, drying time, and static.
Adjustable heat and speed settings let you customize for hair type and sensitivity.
Cool shot button locks in style and adds shine.
Concentrator nozzle focuses airflow for precision and lift.
Diffuser attachment preserves curl pattern and reduces puffiness for wavy or curly hair.
Avoid weak, low-wattage dryers. They take longer and deliver poor results.
Top Recommended Models
Harry Josh Pro Tools Ultra Light Pro Dryer offers balanced power and weight, ideal for daily use.
Dyson Supersonic provides smart heat control, fast drying, and premium performance at a higher price point.
Revlon One-Step Volumizer delivers strong airflow and built-in concentrator at a budget-friendly price.
Pro tip: never toss the attachments. The concentrator is essential for directional styling.
Tools and Prep Before You Start
What You Need
Boar bristle brush smooths the cuticle, adds shine, and distributes heat evenly.
Round brush in 1 to 1.5 inch diameter adds lift and volume at roots and ends.
Fingers or comb work for sectioning, pulling, and texturizing.
Microfiber towel or cotton T-shirt dries hair gently and prevents frizz.
Pre-Dry Preparation Steps
Wash or rinse your hair to remove old product buildup. Clean hair dries evenly and responds better to heat.
Towel dry to damp using a microfiber towel or cotton shirt. Gently squeeze, do not rub, to avoid frizz and damage. Your hair should be damp, not dripping.
Apply heat protectant by spraying or applying a few drops from roots to ends. This prevents heat damage and improves smoothness.
Optional: apply pre-dry styling product. Use a PVP-based paste or mousse for volume and hold. Avoid heavy products on soaking wet hair because they dilute and cause buildup.
Define your target style before starting. Know whether you want a side part, textured top, or pompadour. This ensures intentional drying, not random airflow.
Step by Step Blow Drying Routine
1. Set Dryer to Medium Heat and Speed
Start with medium heat, medium speed, and the concentrator nozzle attached. High heat is only for thick, coarse hair. Let airflow do the work. Air moves water, not heat.
2. Section Your Hair
Divide hair into three zones: back at the nape, sides, and front fringe. Work from back to front for structural consistency.
3. Dry the Back First for Volume
Direct airflow upward and backward at the roots. Use a round or boar bristle brush to lift and tension the hair. Move the dryer constantly, never hold it in one spot. This builds foundational volume and prevents flatness at the crown.
Pro tip: for extra lift, dry the back upside down for 10 to 15 seconds, then reposition.
4. Style Sides and Top in Target Direction
Guide hair with fingers or brush into your desired style. For a side part, pull hair to the side and dry in place. For a forward sweep, direct airflow toward your face.
Use the pinch-and-dry method. Take small pinches of hair, pull in the direction you want it to fall, and dry at the roots to set the shape. This gives precision and long-lasting hold.
5. Handle the Fringe with Tension
Pull front hair up and back using a brush or fingers. Apply heat from root to tip to straighten waves and build flexibility. The result is hair that is dry, smooth, and ready to be styled into place.
Avoid letting the fringe dry flat. It will resist styling later.
6. Finish with the Cool Shot
Once fully dry, press the cool shot button. Blast all sections, especially roots and fringe, for 10 to 15 seconds.
This closes the cuticle, locks in the style, boosts shine, and improves hold.
Expert note: skipping the cool shot is like skipping the seatbelt. Your style will not stay put.
7. Apply Final Styling Product
Use a small amount of clay, paste, or pomade. Focus on mid-lengths and ends, not roots, to avoid flattening. Style with fingers or comb into your final look.
Time required: 5 to 10 minutes depending on length and thickness.
Advanced Techniques by Style Goal

Maximize Root Volume
Blow dry upside down for 10 to 15 seconds to lift flat crown hair. Or dry against your natural part, then restyle into position. Use a round brush to lift at the roots. Combine with pinch-and-dry for targeted lift.
Best for: fine, thin, or flat hair needing more body.
Create Directional Flow
Pull hair into target direction with fingers or brush. Dry in small sections starting from the nape. For side-swept styles, gather fringe, pull to side, and dry in place. Use flat wrapping: press hair flat with brush under tension for sleekness.
Result: clean, intentional lines with long-lasting hold.
Enhance Natural Texture
Let hair dry without product first. As it dries, strands will piece out and separate naturally. Finish with a matte texture clay to emphasize definition.
Best for: medium-length, textured styles.
Straighten Wavy or Curly Hair
Use high heat and consistent tension with a brush. Pull sections taut while directing airflow from root to tip. Avoid touching hair with hands until cool shot is applied. Use concentrator nozzle for precision.
Pro tip: for stubborn waves, repeat the heat-and-cool cycle.
Tame Cowlicks
Apply heat while pressing cowlick flat with fingers or comb. Hold in place until dry. Finish with cool shot to lock position.
Works best on damp, not soaking wet, hair.
Hair Type Specific Strategies

Straight, Fine Hair
Focus on root volume using a round brush and lifting at the crown. Use lightweight products pre-dry to avoid weighing hair down. Tools: round brush, concentrator.
Wavy or Curly Hair
Use diffuser on low heat. Scrunch hair to define curls. Avoid brushing when wet. Tools: diffuser, low heat, sea salt spray.
Thick or Coarse Hair
Requires longer drying, so section thoroughly. Use high wattage dryer and concentrator. Apply heat evenly to avoid frizz.
Short Hair Under 2 Inches
Air-dry 70 percent, then use dryer for direction and polish. Use fingers to lift roots, concentrator for finish. Finish with matte paste for texture.
Medium to Long Hair 3+ Inches
Full blow dry required for shape. Use round brush for tension and volume. Dry in sections to prevent uneven drying.
Thin hair tip: focus on root lifting. It creates the illusion of thickness.
Prevent Heat Damage and Protect Your Hair
Avoid Heat Damage
Hold dryer 6 to 8 inches from scalp and hair. Keep it moving, never focus on one spot for more than 3 to 5 seconds. Stop when dry. Over-drying causes brittleness and split ends. Use lower heat plus high airflow when possible. Air dries, not heat.
Protect Your Hair
Always use heat protectant. This is non-negotiable. Use ionic or tourmaline dryers to reduce frizz and drying time. Minimize daily high heat. Alternate with air drying if hair is thin or damaged.
Fact: ionic dryers break water into smaller particles, cutting drying time by up to 50 percent.
Fix Common Blow Drying Mistakes
Holding dryer too close burns scalp and damages cuticle. Keep 6 to 8 inches away.
Drying soaking wet hair increases frizz and drying time. Towel-dry first to damp.
Using only high heat dries out hair and causes breakage. Use medium heat plus cool finish.
Skipping heat protectant increases split ends and frizz. Apply before every dry.
Leaving attachments unused misses precision and control. Use concentrator or diffuser as needed.
Not directing airflow results in flat, undefined style. Guide hair with air pressure.
Skipping cool shot means style will not last and lacks shine. Finish with 10 to 15 second cold burst.
Applying product to wet hair dilutes effectiveness and causes buildup. Apply pre-dry activating products or post-dry.
Lock in Your Look After Drying
Once hair is fully dry and cooled, apply a small amount of styling product. Focus on ends and mid-lengths, not roots. Style with fingers or comb into final shape.
This adds definition and texture, enhances shine or matte finish, and reinforces hold without weighing hair down.
Less is more. Overloading product makes hair look greasy or stiff.
Style Specific Routines for Men
Short Textured Crop
Dry with fingers to lift roots. Finish with matte clay. Tools: fingers, microfiber towel, clay.
Medium-Length Side Part
Use concentrator to sweep hair to side. Lock in with cool shot. Tools: concentrator, boar bristle brush.
Pompadour or Quiff
Dry front upward with round brush. Use cool set, then apply firm-hold product. Tools: round brush, high heat, cool shot.
Curly Hair Routine
Diffuse on low heat, scrunch to define. Finish with cold air and sea salt spray. Tools: diffuser, sea salt spray.
Slicked-Back Look
Use flat wrapping technique. Direct airflow downward. Finish with light pomade. Tools: concentrator, comb, light pomade.
Final Checklist for Blow Drying
Wash and towel-dry until damp.
Apply heat protectant from roots to ends.
Plug in ionic dryer, 1800W recommended.
Attach concentrator or diffuser if curly.
Set to medium heat, medium speed.
Section hair: back, sides, front.
Dry roots first, lifting for volume.
Guide hair in target direction with fingers or brush.
Keep dryer moving, 6 to 8 inches from head.
Finish with cold air burst for 10 to 15 seconds.
Apply minimal styling product post-dry.
Style as needed, combed or tousled.
Frequently Asked Questions About Using a Hair Dryer for Guys
How do men use a hair dryer without damaging hair?
Keep the dryer 6 to 8 inches away and never hold it in one spot. Use medium heat instead of high heat. Always apply heat protectant before drying. Finish with the cool shot to close the cuticle. These steps minimize damage while still achieving good style.
What is the best hair dryer for men is fine hair?
Look for 1800W or higher with ionic technology. A concentrator nozzle helps direct airflow for volume. The Harry Josh Pro Tools Ultra Light Pro Dryer and Revlon One-Step Volumizer are both good options for fine hair because they provide strong airflow without excessive heat.
How long should you blow dry your hair?
Most men achieve complete drying in 5 to 10 minutes depending on hair length and thickness. Stop immediately when hair feels dry. Over-drying causes brittleness and split ends.
Should men use a brush while blow drying?
Using a brush improves results significantly. A round brush adds volume at roots. A boar bristle brush smooths the cuticle and adds shine. Using fingers alone works for textured styles, but brushes provide better control and tension for polished looks.
What order do you apply products when blow drying?
Apply heat protectant first, before any drying. For volume, apply PVP-based paste or mousse to damp hair before drying. After drying and cooling, apply texture clay, pomade, or finishing product to dry hair.
Why is the cool shot important at the end?
The cool shot closes the cuticle, which locks in your style, adds shine, and improves hold. Skipping this step means your style will not last as long and will lack polish.
Key Takeaways for Using a Hair Dryer as a Guy
Blow drying is the foundation of every great men is hairstyle. It is not optional if you want control over your look. The process takes 5 to 10 minutes but dramatically improves appearance and style longevity.
Consistent technique reprograms hair behavior. Over time, your hair learns the new pattern, making it easier to style every day. Combine quality tools, proper prep, and consistent airflow, and you will see a dramatic improvement in your look in under a week.
Heat protectant is non-negotiable. It prevents damage and improves the finish. The cool shot is critical. It locks in style, adds shine, and increases hold.
Master the dryer and your style will stay locked in all day.


