
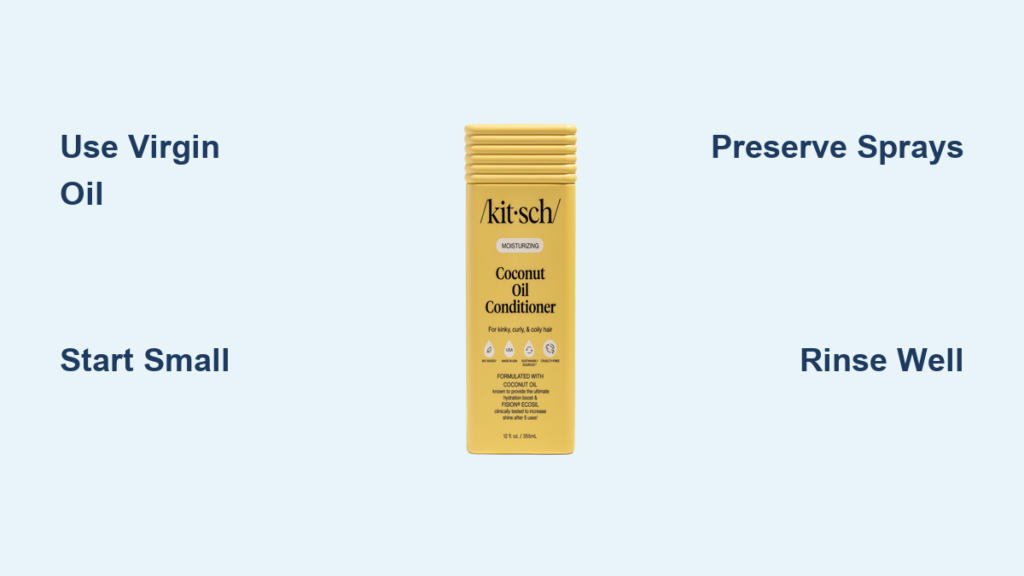
If you are tired of store-bought conditioners packed with silicones and synthetic fragrances, making a homemade hair conditioner with coconut oil is a natural, cost-effective solution. Coconut oil is a scientifically backed hair hero that penetrates the hair shaft, reduces protein loss, and locks in moisture. Whether you have curly, dry, or damaged hair, this versatile ingredient can transform your hair is texture, shine, and strength when used correctly.
But not all hair types react the same way. While many benefit from deep conditioning with coconut oil, some may find it too heavy or even drying. The key is choosing the right formulation for your hair is unique needs. In this guide, you will learn how to make four effective homemade conditioners, from a simple pre-wash oil treatment to a creamy emulsified conditioner, all using coconut oil as the star ingredient.
Why Coconut Oil Works for Hair Conditioning
Coconut oil is uniquely effective as a hair conditioner due to its molecular composition and ability to penetrate the hair shaft. Unlike many other oils that simply sit on the surface, coconut oil penetrates deeply into the cortex of the hair strand, reducing protein loss and preventing damage.
The medium-chain triglycerides in virgin coconut oil are small enough to infiltrate the hair cuticle, delivering moisture and strengthening the internal structure. Lauric acid, the primary fatty acid in coconut oil, has a high affinity for hair proteins, allowing it to bind effectively and reduce hygral fatigue. This damage occurs from repeated swelling and shrinking during wet and dry cycles.
Coconut oil also helps retain moisture by forming a hydrophobic barrier, minimizing water absorption during washing and reducing cuticle disruption. Studies show coconut oil reduces protein loss in both undamaged and chemically treated hair when used as a pre-wash treatment.
Choose the Right Coconut Oil for Your Hair
Always start with virgin organic coconut oil that is unrefined, cold-pressed, and free of additives. This version retains its natural fatty acids, especially lauric acid, which gives it superior penetration and conditioning power. Avoid refined or hydrogenated coconut oil, as processing strips away beneficial compounds and may introduce trans fats.
Virgin coconut oil is solid below 76°F, so you will need to melt it before use. Simply place the jar in warm water or rub a small amount between your palms. Its natural coconut scent is mild and pleasant with no artificial fragrances needed.
Refined oils lose much of their nutrient profile during bleaching and deodorizing. Virgin oil maintains its antioxidants, antimicrobial properties, and moisturizing triglycerides, making it ideal for hair health. It also has a longer shelf life of up to two years when stored in a cool, dark place.
Simple Coconut Oil Pre-Wash Treatment

This is the easiest and most effective way to use coconut oil for hair conditioning. Take one to two teaspoons, adjusting for hair length, and melt it in your hands. Focus on the mid-lengths and ends where hair is oldest and most damaged. Avoid the scalp if you have oily skin, or massage lightly if dryness or dandruff is a concern.
This treatment works as a pre-wash sealant, preventing water from over-penetrating the hair shaft during washing. This is a major cause of frizz and breakage. It also reduces protein loss, especially in chemically treated hair.
For best results, leave the oil on for at least 30 minutes. For deep repair, apply before bed and cover with a shower cap. The longer it sits, the deeper it penetrates. Users report softer, shinier hair that stays tangle-free for up to five washes.
On day one, hair may feel slightly greasy. This fades by day two. If residue lingers, use a gentle shampoo and consider double cleansing, especially if you have used heavier oils like castor.
You can boost your treatment with vitamin E oil, which acts as a natural preservative and antioxidant. You can also add three to five drops of essential oils like lavender for scent, rosemary for scalp stimulation, or tea tree for dandruff. Never apply essential oils undiluted. Always mix them into the carrier oil first.
DIY Coconut Milk Leave-In Spray Recipe
For a lightweight, daily conditioner, try a coconut milk spray. Unlike canned coconut milk, which contains stabilizers, this version is fresh, natural, and free of additives.
To make this spray, you will need one cup of shredded organic coconut, two cups of boiling water, five to ten drops of rosemary essential oil, and a brown glass spray bottle. Soak the shredded coconut in boiling water overnight. Strain through a muslin cloth, squeezing to extract all liquid. Let cool, then add essential oils.
Shake well before use and mist onto damp hair, focusing on ends and frizz-prone areas. Comb through with a wide-tooth comb to detangle. This spray adds moisture without weighing hair down, making it perfect for curly or wavy hair.
Rosemary oil boosts scalp circulation, potentially supporting hair growth. The result is softer, smoother hair with natural definition.
Because this is a water-based product with no preservative, refrigeration is required. Use within one to two weeks and make small batches to ensure freshness.
Creamy Emulsified Conditioner Recipe
For a store-bought-like texture, make an emulsified conditioner. This creamy formula combines oil and water into a stable lotion that rinses cleanly and conditions deeply.
The ingredients include half a cup of distilled water or hydrosol, one and a half teaspoons each of coconut oil, jojoba oil, and argan oil, one tablespoon of shea butter for thick hair, one and a half teaspoons of glycerin, one and a half teaspoons of emulsifying wax, a quarter teaspoon of Leucidal Complete, and ten to fifteen drops of essential oils.
To make this conditioner, combine oils, shea butter, glycerin, and emulsifying wax in a heat-safe bowl. Place over simmering water until fully melted. Slowly pour in warm distilled water while stirring continuously. Remove from heat and let cool slightly. Stir in preservative and essential oils. Whip with a hand mixer for a fluffy texture.
Improper mixing causes separation, so stir constantly during cooling. Store in a pump bottle to avoid contamination. With preservative, it lasts six to twelve months at room temperature.
For customization, reduce oils by 25 percent if you have fine hair. Add one teaspoon of honey or aloe vera gel for extra moisture if you have thick or curly hair. If you have an oily scalp, use tea tree hydrosol, skip coconut oil, and use jojoba only.
Coconut and Castor Oil Deep Conditioning Mask
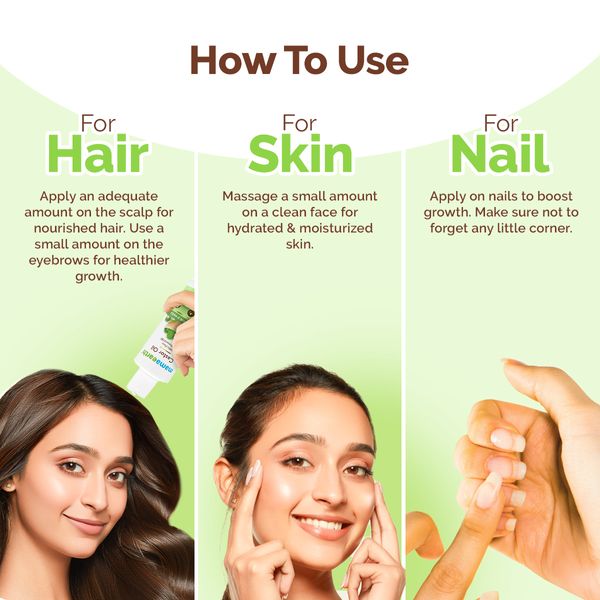
This powerful blend targets hair thinning and slow growth. Combine two tablespoons of coconut oil, one tablespoon of castor oil, and five drops of lavender essential oil. Castor oil is rich in ricinoleic acid, which has anti-inflammatory and antimicrobial properties. It stimulates blood flow to follicles, potentially boosting growth.
Apply the mix directly to the scalp, massaging in circular motions for five minutes. Distribute the rest through the lengths. Cover with a shower cap and leave for one hour or overnight.
Rinse thoroughly because castor oil is thick and may require double shampooing. Use once a week for best results. Users report increased shine, reduced shedding, and noticeable fullness after four to six weeks.
Know Your Hair Type Before Using Coconut Oil
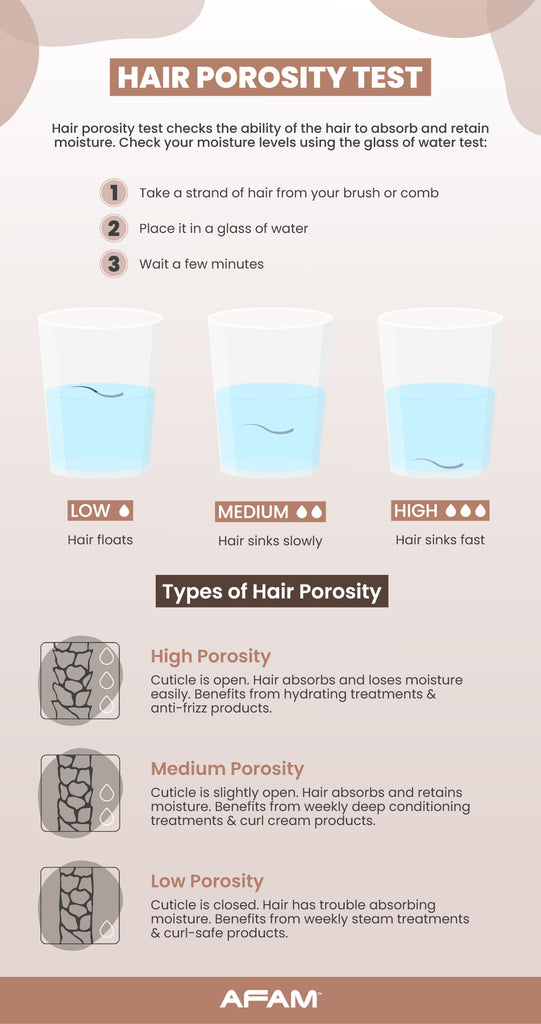
While popular, coconut oil is not ideal for all hair types. It enhances protein retention, which benefits most people. But if your hair is protein-sensitive, it can cause stiffness, brittleness, and breakage.
Coconut oil works best for coarse, curly, dry, or damaged hair. Use it cautiously if you have fine, thin, or low-porosity hair because it can get greasy. Avoid it if your hair feels straw-like or brittle after use.
Do a patch test on a small section first. Apply the conditioner, wait 24 hours, and check for adverse reactions. Also perform a strand test. Apply to one section, wash, and compare feel and shine.
If your hair feels stiff, switch to sunflower or olive oil, which are lighter and less protein-binding.
How to Apply Conditioner for Best Results

Always concentrate conditioner on mid-lengths and tips. The scalp produces natural oils, but they rarely reach the ends. This is the oldest, most damaged part of your hair.
Use the praying hands method for even distribution. Smooth hair between flat palms from root to tip.
Towel-dry hair after washing before applying. Damp hair absorbs conditioner better without diluting it. For leave-in sprays, apply to wet hair for maximum spread.
After applying, gently comb through with a wide-tooth comb to distribute product and remove knots. Start from the ends and work upward to prevent breakage.
Common Mistakes to Avoid
Using too much coconut oil leads to greasy buildup, especially on fine hair. Start with a small amount. Use pea-sized for short hair and quarter-sized for long hair. Add more only if needed.
Any conditioner with water, like sprays or creams, can grow mold or bacteria. Leucidal Complete is a natural, ECOcert-approved preservative. Use at four percent of total weight for safety. Never skip this step because even natural products are not safe from contamination.
Thick oils like castor or shea butter do not rinse out easily. If your hair feels coated, wash twice. The first shampoo breaks down oil, and the second cleanses.
Storing Your Homemade Conditioner Properly
Light and heat degrade oils. Store all homemade conditioners in amber or brown glass bottles away from sunlight and humidity. Refrigerate water-based sprays and unpreserved formulas.
Always write the creation date and full ingredient list on the bottle. This helps track shelf life and identify allergens. Most emulsified conditioners last six to twelve months with preservative, while sprays last one to two weeks refrigerated.
Frequently Asked Questions About Coconut Oil Hair Conditioner
Can I use coconut oil on fine hair?
Yes, but use caution. Start with a very small amount, about pea-sized, and apply only to the ends. Too much will weigh fine hair down and create a greasy appearance.
How often should I use coconut oil conditioner?
For normal to coarse hair, use two to three times per week. For fine or oily hair, use once per week or every other week. For damaged or dry hair, you can use it up to daily in small amounts.
Does coconut oil help with hair growth?
Coconut oil can support hair health by reducing protein loss and preventing damage. When combined with castor oil, it may stimulate the scalp and promote growth. Results typically appear after four to six weeks of weekly use.
Why does my hair feel stiff after using coconut oil?
This indicates your hair may be protein-sensitive. Coconut oil enhances protein retention, which can cause stiffness if overuse occurs. Switch to lighter oils like sunflower or olive oil, or reduce the amount you use.
Can I leave coconut oil in my hair overnight?
Yes, for deep conditioning. Cover your hair with a shower cap to protect your pillowcase. Rinse thoroughly the next day, and consider double shampooing to remove all residue.
How long does homemade coconut oil conditioner last?
Pure coconut oil treatments last up to two years. Emulsified conditioners with preservative last six to twelve months. Water-based sprays last one to two weeks in the refrigerator.
Key Takeaways for Making Coconut Oil Hair Conditioner
Making a homemade hair conditioner with coconut oil is simple, affordable, and effective when done right. From a basic oil treatment to a luxurious cream, you can tailor your formula to your hair is unique needs.
Remember that less is more when applying coconut oil. Start small and increase as needed. Always use preservatives in water-based products to prevent bacterial growth. Your hair will tell you what it likes, so listen to its response and adjust accordingly.
With these recipes and tips, you are ready to ditch the chemicals and embrace a healthier, shinier, more natural hair care routine. Choose the method that fits your lifestyle, experiment with customization, and enjoy the results of nourished, beautiful hair.



