
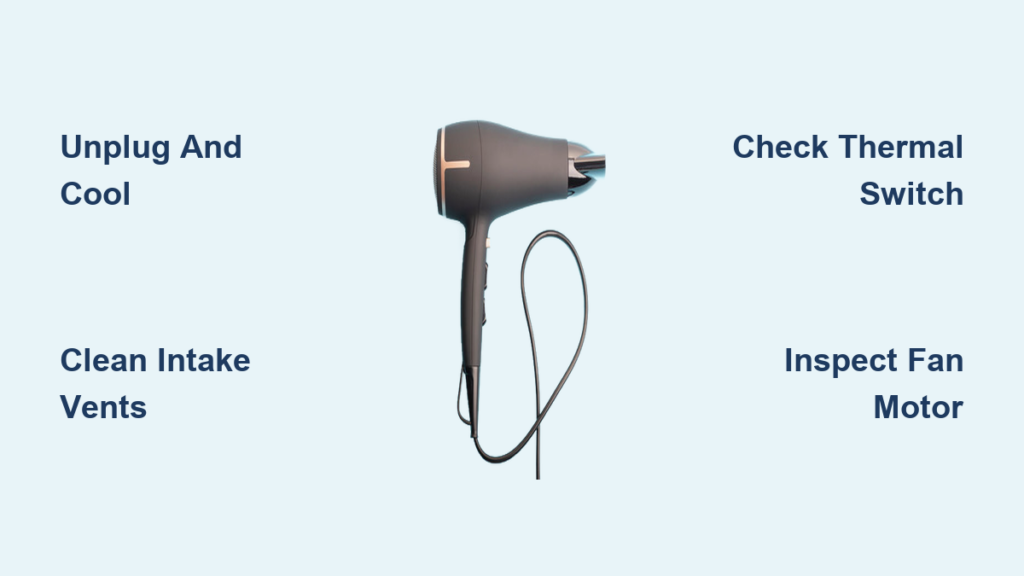
Your hair dryer suddenly stops mid-use, the motor cuts out, and now it will not turn back on. This is a classic sign of overheating, which triggers built-in thermal protection in most modern dryers. The good news is this is usually a reversible issue caused by blocked airflow or minor component problems. This guide walks you through diagnosing the exact cause, performing safe resets, cleaning internal blockages, and determining whether repair or replacement makes more sense for your situation.
Most overheated dryers can be restored with simple maintenance. By understanding the root causes and following proper troubleshooting steps, you can often avoid the cost of a new purchase while extending the life of your current dryer.
Immediate Cooling and Reset Steps
When your dryer overheats, quick and safe action prevents permanent damage. Follow these steps in order to restore function.
Unplug and Let It Cool
Unplug immediately and move the dryer to a cool, well-ventilated area. Place it upright on a dry surface. Wait 2 to 3 minutes for the internal thermal breaker or thermostat to reset automatically. Most resettable safety devices restore power once the unit cools. After waiting, plug it back in and test. If it works again, the issue was temporary overheating, not a hardware failure.
Pro Tip: Never leave a hot dryer face-down on fabric, carpet, or bedding. Even 10 seconds of blocked airflow can trigger shutdown.
Check for External Reset Button
Some models, like the Conair Infiniti Pro 259NP, have a reset button on the power plug. If the button is popped out, press it firmly until it clicks back in. This resets the overload protection circuit. Not all dryers have this feature, so check your user manual. Always press the reset button after the dryer has cooled completely.
Note: If the reset button pops out again immediately upon use, there is an ongoing overheating or electrical fault. Do not keep resetting. Investigate further.
Test GFCI Outlet and Power Source
If the dryer still will not power on, check the outlet. Many bathrooms use GFCI (Ground Fault Circuit Interrupter) outlets, which trip during electrical surges or faults. Press the reset button on the outlet itself. Then, try plugging the dryer into a different circuit to rule out power issues. A tripped GFCI can mimic a faulty dryer.
Warning: If the GFCI trips repeatedly, stop using the dryer. It may have an internal short or ground fault.
Common Causes of Overheating

Overheating is never random. It always stems from restricted airflow, internal buildup, or component failure. Identifying the root cause prevents repeated shutdowns.
Blocked Air Intake Vents
The number one cause of overheating is blocked air intake vents. These are located at the base of the handle or side grilles and pull in cool air to regulate internal temperature. If covered, even briefly, heat builds rapidly.
Signs of blockage include:
• Reduced airflow from the nozzle
• Dryer shuts off after 1 to 2 minutes
• Visible lint, dust, or hair in the intake mesh
High-Risk Habits: Using the dryer while lying on a bed, placing it face-down, or storing it with the intake covered.
Internal Debris Accumulation
Dust, hair, and styling product residue accumulate inside the dryer, insulating heat and reducing cooling efficiency.
Problem zones include:
• Fan motor spindle: Hair wraps around the shaft, slowing rotation
• Heating chamber: Lint packs around the nichrome coil, trapping heat
• Airflow tunnel: Dust acts like insulation, raising internal temperatures
Pro Tip: A burning smell often means dust burned off the heating element. Clean thoroughly to prevent repeat incidents.
Faulty Thermal Cut-Off Switch
The thermal cut-off switch monitors heat near the heating element. If it fails, it may trip too early or fail to reset.
Failure indicators include:
• Dryer will not restart even after cooling
• No power to motor or heating element
• Discoloration or pitting on switch contacts
Case Example: In the Maestro MR202, burnt contacts on the thermal cut-off caused premature shutdowns. Cleaning restored full function.
Fan or Motor Malfunction
If the fan does not spin, no air moves through the dryer, and heat builds instantly.
Symptoms include:
• Motor hums but no airflow
• Fan blades do not rotate freely
• Dryer gets hot but air stops blowing
Step-by-Step Internal Repair Process
If basic reset steps fail, a deeper inspection is needed. Most overheating issues are fixable with simple cleaning and maintenance.
Disassemble the Hair Dryer
Tools needed:
• Phillips screwdriver
• Compressed air
• Soft brush or toothbrush
• Cotton swabs
• 0-grit sandpaper or fiberglass pen
Steps:
1. Unplug and cool completely
2. Remove screws from handle base (often hidden under rubber grip or label)
3. Gently pry apart housing starting from the nozzle end
4. Avoid breaking plastic clips. Work slowly.
Safety First: Never open a plugged-in or warm dryer.
Clean Fan and Motor
Once open, locate the fan and motor assembly. Remove hair tangled around the motor shaft. Use a brush to clean dust from fan blades and housing. Wipe the spindle with isopropyl alcohol if sticky.
Test: Manually spin the fan. If it binds or grinds, the motor may need replacement.
Inspect and Clean Heating Element
The nichrome wire coil generates heat but can overheat if covered in dust.
What to check:
• Breaks or sagging in the wire
• Discoloration or corrosion
• Lint buildup around the coil
Cleaning:
• Use compressed air to blow out debris
• Gently wipe with a dry cotton swab
• Never touch with fingers. Skin oils degrade performance.
Do Not Clean with Water: Moisture can damage insulation and wiring.
Service the Thermal Switch
Locate the cylindrical or disc-shaped thermostat near the heating chamber. Check terminal contacts for pitting, carbon buildup, or corrosion. Ensure wires are securely attached.
Clean contacts:
Use 0-grit sandpaper or a fiberglass pen to gently polish terminals. Light abrasion restores conductivity. Do not bend or force the housing.
Replace if Damaged: If the switch is cracked or terminals are burnt, install a new one (available online by model number).
Repair Damaged Wiring
Frayed or loose wires cause poor connections and localized heating.
What to look for:
• Pinched wires near housing seams
• Frayed insulation near power entry
• Loose terminals on switch or motor
Fix:
• Resolder broken joints using a 60W iron and flux
• Reinforce with strain-relief knot and hot glue
• Route wires away from hot surfaces
Warning: Never bypass or disable thermal protection devices. This creates serious fire risk.
Reassemble and Test Safely
After cleaning and repairs, reassembly must be precise to ensure safety and performance.
Reassembly Checklist
- Reinstall insulation (mica or ceramic plate) around heating element
- Route wires neatly. Avoid pinching between housing halves
- Align clips and screws. Do not force closed
- Use correct screws. Long screw at top, short at bottom (model-specific)
Final Check: Spin the fan manually. It must rotate freely. Confirm no wires are caught.
Power Test Procedure
- Plug in the dryer
- Set to highest heat and speed
- Run continuously for 5 or more minutes
- Monitor for steady airflow, no burning smell, and no automatic shutdown
Success: If it runs uninterrupted, the repair worked. If it shuts off, revisit airflow or thermostat.
Prevent Future Overheating
Prevention is faster and cheaper than repair. Simple habits dramatically extend your dryer is life.
Weekly Maintenance Routine
• Clean intake grille with brush or compressed air
• Wipe exterior with dry cloth
• Inspect cord for fraying or kinks
Time Required: Less than one minute.
Monthly Deep Checks
• Remove and wash mesh filter (if removable)
• Check nozzle for blockages
• Verify reset button function
Tip: Store the dryer upright or hung. Never face-down.
Usage Best Practices
• Never block vents during use
• Avoid continuous use beyond 10 minutes. Take 1-minute breaks
• Do not use as a space heater or for thawing pipes
• Use in dry, ventilated areas. Humidity increases dust adhesion
User Mistake: “I used my Conair as a heater. It finally stopped working.” Misuse is a leading cause of failure.
When to Replace Instead of Repair
Not every dryer can be saved. Know when it is time to let go.
Repair If:
• Only airflow blockage or minor contact corrosion is present
• Motor spins freely after cleaning
• Heating element is intact
• Thermal fuse is resettable or replaceable
• Unit is less than 3 years old
Replace If:
• Heating element is broken or sagging
• Motor will not spin after cleaning
• Housing is melted or deformed
• Permanent thermal fuse is blown and no replacement available
• Repeated shutdowns after repair
• Dryer is over 5 years old
• Repair cost exceeds 30 to 50 percent of new unit price
Bottom Line: A cheap dryer may not be worth fixing. Invest in a quality model with better airflow and safety design.
Final Safety Warnings
Your safety comes first. Never compromise on protection.
Never Bypass Thermal Protection
Do not remove or disable the thermal fuse, breaker, or thermostat. These are critical fire safeguards. Bypassing them may let the dryer run, but it could overheat and ignite.
Avoid These Dangerous Practices
• Using a damaged cord or plug
• Operating with open housing
• Cleaning with water unless designed for it
• Ignoring repeated shutdowns
Always Follow These Rules
• Unplug before any inspection
• Use original or certified parts
• Follow manufacturer is manual
• Stop if you smell burning or see smoke
Frequently Asked Questions About Overheated Hair Dryers
Why does my hair dryer keep shutting off?
This happens when the thermal protection activates due to excessive heat. The most common causes are blocked air intake vents, internal debris accumulation, or a faulty thermal cut-off switch.
Can I fix an overheated hair dryer myself?
Yes. Most cases respond well to basic troubleshooting like clearing vents, cleaning internal debris, and resetting the thermal protection. Simple cleaning fixes the majority of overheating issues.
How long should I wait after my hair dryer overheats?
Wait 2 to 3 minutes for the internal thermal breaker to reset automatically. Place the dryer in a cool, ventilated area during this time.
What causes hair dryers to overheat?
The primary causes are blocked air intake vents, internal debris buildup around the fan and heating element, and failed thermal cut-off switches. Each restricts airflow and causes heat to build.
Is it worth repairing an old hair dryer?
If the unit is over 5 years old and requires expensive repairs, replacement is usually the better choice. Cheap dryers often are not worth fixing, but quality models can last 3 to 7 years with proper care.
Key Takeaways for Fixing Your Overheated Hair Dryer
Most overheating problems stem from simple, fixable issues like clogged vents or accumulated debris. Regular cleaning prevents these failures, and understanding when to repair versus replace helps you avoid unnecessary expenses. Always prioritize safety by never bypassing thermal protection and unplugging before any inspection. With proper maintenance, your hair dryer should last years, not months.


