
A failing fridge door seal silently increases your energy bill, spoils food, and forces your refrigerator to work harder than necessary. When the rubber gasket no longer creates a tight seal, cold air escapes while warm air sneaks in, leading to frost buildup, inconsistent temperatures, and unnecessary compressor strain. The solution might already be in your bathroom cabinet. Using a hair dryer to fix fridge seal problems is one of the most effective, low-cost methods available today.
This guide walks you through the complete process of using heat to restore your refrigerator’s airtight seal. You’ll learn how to clean and inspect the gasket, apply controlled heat safely, reshape the rubber while pliable, test your repair, and maintain the seal long term.
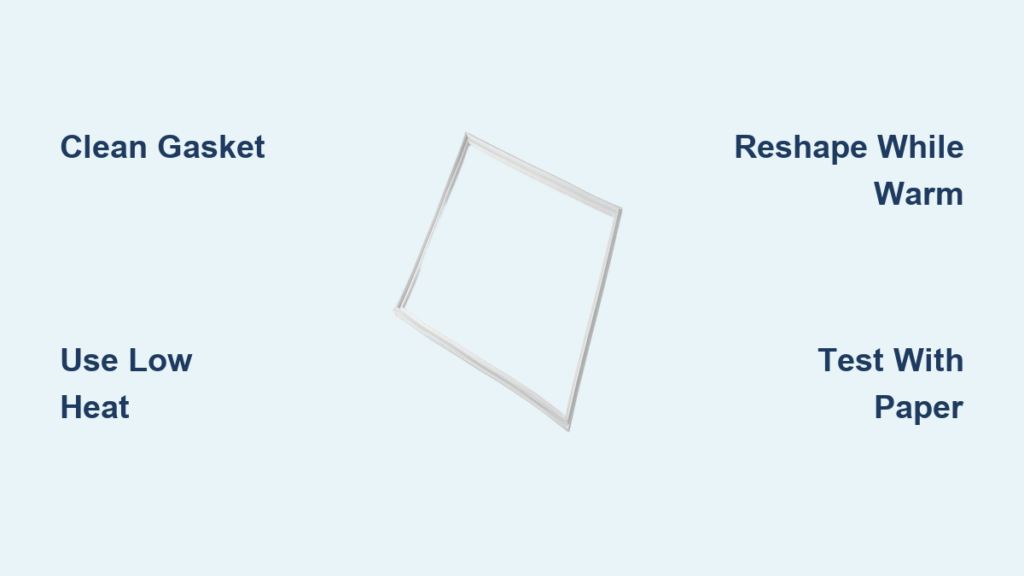
Clean and Inspect the Gasket
Before applying any heat, prepare the seal properly to ensure the repair works effectively.
Wipe Down the Rubber Seal
Use a clean, dry cloth to remove all dust, grease, and debris from the entire gasket surface. If the seal appears visibly dirty, dampen the cloth with mild soapy water and gently clean the surface. Rinse with a damp cloth and dry completely before heating. Moisture trapped beneath the gasket can cause uneven heat distribution and reduce the effectiveness of the repair.
Dirt and grime create barriers that prevent even heating and proper adhesion when the door closes. Taking time to clean thoroughly first will yield much better results.
Check for Gaps and Damage
Open the refrigerator door and run your fingers along the entire gasket. Look for these specific problems:
- Sections that pull away from the frame
- Hardened or curled edges
- Visible light gaps when the door is closed
- Cracks, tears, or brittle areas
Mark problem areas with tape or make a mental note. These are the zones where you should focus your repair efforts.
Pro tip: Shine a flashlight around the closed door at night. Any visible light means air can get in, so target those spots specifically during heating.
Heat the Seal with a Hair Dryer

Controlled heat softens the rubber material, making it pliable enough to reshape without damaging the seal.
Set Hair Dryer to Low or Medium Heat
Use a standard household hair dryer set to low or medium heat. Never use a heat gun or blowtorch, as these tools exceed safe temperatures and can permanently melt or deform the rubber. Set the dryer to no higher than 160°F (70°C).
Hold the dryer 6 to 8 inches (15 to 20 cm) from the gasket surface. Move it slowly in a back-and-forth motion to distribute heat evenly across the problem areas.
Safety first: Never let the nozzle touch the rubber. Overheating even one spot can permanently ruin the seal.
Target Problem Areas with Heat
Focus your heating on these specific zones:
- The inner lip of the gasket (facing the fridge interior)
- The underside where the seal attaches to the door
- Any sections that show gaps or are lifted away from the frame
Heat each problem area for 30 seconds to 2 minutes, until the rubber feels soft and flexible when gently pressed. Most fridge gaskets are made of PVC or EPDM rubber, which becomes pliable at 140 to 176°F (60 to 80°C), perfectly within a hair dryer’s safe temperature range.
Reshape and Reset the Gasket
Once softened, reshape the seal while warm so it cools into a tight, flush fit against the refrigerator frame.
Massage and Stretch the Softened Rubber
Use your thumbs to gently massage the heated sections. This improves flexibility and helps the material conform to the fridge frame. If a section is curled outward, press it inward while the rubber is still warm. For stubborn gaps, slightly lift and stretch the underside to expose it to more heat before pressing it back into place.
Key move: After heating the inner seal, close the door to let it cool in the sealed position. This “sets” the new shape effectively.
Close Door to Mold the Seal
After treating a section, close the refrigerator door and leave it shut for at least 10 minutes. The closed door acts like a mold, forcing the warm rubber to conform tightly to the cabinet. The material contracts as it cools and retains its newly shaped form.
Pro tip: Place a small weight like a water bottle on the door if it tends to pop open during cooling. Just ensure the weight doesn’t block or interfere with the seal itself.
Test the Seal After Cooling

Once cooled, verify the repair with a simple but reliable test method.
Perform the Paper Test
Take a dollar bill, credit card, or sheet of paper. Close the door on it at multiple points around the seal, especially in previously problematic areas. Try to pull the paper out.
A working seal will hold the paper firmly and create noticeable drag. It should require slight effort to slide out. Repeat this test every 6 inches around the entire door perimeter.
Success sign: Uniform resistance across all tested points means the seal is airtight. If the paper slips out easily in any spot, reheat and reshape that section.
Prevent Future Seal Problems
A one-time fix isn’t enough. Keep the gasket in top condition with regular maintenance.
Clean the Seal Monthly
Wipe the gasket with a damp cloth and mild soap every month. Dry thoroughly afterward. This prevents grime buildup and keeps the rubber supple. Avoid harsh cleaners like bleach or ammonia-based products, as these can dry out or crack the rubber over time.
Reheat as Preventive Maintenance
Even healthy seals stiffen with age and temperature changes. Use the hair dryer method every 6 to 12 months as preventive maintenance. The best time to do this is when you notice the door feels looser or cooling seems less efficient.
Know When to Replace the Gasket
The hair dryer method works for stiffness and minor warping, but not all damage can be repaired with heat.
Replace If the Rubber Is Physically Damaged
Replace the gasket if you notice deep cracks or splits, flaking or crumbling rubber, permanent tears or holes, or mold embedded in the material. Heating cannot restore structural integrity when the rubber has deteriorated to this point.
Failed Test After Multiple Attempts
If you have reheated and reshaped the seal two or three times and the paper test still shows easy removal in any area, it’s time for a replacement. Replacement gaskets are model-specific, so check your fridge’s serial number and order from the manufacturer or a trusted appliance parts supplier.
Safety and Best Practices
Follow these rules to avoid accidents and ensure lasting results.
Never Use High Heat
High settings on a hair dryer or tools like heat guns can melt or scorch the rubber permanently. Stick to low or medium heat only.
Critical warning: If the rubber starts to smell burnt or looks shiny or smooth, you’ve overheated it. Stop immediately and allow the area to cool.
Work in a Warm Room
Avoid performing this repair in cold garages or basements. Cold air causes rubber to stiffen faster, reducing the window for effective reshaping. Ideal conditions are room temperature (68 to 72°F or 20 to 22°C).
Keep the Dryer Moving
Don’t hold the dryer in one spot for more than a few seconds. Constant motion prevents hot spots and ensures even softening across the entire gasket surface. The rubber should feel warm and flexible, not hot or sticky to the touch.
Frequently Asked Questions About Fixing Fridge Seals with Hair Dryers
Does using a hair dryer actually fix a fridge seal?
Yes, this method works effectively for seals that have hardened, warped, or developed minor gaps. The heat softens the rubber (typically PVC or EPDM), making it pliable enough to reshape. When cooled in the closed position, the seal “remembers” the tighter shape and maintains better contact with the fridge frame.
How long does it take to fix a fridge seal with a hair dryer?
The actual process takes about 15 to 30 minutes, plus 10 minutes of cooling time with the door closed. This includes cleaning, heating targeted areas, reshaping, and testing. Plan for approximately 45 minutes total to complete the full procedure properly.
Can a hair dryer damage the fridge seal?
Yes, if used incorrectly. Using high heat, holding the dryer too close, or concentrating heat in one spot can melt or permanently warp the rubber. Always use low or medium settings, keep the dryer 6 to 8 inches away, and keep the device moving continuously.
How often should I reheat my fridge seal?
Perform this maintenance every 6 to 12 months, or whenever you notice the door feels looser or your refrigerator isn’t cooling as efficiently. Regular maintenance prevents the seal from hardening again and extends the life of the gasket significantly.
When should I replace the fridge seal instead of reheating it?
Replace the gasket if it shows visible cracks, tears, or crumbling rubber, if mold is embedded in the material, or if the paper test fails repeatedly after two or three reheating attempts. Physical damage cannot be fixed with heat alone.
Key Takeaways for Fixing Your Fridge Seal with Hair Dryer
Using a hair dryer to repair refrigerator seal issues is a proven, technician-approved method that restores airtight closure without replacement costs. The process works because rubber gaskets become pliable when heated and “remember” their new shape when cooled under pressure from the closed door.
The most important steps are cleaning the gasket thoroughly before heating, using only low or medium heat while keeping the dryer 6 to 8 inches away, and testing the repair with the paper test at multiple points around the door. Focus heating on problem areas like the inner lip, underside, and any gapped sections.
For best results, repeat this process every six months as preventive maintenance. Replace the gasket only when it shows physical damage like cracks, tears, or brittleness that heat cannot repair. This simple fix keeps your refrigerator running efficiently, reduces energy bills, and extends your appliance’s life.


