
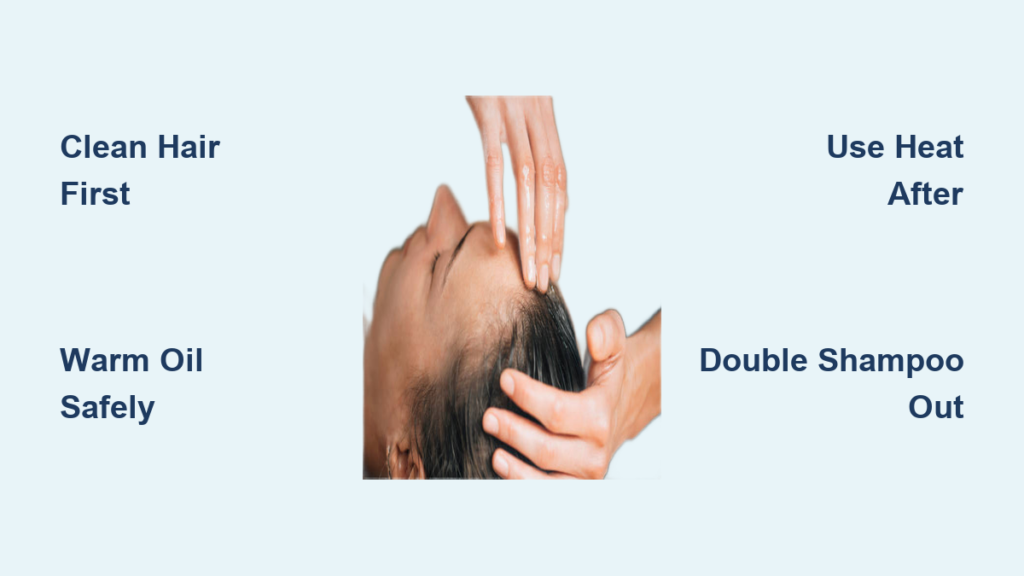
Curly hair thrives on moisture, but its natural spiral shape makes it prone to dryness, frizz, and breakage. Without regular deep conditioning, curls can lose definition and become brittle. A hot oil treatment for curly hair is one of the most effective ways to restore hydration, strengthen strands, and boost shine naturally. By using warmth to open the hair cuticle, oils penetrate deeper into the cortex, delivering essential fatty acids and nutrients where they’re needed most.
This treatment is not just a spa day luxury. Studies show that coconut oil reduces protein loss in both damaged and healthy hair when used as a pre-poo treatment. Whether you have Type 2 waves or Type 4 coils, a well-executed hot oil treatment can transform your hair’s texture, elasticity, and manageability. You will learn exactly which oils work best for your curl type, how to safely warm them, and the step-by-step process for maximum results without buildup or greasiness.
Select the Best Oil for Your Curl Pattern

Choosing the right oil is the foundation of an effective hot oil treatment. Not all oils work the same for every curl pattern, so selecting based on penetration ability and hair porosity matters.
Match oil to your curl type and porosity. High-porosity curls (Types 3C to 4C) benefit from penetrating oils like coconut and avocado, which absorb into the cortex to reinforce weak spots. Low-porosity curls (Types 2 to 3A) need lightweight, non-penetrating oils like jojoba, grapeseed, or argan that seal moisture without sitting heavily on the surface. Fine curls should avoid thick oils like castor and opt for sweet almond or jojoba to prevent limpness. Thick, coarse curls can handle heavier blends with olive, castor, or shea-infused oils.
Consider your specific hair goals when selecting oils. For deep moisture, reach for coconut, avocado, or olive oil. For frizz control, argan, jojoba, and grapeseed work best. For scalp health, use jojoba, tea tree, or rosemary (diluted). For hair growth, combine castor with rosemary essential oil. For damage repair, coconut, vitamin E, and avocado deliver the strongest results.
Always dilute essential oils to 1 to 2 percent, which equals about 3 to 5 drops per tablespoon of carrier oil. This prevents irritation and ensures safe application.
Prepare Your Hair for Maximum Absorption
Proper preparation determines how well your hair absorbs the oil. Skipping this step leads to poor penetration and greasy residue.
Start with clean hair. Shampoo thoroughly to remove product buildup, sebum, and debris. Oils cannot penetrate dirty hair effectively. Use a sulfate-free shampoo if you are sensitive to stripping. This step is non-negotiable for results.
After shampooing, towel-dry or mist with water until hair is damp, not soaking wet. A little moisture helps open the cuticle, enhancing oil penetration without diluting the treatment. Avoid applying oil to dripping-wet hair unless doing a pre-poo treatment before shampooing.
Warm Oil Without Damaging Your Hair
Never apply hot oil to your hair. Excessive heat damages keratin and can burn your scalp. Only warm the oil to the right temperature.
Use a double boiler method for safest results. Pour 2 to 6 tablespoons of oil into a heat-safe bowl. Place the bowl over a pot of simmering water without letting it touch the water. Heat for 2 to 5 minutes until the oil reaches 100 to 110°F (38 to 43°C). Stir gently if using a blend.
An alternative method is a hot water bath. Place the sealed oil bottle in hot (not boiling) water for 5 to 10 minutes. Swirl to mix separated ingredients.
If you must use a microwave, use a microwave-safe container and heat in 10-second bursts. Stir and test temperature before use. Never microwave bottles with metal parts.
Always test the oil on your wrist or inner elbow. It should feel warm and soothing, never hot.
Apply Oil Evenly Across All Sections
Dividing hair into sections ensures every strand gets coated and prevents missed spots.
Clip hair into 4 to 6 sections based on thickness. Use an applicator bottle for precision. Begin at the ends, which are the oldest and most damaged part. Work toward mid-lengths and roots. For scalp focus, massage directly into the scalp with fingertips.
Use 5 to 6 tablespoons total, adjusting for length and density. A little goes a long way with hot oil treatments.
Massage Scalp and Distribute Oil Thoroughly
Massaging serves two purposes: scalp health and even oil distribution.
Spend 3 to 5 minutes massaging your scalp in circular motions. This boosts circulation, delivering nutrients to follicles and potentially supporting growth, especially with oils like rosemary and castor.
Use fingers or a wide-tooth comb to spread oil evenly from roots to tips. Focus on high-porosity zones, split ends, and areas prone to dryness.
Add 1 to 2 drops of vitamin E oil to your blend for extra antioxidant benefits and as a natural preservative.
Trap Heat for Deeper Oil Penetration
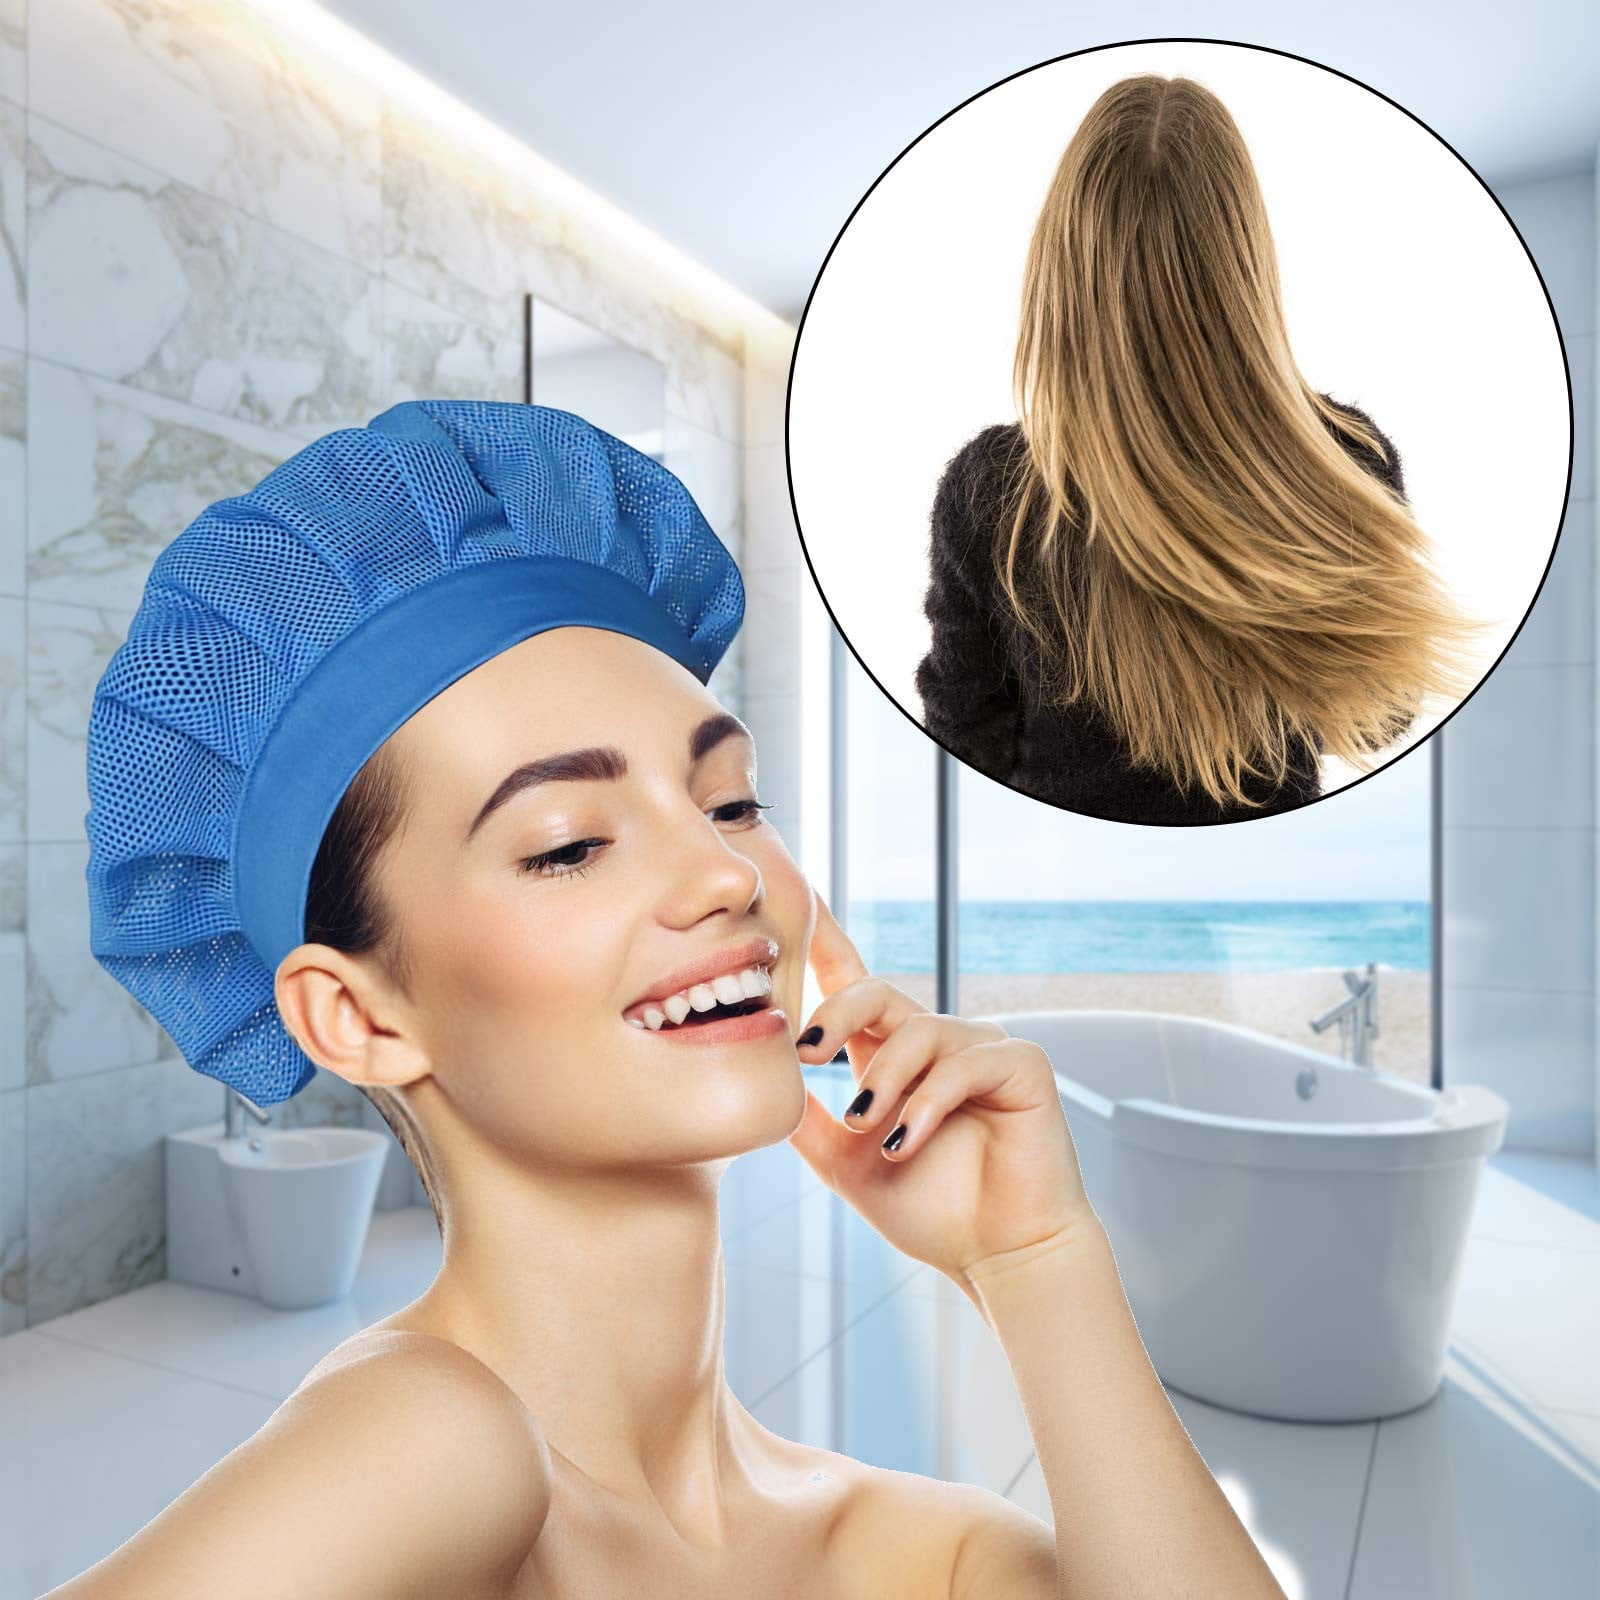
Heat is essential for opening the cuticle and allowing oils to penetrate deeply. Without it, oil sits on the surface.
Cover hair with a plastic shower cap to seal in warmth and prevent oil transfer to clothes or furniture. Then apply external heat. A hooded dryer on low for 20 to 30 minutes works well. A microwavable hot cap is another option. Hold a blow dryer at a safe distance on cool or low setting. For a simple method, soak a towel in hot water, wring it out, and wrap it around your head.
Without heat, penetration drops significantly, so do not skip this step.
Leave Oil On for the Right Duration
Most curly hair types benefit from 20 to 30 minutes under heat. This gives oils enough time to absorb without risking buildup.
For damaged or high-porosity hair, extend the treatment to 1 to 2 hours. For Type 4 or severely dry curls, try an overnight treatment. Cover with a plastic cap and a satin bonnet or sleep on a satin pillowcase. Wash out in the morning.
Wash Out Oil Completely
Rinse thoroughly under lukewarm water to loosen the oil. Do not expect it to wash out completely on the first rinse.
Heavy oils like coconut and castor require two shampoos. The first shampoo breaks down the oil. The second shampoo removes residue and prevents buildup. Use a clarifying shampoo weekly if you do frequent treatments.
For fine or low-porosity curls that feel stripped after double shampooing, follow with a cleansing conditioner (co-wash) instead.
Follow With Conditioner and Style as Usual
Even after oiling, follow with a deep conditioner or regular rinse-out. This layers hydration and locks in benefits.
Apply a leave-in conditioner to further seal moisture and prepare for styling. Expect softer, bouncier curls with reduced frizz and flyaways. Enhanced shine and definition will be visible, and detangling will be much easier.
Many users report needing less gel or cream post-treatment due to improved moisture retention.
Determine Treatment Frequency for Your Hair
How often you do a hot oil treatment depends on your hair type and condition.
For dry, damaged, high-porosity hair, treat weekly. For healthy, normal curls, every 1 to 2 weeks works well. For fine or low-porosity curls, stretch to every 2 to 4 weeks. For chemically treated hair (color, relaxer), weekly or bi-weekly is ideal. For growth-focused routines with scalp massage, 1 to 2 times per week is recommended.
Overuse causes buildup, dullness, and clogged follicles. Adjust based on how your scalp and hair respond.
Skip These Common Mistakes
Several mistakes can undermine your hot oil treatment. Avoid them for the best results.
Skipping shampoo first blocks oil absorption. Always cleanse before treating. Overheating the oil damages proteins and can burn your scalp. Use too much oil leads to greasiness and hard-to-remove residue. Skipping heat after application means oil sits on the surface instead of penetrating. Using the wrong oil for your hair type weighs down fine curls or fails to nourish coarse ones. Reusing leftover oil introduces bacteria and scalp debris.
Try These Custom DIY Oil Blends
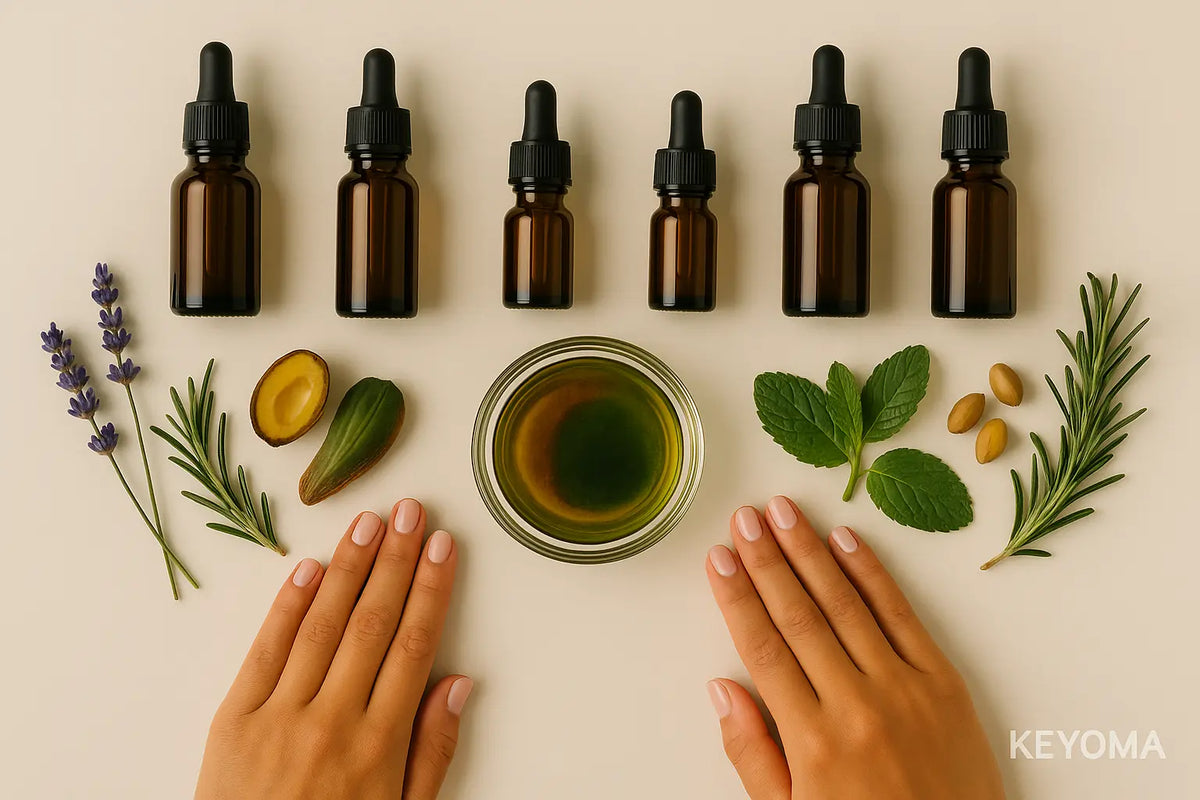
Custom blends let you target multiple concerns. Here are three proven recipes.
For universal moisture and growth, combine 1 oz castor oil, 1 oz olive oil, 1 oz jojoba oil, 1 oz sweet almond oil, 20 drops argan oil, and 10 drops peppermint essential oil. This blend is ideal for thick, dry curls and growth support.
For lightweight frizz control on low-porosity hair, mix 2 tbsp jojoba oil, 1 tbsp grapeseed oil, 1 tbsp argan oil, and 3 drops lavender essential oil. Perfect for fine or easily weighed-down curls.
For deep repair on Type 4 hair, blend 2 tbsp coconut oil, 1 tbsp avocado oil, 1 tbsp castor oil (diluted), and 5 drops rosemary essential oil. Use with heat and leave overnight for maximum impact.
Test for Allergic Reactions First
Before trying a new oil or blend, always do a patch test. Apply a small amount to your inner elbow or behind your ear. Wait 24 hours. If redness, itching, or swelling occurs, discontinue use.
This is especially important with essential oils and neem oil, which can irritate sensitive skin.
People with oily scalps or acne-prone skin should avoid heavy oils like castor and focus application on ends only. Those with active scalp conditions like psoriasis or eczema should consult a dermatologist first. Sensitive skin individuals should dilute essential oils further or skip strong ones like peppermint.
Choose Between DIY and Store-Bought
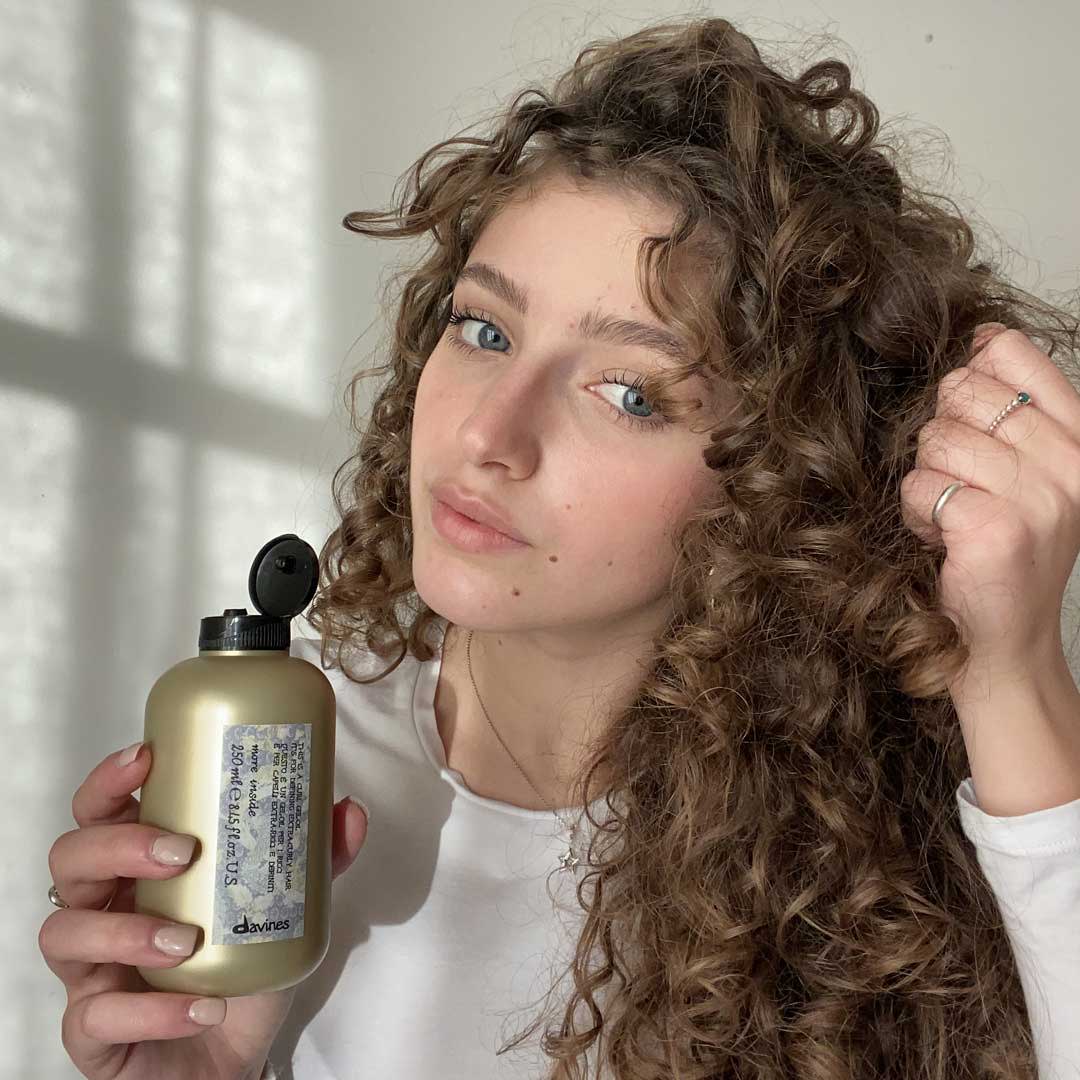
DIY treatments offer 100 percent natural ingredients, full customization, and lower cost. Store-bought options provide convenience and consistent formulation but may contain silicones or fragrances.
Top store-bought options include Davines NOUNOU Oil (rich in shea and coconut, great for dry processed curls), Flora & Curl Hair Elixir (natural blend with citrus and mint, highly rated for shine), and Coco Curls Pre-Poo Oil (tropical-infused, ideal for Type 3 to 4 hair).
Use Special Techniques for Specific Needs
A pre-poo treatment involves applying oil to dry or damp hair before shampooing. It forms a protective barrier against stripping agents, reducing hygral fatigue and breakage. Leave on for 30 minutes or longer before washing.
For scalp-only treatments, use light oils like jojoba or argan and massage only the scalp. This is great for dandruff, thinning, or itchiness.
For a leave-in shine boost, warm 1 to 2 drops of argan or jojoba in your palms. Apply to ends or edges of dry hair for instant shine and frizz control.
Before swimming, coat hair with oil to create a hydrophobic barrier against chlorine and saltwater damage.
Store Oil Blends Properly
Keep unused oil blends in a cool, dark place, not the bathroom where humidity causes rancidity. Use within 3 to 6 months. Add 1 to 2 drops of vitamin E per ounce to extend shelf life. Label bottles with the date and ingredients.
Never store in clear plastic or near sunlight.
Key Takeaways for Hot Oil Treatment Success

A hot oil treatment for curly hair is a simple, powerful ritual that delivers salon-quality results at home. When done right, with the correct oil, safe warming, heat exposure, and thorough cleansing, it transforms dry, frizzy curls into soft, defined, resilient coils.
The most important success factors are using penetrating oils like coconut and avocado for deep nourishment, applying to clean, damp hair for best absorption, always using heat after application, double-shampooing to avoid buildup, and customizing frequency based on your hair is needs.
With consistent use every 1 to 2 weeks, your curls will feel stronger, look shinier, and behave better with less frizz, breakage, and styling effort. Whether you go DIY or choose a trusted brand, this treatment is a cornerstone of healthy curly hair care. Start tonight and wake up to revitalized, bouncy curls.
Frequently Asked Questions About Hot Oil Treatments for Curly Hair
Should I wash my hair before a hot oil treatment?
Yes. Clean, damp hair absorbs oil much more effectively. Shampoo first to remove buildup, then apply warm oil to damp strands.
Can hot oil treatments help with hair growth?
Yes. Scalp massage increases blood circulation, and oils like castor and rosemary nourish follicles, potentially supporting growth over time.
How long should I leave the oil in my hair?
Standard treatment is 20 to 30 minutes. For deep repair on damaged or high-porosity hair, leave on for 1 to 2 hours or overnight.
Can I do a hot oil treatment on dry hair?
Yes, especially for a pre-poo treatment. If hair is dry, mist with water first to slightly dampen before applying oil.
Do I need to shampoo after a hot oil treatment?
Yes. Always shampoo to remove excess oil and prevent buildup. Heavy oils may require double shampooing.
Can I reuse leftover oil from my treatment?
No. Discard any unused oil after treatment to avoid bacterial contamination from scalp debris.
Are hot oil treatments safe for color-treated curly hair?
Yes. They help seal the cuticle and protect color. Use gentle oils like argan or jojoba for best results.
Can I use a hot oil treatment while wearing protective styles?
Yes. Apply oil to the scalp through parted sections. Avoid soaking synthetic extensions, but human hair weaves can tolerate oil.



