
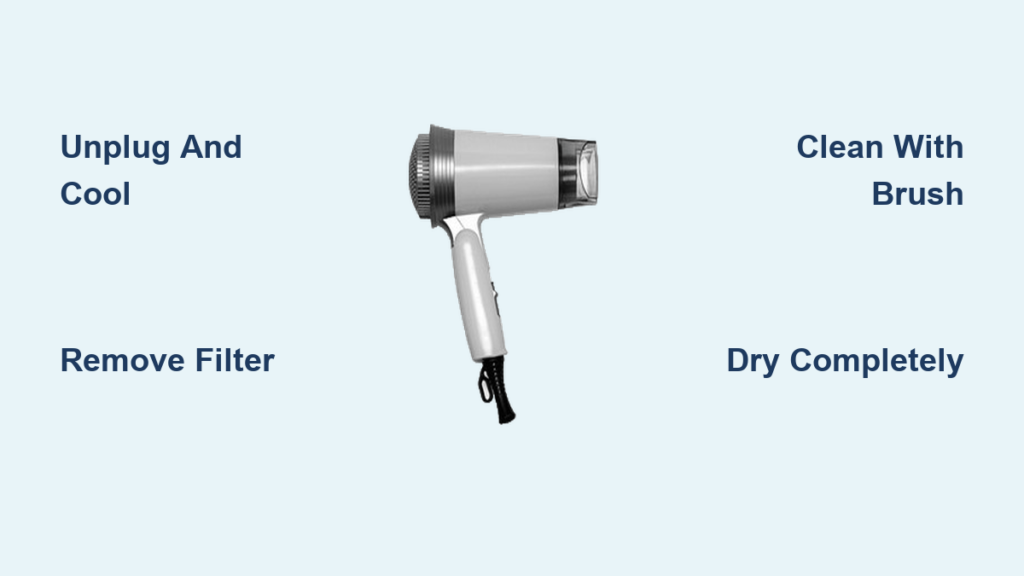
If your hair dryer takes longer to dry your hair, feels unusually hot, or starts emitting strange smells, the culprit is likely a clogged air intake filter. Cleaning a hair dryer filter is one of the simplest yet most critical maintenance tasks for any household or professional styling tool. Over time, lint, hair, dust, and styling product residue accumulate on the filter, restricting airflow and forcing the motor to overwork. This not only reduces performance but also increases the risk of overheating, fire, and premature device failure.
The good news? A thorough cleaning takes just 5 to 10 minutes and can restore your dryer’s efficiency, extend its lifespan by years, and improve hygiene. Whether you own a budget-friendly model or a premium Dyson Supersonic, this guide delivers a complete, step-by-step process to safely and effectively clean your hair dryer filter using common household tools.
Why Cleaning Your Hair Dryer Filter Matters
A dirty filter creates multiple problems that affect both your dryer and your health. When lint and debris accumulate on the air intake, airflow becomes restricted, forcing the motor to work harder to maintain heat and airflow. This leads to longer drying times, inconsistent heat, and increased energy consumption.
The fire hazard risk is particularly concerning. Lint is highly flammable, and accumulated debris near hot heating elements can ignite under extreme conditions. Some users have reported seeing small flames shoot out the back of their dryers when filters are neglected.
Beyond safety, a dirty filter harbors bacteria, fungi, and mold due to moisture and organic matter like hair and skin cells. These contaminants can transfer to your scalp, leading to dandruff, irritation, or even infections. Regular filter cleaning prevents these hygiene issues while extending your dryer’s lifespan from 2 to 3 years to 7 or more years with proper care.
Locate the Air Intake Filter on Your Dryer

The air intake filter is almost always located on the rear housing of the hair dryer, behind a removable grille, cap, or mesh-covered vent. Do not confuse this with the front nozzle, as air enters through the back and exits through the front.
Different models use different mechanisms to secure the filter cover. Twist-off models rotate counterclockwise and are the most common. Slide-and-lock models require pushing upward to align with an arrow before pulling off. Snap-on models use plastic clips that release with gentle pressure around the edges. Screw-secured models require a small Phillips screwdriver to remove the screws.
If the filter is stuck due to compacted dust, use a thin flathead screwdriver or needle-nose pliers to gently pry the edge. Never force it, as this can crack the housing. Always unplug the dryer and wait at least 30 minutes after last use before attempting any disassembly to prevent electric shock and burns.
Gather the Right Cleaning Tools
You do not need specialty products. Most items are already in your home. Essential tools include a soft-bristled toothbrush for scrubbing, a microfiber cloth for wiping, a vacuum with narrow nozzle or crevice tool, canned compressed air, and toothpicks or wooden skewers for picking out tangled hair.
For wet cleaning when the filter is removable, gather lukewarm water, mild dish soap or clarifying shampoo, and a clean towel. Never use boiling water, as it can warp plastic. Avoid metal tools that can puncture the filter mesh, solvents or bleach that damage plastic and coatings, and never submerge the entire dryer, which causes short circuits.
The best cleaning sequence is brush first, vacuum second, and finish with compressed air. This combination removes approximately 98% of buildup and is effective for most cleaning sessions.
Dry Cleaning Method for Routine Maintenance

Use dry cleaning methods for routine maintenance every 2 to 4 weeks or when lint buildup is light. Start by brushing the filter mesh with a soft toothbrush, scrubbing in one direction to push debris outward. For stubborn clumps, use circular motions to loosen particles.
Next, vacuum loose debris by attaching a crevice tool to your vacuum and holding it close to both sides of the filter. For deeper cleaning, insert the vacuum hose into the front nozzle and use blower mode if available to reverse airflow and expel debris from the back.
Use compressed air as a final step. Spray short bursts from the front nozzle toward the back intake. Hold the can upright to prevent liquid discharge. This pushes trapped dust out through the filter.
For any remaining hair tangles, use toothpicks or wooden skewers to gently dislodge compacted hair or lint balls. An electric toothbrush can cut cleaning time by 60% on heavily soiled filters.
Wet Cleaning Method for Deep Buildup
Use wet cleaning when the filter is coated with product residue or appears dark and greasy. First, remove the filter by twisting, sliding, or unscrewing the back cover. Place screws on a flat surface if applicable.
For removable filters, rinse under lukewarm running water while applying a drop of dish soap or clarifying shampoo. Scrub gently with a toothbrush, then rinse until water runs clear with no suds or debris remaining.
For non-removable filters, dampen a microfiber cloth with distilled water or rubbing alcohol and wipe the surface lightly. Do not soak the filter, as moisture must not enter internal components.
Dyson Supersonic users should use clarifying shampoo, rinse thoroughly, and never use compressed air directly on the wet filter. Always air-dry completely before reassembly.
Dry the Filter Completely Before Reassembly
Moisture in electrical components can cause short circuits, corrosion, or permanent failure. Never skip this step. Start by shaking off excess water, then pat dry with a clean towel.
Air-dry the filter for 8 to 24 hours in a well-ventilated area. Place it near a fan or in direct sunlight to speed drying. Alternatively, seal the filter in a bag with uncooked rice for 8 to 12 hours to absorb residual moisture.
Test for dryness by touching all surfaces for damp spots and holding the filter up to light for visible water droplets. Never reassemble or power on the dryer until the filter is 100% dry. Operating a wet dryer can destroy the motor or create a shock hazard.
Clean the Interior and Exterior
Even with the filter removed, lint hides inside the intake chamber. Shine a flashlight into the vent to locate debris. Use compressed air to blow out dust, then follow with a cotton swab or toothbrush to clean around the fan and heating element.
Vacuum with low suction to remove loosened debris. Do not insert tools deeply, as you could damage internal wiring.
While the filter dries, wipe down the exterior with a damp microfiber cloth. Use mild soapy water, diluted dish detergent, or rubbing alcohol. Wipe the handle, buttons, switches, and power cord. Use a cotton swab for crevices.
Never submerge any part of the dryer in water. Clean attachments like nozzles and diffusers separately by soaking in warm water with clarifying shampoo, scrubbing with a soft brush, and air-drying completely before storing.
Reassemble and Test Your Dryer
Reinstall the filter correctly based on your model type. For twist-on models, screw clockwise until snug without overtightening. For slide-and-lock models, align the arrow with the line and push down until it clicks. For snap-on models, press evenly until fully seated. Replace screws if applicable.
Plug in the dryer and test on a cool setting, pointing downward. This blows out any residual particles. Confirm proper function by checking for smooth, strong airflow, no vibration or grinding noise, and normal heat output after 10 seconds.
Never operate the dryer without the filter or with a loose or warped filter. This increases fire and motor failure risks significantly.
Set a Filter Cleaning Schedule
Match your cleaning frequency to usage level. Occasional use (once per week) requires filter cleaning every 2 to 3 months and deep interior cleaning every 6 months. Regular daily use requires monthly filter cleaning and interior cleaning every 3 to 6 months. Heavy use in salons or shared households requires weekly filter cleaning and interior cleaning every 3 months.
Clean immediately if you notice increased drying time, excessive heat or burning smell, unusual grinding or rattling noises, or sudden shutdowns. Set a phone reminder every 4 weeks to maintain consistency. This habit can double your dryer’s lifespan.
Know When to Replace Your Hair Dryer
Replace immediately if you see smoke, sparks, or a burning smell, notice exposed wires or a damaged plug, hear loud grinding or vibration, or experience repeated shutdowns after cleaning.
Consider replacement if the dryer takes twice as long to dry your hair, shows no performance improvement after thorough cleaning, or exceeds expected lifespan. Basic models typically last 2 to 3 years, while premium models like Dyson can last 7 to 8 years with proper maintenance.
A $400 Dyson can last over 7 years with regular filter cleaning, but skipping maintenance cuts that lifespan in half. Regular filter care is the number one thing you can do to extend your dryer’s life.
Frequently Asked Questions About Cleaning a Hair Dryer Filter
How often should I clean my hair dryer filter?
Clean the filter every 2 to 4 weeks for regular home use. Weekly cleaning is recommended for heavy use in salons or households where multiple people use the dryer daily.
Can I use my hair dryer without the filter?
Never operate a hair dryer without the filter. Running without the filter increases fire risk and allows debris to enter the internal motor and heating components, causing permanent damage.
What happens if I don’t clean my hair dryer filter?
A dirty filter causes reduced airflow, longer drying times, overheating, increased energy consumption, potential fire hazard from accumulated lint near heating elements, and hygiene issues from bacteria and mold buildup.
Can I wash the filter with water?
Removable filters can be washed with lukewarm water and mild soap. Non-removable filters should be wiped with a damp cloth. Always air-dry completely for 8 to 24 hours before reassembling.
Why does my hair dryer smell burnt?
A burnt smell usually indicates accumulated lint or debris on the filter overheating. Stop using the dryer immediately, unplug it, and clean the filter thoroughly. If the smell persists after cleaning, the motor may be damaged.
Key Takeaways for Maintaining Your Hair Dryer Filter
Cleaning your hair dryer filter is a 5-minute task that delivers years of benefits. It restores performance by improving airflow and heat consistency, prevents fire hazards by removing flammable lint near heating elements, protects your scalp health by eliminating bacteria and fungi, and saves money by extending your dryer’s lifespan.
Always unplug and cool the dryer before cleaning, use the appropriate removal method for your model, choose dry or wet cleaning based on buildup level, and allow 8 to 24 hours for complete drying before reassembly. Repeat every 2 to 4 weeks depending on usage frequency.
Whether you use a $60 basic dryer or a $499 Dyson, regular filter care is the most important maintenance task. Unplug, remove, clean, dry, reassemble, and repeat. Your dryer will deliver faster, safer, healthier drying for years to come.



