
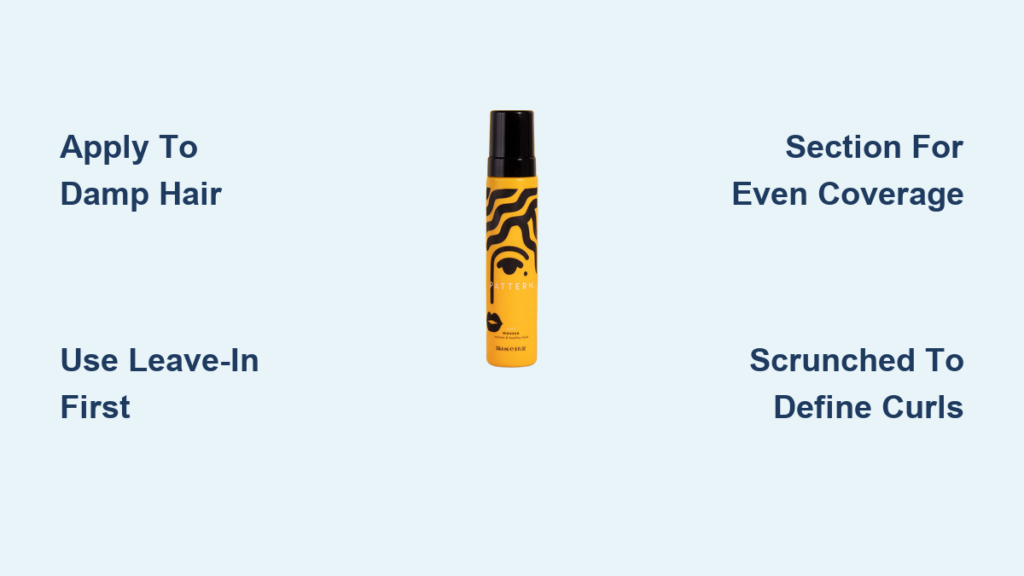
If your curls feel flat, undefined, or frizzy after styling, the issue might not be your hair. It could be how you’re applying your mousse. Using hair mousse correctly can mean the difference between limp strands and bouncy, voluminous waves that last all day. Unlike heavy gels or creams, mousse adds lightweight support, enhances definition, and boosts volume without crunch when applied the right way.
This guide reveals the proven method for applying hair mousse to curly hair, step by step. You’ll learn how to prep your curls, choose the best mousse, apply it for maximum definition and volume, and dry it properly so your curls look salon-fresh instead of weighed down or stiff.
Prep With Hydrating Wash and Condition
Start with a clean, moisturized base. Curly hair thrives on hydration, and mousse works best when layered over damp, conditioned strands.
Use Sulfate-Free Cleanser
Wash hair with a sulfate-free shampoo designed for curls. Harsh sulfates strip natural oils, leading to dryness and frizz. Focus on the scalp, letting suds rinse through the lengths.
For low-porosity or fine curls, consider co-washing to maintain moisture balance and reduce buildup. Focus cleanser on the scalp where oil and product buildup accumulate, then let the residue flow through the lengths as you rinse.
Deep Condition for Slip
Follow with a hydrating, detangling conditioner. Apply from mid-lengths to ends where hair needs the most repair. Use a wide-tooth comb or fingers to gently detangle while the product sits.
Leave the conditioner in for 3 to 5 minutes, then rinse with cool water to seal the cuticle and boost shine. Cool water helps lock in moisture and creates a smoother surface for styling products to grip.
Layer Hydration Before Mousse
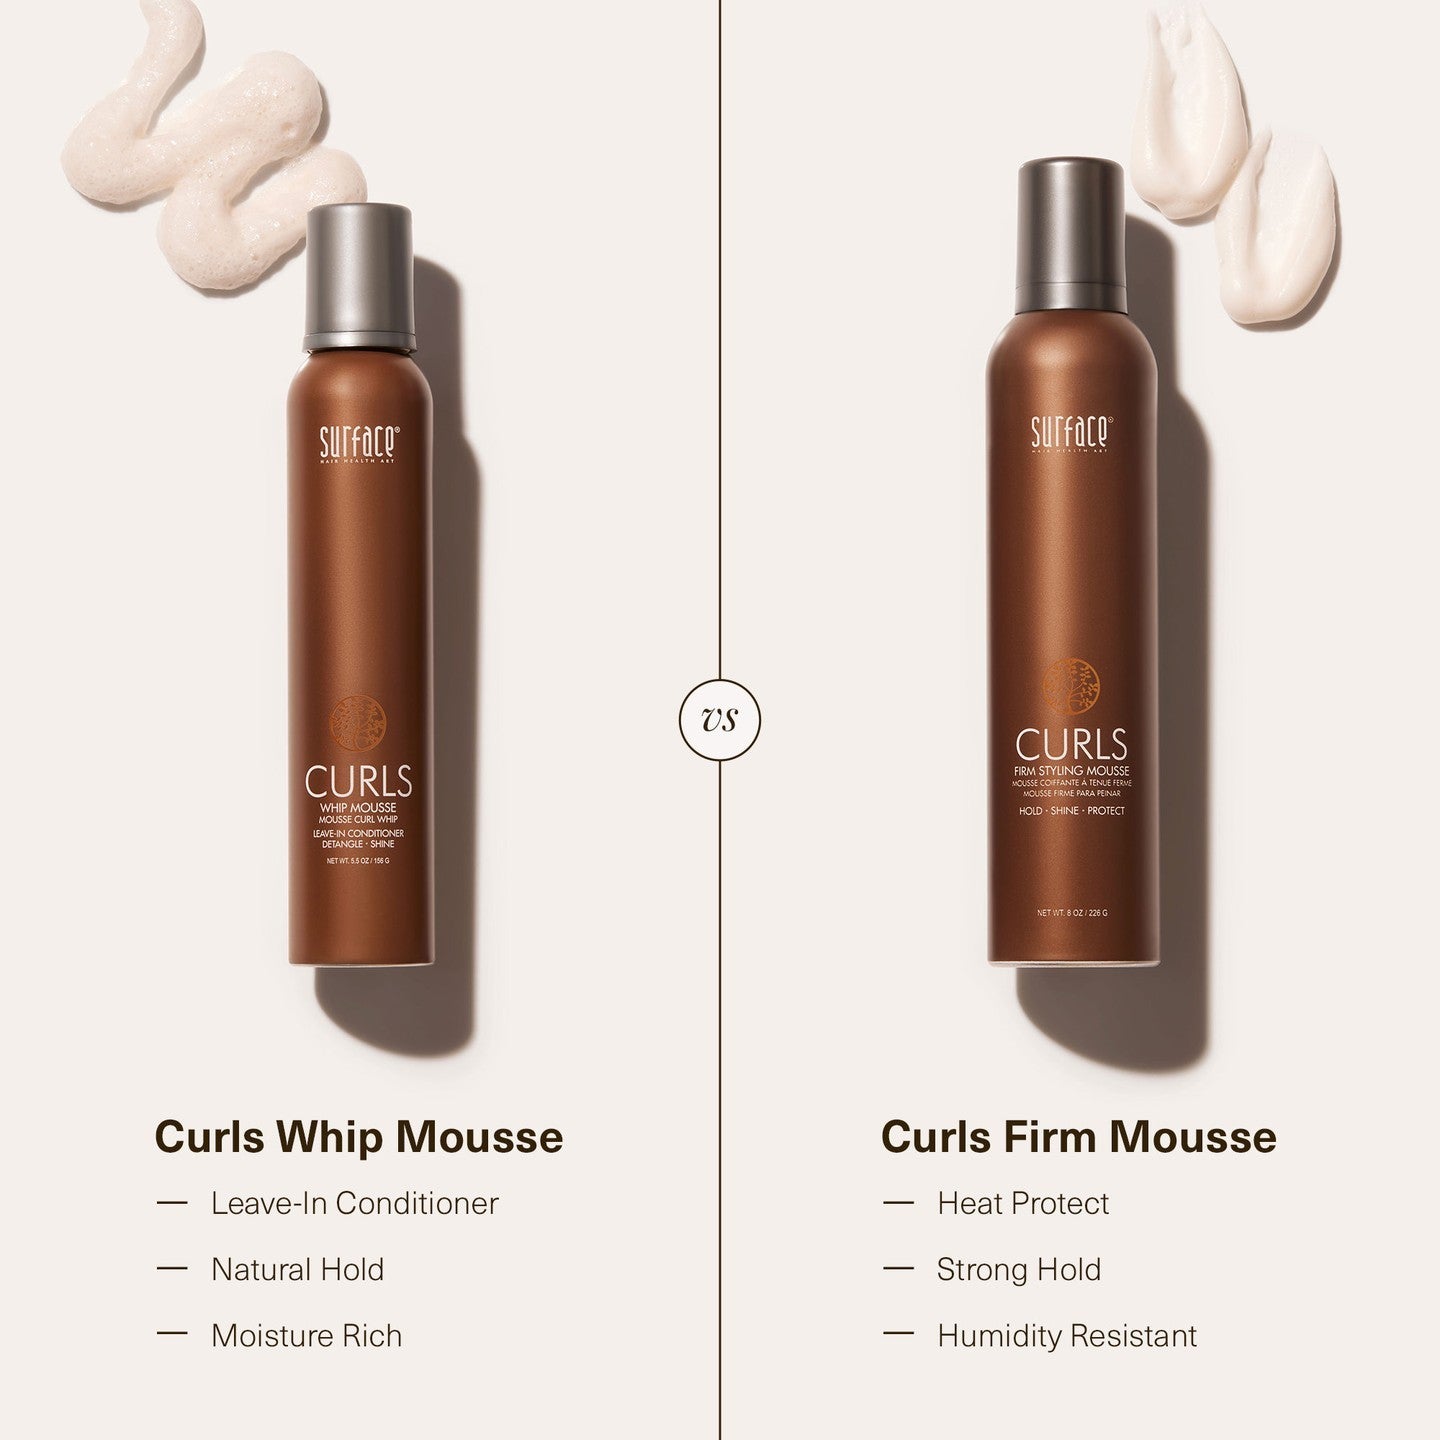
Mousse is not a moisturizer. It is a styler. Applying it directly to hair without a hydrating base leads to dryness and poor curl formation.
Apply Leave-In Conditioner First
On soaking wet hair, use a leave-in conditioner or curl-defining cream. This locks in moisture and creates a smooth surface for mousse to grip.
Apply a palm-sized amount, adjusting for your hair length and density. Use the raking method by gliding fingers from roots to ends to evenly coat each section. Focus extra product on the back of your head where the nape area often gets neglected and turns frizzy.
For fine curls, choose lightweight formulas with pro-Vitamin B5 or hydrolyzed proteins to strengthen without weighing hair down.
Why Layering Matters
Skipping this step is the number one cause of mousse-related frizz. Without proper hydration, curls lack clump formation, mousse sits on top instead of integrating, and hair dries brittle and undefined.
Always layer in this order: water first, then cream or leave-in, then mousse. This creates the ideal canvas for product performance.
Remove Excess Water Gently
Excess water dilutes product and prolongs drying time. But rough towel-drying causes frizz and disrupts curl patterns.
Blot With Microfiber or Cotton Tee
Use a microfiber towel or clean cotton T-shirt to gently squeeze out water. Avoid rubbing or twisting hair. Instead, scrunch upward from ends to scalp to encourage natural curl clumping.
Cotton towels have a rough texture that lifts the cuticle. Microfiber or cotton tees are smoother and less damaging to curly hair.
Plop for Definition
Plopping speeds up drying while enhancing curl shape and reducing frizz. Lay a microfiber towel or T-shirt flat, then flip hair forward onto the fabric. Wrap both sides over the top of your head and tie at the crown. Leave for 15 to 30 minutes, adjusting based on your hair thickness.
Less time works better for fine hair, while thicker curls can handle the full duration. Plopping helps set curl formation before styling and removes excess moisture without disruption.
Section Hair for Even Coverage
Applying mousse to unsectioned hair leads to patchy results, especially in thick or long curls.
Divide Into 2 to 4 Sections
Clip the top half of your hair up, leaving the bottom layer free. Work in quadrants if you have dense curls. Use duckbill clips to secure sections and always unclip one section at a time to maintain moisture.
The nape and crown are common frizz zones. Give them extra attention during application. Sectioning ensures every strand receives product.
Apply Mousse Correctly
Now it is time to apply the mousse using the right amount and technique.
Use the Right Amount
Start with a walnut-sized amount or 2 to 3 pumps for fine or short curls. Use 5 pumps or a golf ball-sized foam for medium to thick curls. Adjust based on your porosity. High-porosity hair may need more product, while low-porosity hair needs less.
Too much mousse causes buildup and flattening. Start small and add more only if needed.
Activate the Foam
Shake the bottle and dispense into your palms. Rub hands together to warm and activate the foam. This helps it spread evenly through your hair.
Blot, Don’t Rub
Use the blotting method for even distribution. Gently press palms into hair, starting at mid-lengths. Lift and re-blanket foam into new areas without dragging. Flip your head side to side to coat hidden layers underneath.
Blotting prevents frizz and ensures full coverage without disturbing curl clumps.
Rake and Scrunch for Definition
After blotting, rake your fingers vertically through sections to separate and coat curls. Then scrunch by cupping hair in your hands and squeezing upward toward the scalp.
Repeat scrunching until white residue begins to disappear. Scrunching lifts roots for volume and activates natural curl spirals.
Build Hold Gradually
Mousse offers buildable hold, so you can customize your style intensity.
Add a Second Layer
For extra definition or volume, apply a smaller amount of mousse, about half your initial dose. Focus on roots for lift or ends for tighter coils. Re-scrunch gently after each layer.
Two layers are usually enough. More than that can weigh down curls.
Layer With Gel for Extra Hold
For strong hold or humid climates, combine mousse with gel.
Use Mega-Hold Gel Sparingly
Apply a dime-sized amount of curl gel after mousse. Smooth over ends or frizz-prone areas. Do not rinse out.
This combo gives gel-like definition without the crunch. It works well for thick, coarse, or high-frizz hair. Fine curls usually do not need gel. Stick to mousse alone for a soft, airy finish.
Dry Without Touching

How you dry your hair is just as important as how you style it.
Diffuse on Low Heat
Using a diffuser preserves curl shape and minimizes frizz. Attach the diffuser to your dryer and set to medium heat with low speed. Place sections into the bowl without rubbing. Hold the nozzle near roots to lift volume. Dry each section until completely dry.
Never touch your curls while diffusing. Touching breaks clumps and creates frizz.
Air-Dry Undisturbed
For natural softness, let hair dry on its own. Flip your head upside down and clip at the crown to boost root lift. Keep hands out until hair is 100% dry.
Air-drying takes longer but results in softer, more defined curls.
Finish With Final Touches
Once hair is fully dry, it is time to perfect your style.
Break the Cast
Some mousses leave a light film, especially when combined with gel. Once dry, scrunch with clean hands to break the cast. This removes stiffness and reveals soft, bouncy curls.
Never break the cast before hair is completely dry. Doing so causes frizz.
Boost Volume at Roots
For extra lift, flip your hair over and shake gently at the roots. Alternatively, apply a drop of sea-salt spray at the crown.
Avoid heavy oils or serums at the scalp. They flatten volume.
Prevent Common Mistakes
Even with the right product, small errors can ruin your curl routine.
Do not apply mousse to dry hair. Mousse needs moisture to spread evenly. On dry hair, it clumps and flakes. Fix this by misting hair with water before reapplying during refreshes.
Do not skip sectioning. Unsectioned application leads to missed spots, especially at the back. Always clip hair into 2 to 4 parts before styling.
Do not overuse product. Too much mousse equals buildup, weight, and dullness. Start with less and build only if needed.
Do not touch while drying. Hands cause frizz and disrupt curl formation. Use clips or pins to adjust your style instead of fingers.
Refresh Curls Between Washes
Mousse is perfect for reviving second or third-day curls.
Quick Refresh Method
Mist hair with water or a hydrating spray. Apply a pea to dime-sized amount of mousse to your palms. Scrunch into roots and ends. Air-dry or diffuse for 5 to 10 minutes.
This method works best on non-oily curls. Avoid refreshing if your scalp feels greasy.
Choose the Right Mousse

Not all mousses work for curls. Pick one designed for your hair type.
What to Look For
Choose a lightweight foam texture with hydrating ingredients like glycerin, pro-Vitamin B5, and aloe vera. Look for proteins like rice water or keratin for strength. Select flexible hold rather than stiffness. Pick alcohol-free or low-alcohol formulas.
Recommended options include Delicious Curl by I Love Riccio or a volumising curl mousse with rice protein.
What to Avoid
Avoid heavy, sticky formulas. Avoid high-alcohol mousses that dry out curls. Avoid sulfates and silicones if you follow the Curly Girl Method.
Check labels before buying.
Maximize Volume and Definition
Want salon-level results? Use these pro enhancements.
Flip your head upside down during mousse application and scrunching. This lifts roots, boosts volume, and encourages your natural curl pattern.
After applying mousse, smooth curls with flat palms using the praying-hands method to align strands and reduce frizz.
For extra definition, gently glide a wide-tooth comb through sections while hair is loaded with product. Do this only once. Repeated combing causes frizz.
Expected Results
When applied correctly, hair mousse delivers high volume at the roots, defined springy curls with natural bounce, a shiny frizz-free finish, lightweight feel without crunch, all-day hold without stiffness, and soft texture after the cast is broken.
Users with fine curls report body without flattening. Thick curls love the blend of mousse and gel for humidity-resistant styles.
Final Thoughts on Applying Mousse for Curly Hair
Consistency transforms curls. Regular use of mousse, applied the right way, improves curl memory, reduces frizz, and enhances your natural beauty. Listen to your hair and adjust amounts, timing, and layering based on your texture, weather, and daily needs.
With this guide, you are not just styling your curls. You are elevating them.
Frequently Asked Questions About Applying Hair Mousse for Curly Hair
Should I apply hair mousse to wet or dry hair?
Apply mousse to damp or wet hair, not dry hair. Wet hair allows the mousse to distribute evenly and grip the curl pattern. On dry hair, mousse clumps and flakes instead of defining curls.
How much hair mousse should I use for curly hair?
Use a walnut-sized amount or 2 to 3 pumps for fine or short curls. Use 5 pumps or a golf ball-sized amount for medium to thick curls. Start with less and add more only if needed to avoid buildup.
Can I use hair mousse on fine curly hair?
Yes, use a lightweight mousse with hydrating ingredients like pro-Vitamin B5. Start with a small amount to avoid weighing down fine curls. Mousse adds volume and body without flattening fine hair.
Do I need to use gel with hair mousse?
You do not need gel unless you have thick, coarse hair or live in a humid climate. For extra definition and hold, apply a dime-sized amount of curl gel after mousse. Fine curls usually do fine with mousse alone for a soft finish.
How do I keep my curls from getting frizzy after applying mousse?
Keep curls hydrated by applying leave-in conditioner before mousse. Use a microfiber towel or cotton T-shirt to dry instead of a regular towel. Never touch your hair while it dries. Break the cast only after hair is completely dry.



