

If your morning routine ends with towel-dried hair and a quick swipe of product, you’re skipping the most powerful tool in men’s styling. Learning how to style hair with blow dryer guys rely on transforms flat, shapeless hair into polished, voluminous styles in under 10 minutes. Whether you want a sharp side part, a textured quiff, or effortless tousled waves, blow-drying creates the foundation that makes any style last.
This guide breaks down exactly how men can master blow-drying at home using simple tools, proven techniques, and professional barber secrets. You’ll learn the right products, heat settings, and step-by-step methods to transform damp hair into a styled masterpiece.
Why Blow-Dry? The Real Impact on Men’s Hair
Blow-drying isn’t just about drying hair. It’s about control. Damp hair is malleable, and heat locks in direction, shape, and volume. Without it, your hair dries in its natural, often messy pattern.
Reset Your Hair’s Natural Growth Direction
Hair grows in unpredictable directions. Cowlicks, flat crowns, and stubborn side parts make styling difficult. Blow-drying lets you override these patterns. By directing airflow and tension with a brush, you train hair to fall exactly where you want.
Add Volume and Lift at the Roots
Flat hair kills confidence. Root lift from blow-drying creates fullness at the crown, essential for modern styles like quiffs, pompadours, and textured crops. Pulling hair upward with a round brush while applying heat makes thin hair look thicker and more dynamic.
Enhance Texture and Reduce Frizz
Blow-drying smooths the hair cuticle, reducing frizz and boosting shine. The cool shot button seals the cuticle after heat styling, locking in shape and adding a polished finish. For wavy or curly hair, partial blow-drying with a diffuser enhances natural texture.
Essential Tools for Men’s Blow-Drying
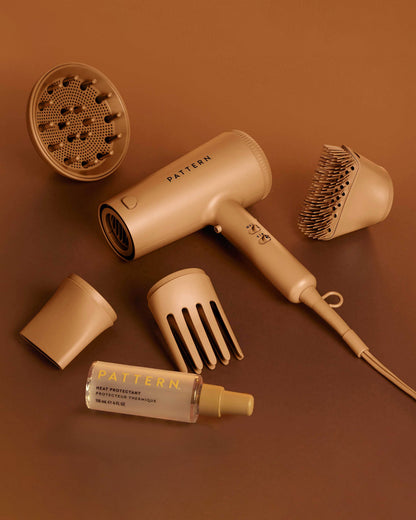
Getting salon-quality results starts with the right equipment.
Choose the Right Blow Dryer
Not all dryers deliver the same results. Look for these features:
- Ionic or ceramic technology to reduce frizz and distribute heat evenly
- Multiple heat and speed settings for different hair types
- Concentrator nozzle to focus airflow for precision styling
- Cool shot button to lock in style and add shine
- Lightweight design for easy one-handed handling
Select the Correct Brush for Your Style
Your brush determines your outcome. Match it to your goal:
- Round brush: Best for volume, lift, and curl at ends
- Vented brush: Best for sleek styles and quick drying
- Boar-bristle brush: Best for shine and smoothing fine hair
- Mixed bristle brush: Best for thick, coarse, or resistant hair
- Wide-tooth comb: Use first to gently detangle wet hair
Fingers work too, especially for textured, messy styles. Simply lift and dry at the roots.
Apply Heat Protectant Before Drying
Heat damage is real. Always use a heat protectant before blow-drying. Spray or mist it evenly on damp hair, focusing on mid-lengths and ends. Use lightweight formulas only to avoid weighing hair down.
Pre-Styling Products That Actually Work
Apply these to damp hair before drying:
- Volumizing mousse for body and lift
- Lightweight styling cream for texture definition
- Pre-styler spray to create a foundation for all-day hold
- Light oil on ends to prevent dryness
Never use heavy pomades, waxes, or thick gels before drying. They can burn, weigh hair down, or lock in bad shape.
Step-by-Step: Blow-Dry Like a Pro
Follow this sequence for maximum control, volume, and style.
Towel-Dry First
Use a microfiber towel or cotton T-shirt to absorb moisture. Gently squeeze, don’t rub, to prevent frizz and breakage. Hair should be damp, not soaking wet. The drier it is, the less heat exposure and drying time needed.
Detangle and Apply Products
Use a wide-tooth comb to gently detangle, starting from the ends. Apply heat protectant first, then add your pre-styler based on your goal. Wet hair is fragile, so handle with care.
Section Your Hair Strategically
Work in order: back, then sides, then front and fringe.
Back section: Separate from front. Dry upward and backward using medium heat and high speed. Lift roots with fingers or brush to create volume foundation at the crown.
Sides: Work in 1 to 2 inch sections. Pull hair in the direction you want it to lie. Use the concentrator nozzle to guide airflow. For side parts, comb hair to the side while damp, then dry in place.
Front and crown: This is the most critical area for style definition. Lift with a round or vented brush. Dry from underneath to maximize root lift. For a quiff, pull hair up and forward.
Fringe and forehead: This area is delicate. Keep the dryer 6 to 8 inches away. Use medium heat. Style into place with fingers or a brush.
Advanced Blow-Dry Techniques
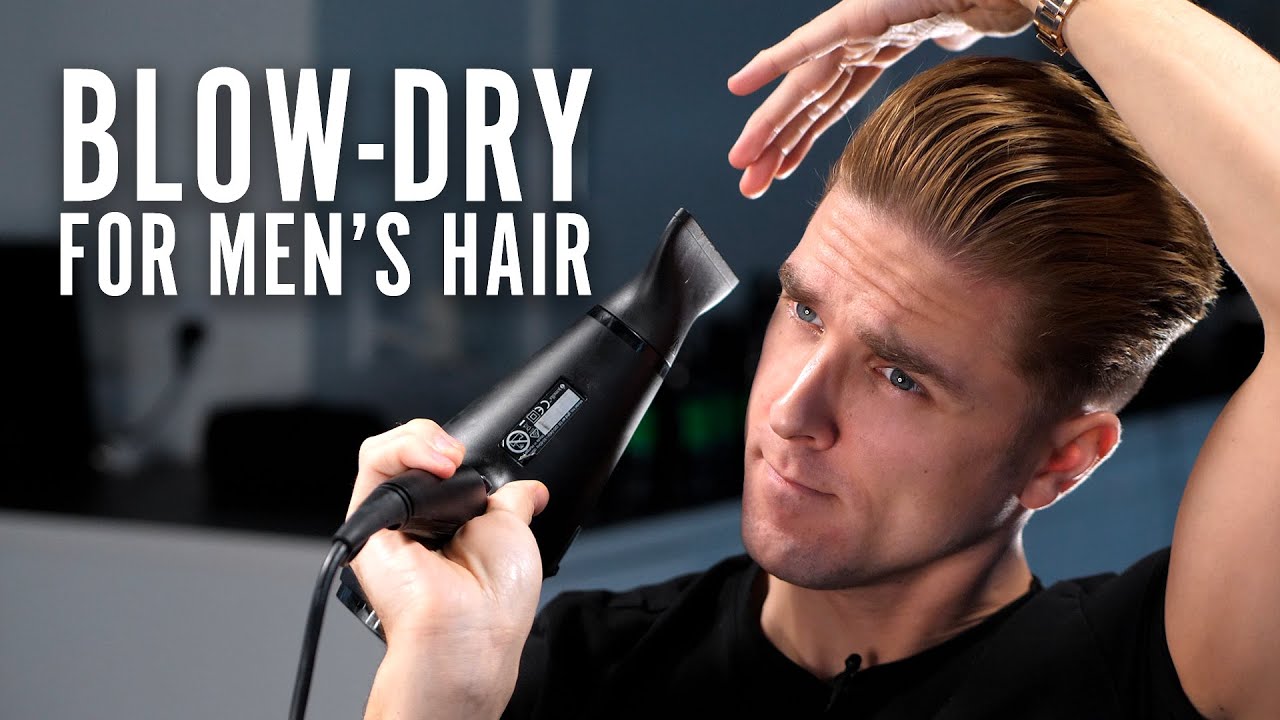
Level up your styling with these professional tricks.
Blow-Dry Upside Down
Flip your head over for 10 to 15 seconds. This dries roots from underneath for maximum lift. Works best on short to medium hair. Finish by smoothing the top with a brush.
Hot Air to Shape, Cold Air to Set
Hot air opens the cuticle and makes hair pliable for styling. Cold air closes the cuticle and locks in shape. Always finish with 3 to 5 seconds of cool air on each section to prevent style breakdown and frizz.
Dry Against Your Natural Part
Blow-dry hair in the opposite direction of your preferred part. Then restyle into your desired part. This creates texture, volume, and disrupts flatness. Ideal for messy, lived-in looks.
Flat Wrapping for Sleek Styles
This technique is common in barbering for slicked-back or side-part looks. Comb hair into position. Use a vented or boar-bristle brush to smooth flat against the scalp. Direct airflow along the brush to seal the style. Finish with a cool shot.
Blow-Dry Settings Guide
| Setting | Best Use | Pro Tip |
|---|---|---|
| Heat: Medium | Start here | Use high only for thick sections |
| Heat: Low | Delicate areas and ends | Best for fine or damaged hair |
| Speed: High | Roots and volume | Faster drying time |
| Speed: Low | Ends and precision styling | Better control |
| Distance | 6 to 8 inches from scalp | Prevents burns and heat damage |
| Cool shot | Final style lock | Use on entire head to set and add shine |
| Total time | 5 to 10 minutes | 3 to 5 minutes drying, 2 to 5 minutes shaping |
Never keep heating after hair is dry. This leads to dryness, brittleness, and split ends.
How to Style Without a Brush
No brush available? Use your fingers. Lift small sections at the roots with your fingertips. Pull upward or sideways. Blow-dry at the root while holding the position. Scrunch ends lightly for texture. This works great for messy, piecey, or tousled looks.
Tailor Technique to Your Hair Type
Straight Hair
Goal: Volume and smooth finish. Use a boar-bristle or vented brush. Focus heat at roots. Finish with cool air for shine.
Wavy or Curly Hair
Goal: Enhance texture and reduce frizz. Dry to 80 percent with a diffuser, then air dry. Use low heat and an ionic dryer. Scrunch with fingers while drying.
Fine or Thin Hair
Goal: Add body and lift. Use volumizing mousse. Dry upside down or focus on roots. Avoid heavy products that weigh hair down.
Thick or Coarse Hair
Goal: Control frizz and direct growth. Use the concentrator nozzle. Focus on root lifting and smoothing. Apply lightweight oil to ends after drying.
Short Hair
Goal: Shape and direction. Focus on fringe and crown. Use fingers or a small round brush. Quick dry in 3 to 5 minutes.
Style-Specific Blow-Dry Methods
Create a Voluminous Quiff or Pompadour
Towel-dry and apply volumizing mousse. Flip your head upside down and blow-dry roots upward. Use a round brush to lift front and sides. Direct heat underneath the hair. Smooth the top and finish with cool air. Apply matte clay for hold and texture.
Slicked-Back or Side Part
Comb hair back or to the side while damp. Use a vented brush to smooth while directing airflow along the length. Apply the flat wrap technique for polish. Finish with a cool shot. Apply shine pomade for the final finish.
Textured, Natural Look
Use fingers or a diffuser to scrunch while drying. Dry in sections, lifting at roots. Avoid over-smoothing. Let natural waves and separation emerge. Finish with matte clay for definition.
Post-Dry Styling: Apply Product Correcto
Apply product only after hair is fully dry and shaped.
Choose your product based on finish preference:
- Clay for matte finish and strong hold
- Pomade for shine and medium hold
- Cream for natural finish and light hold
- Hairspray for extreme hold, use sparingly
Use a pea-sized amount. Emulsify between palms to activate. Apply from roots outward. Style with fingers for a piecey, natural look.
Applying product to undried hair locks in bad shape. Always dry first, then style.
Common Mistakes to Avoid
- Blow-drying soaking wet hair causes frizz. Towel-dry first until damp.
- Holding dryer too close to scalp causes burns. Keep 6 to 8 inches away.
- Overusing high heat leads to dry, brittle hair. Use medium heat.
- Applying product before drying locks in poor shape. Dry completely first.
- Ignoring the cool shot weakens hold. Always finish with cold air.
- Drying hair straight down flattens roots. Lift at roots for volume.
- Skipping heat protectant causes long-term damage. Apply before every session.
Keep Hair Healthy and Tools Clean
For Your Hair
Blow-dry once per day maximum. Always use heat protectant. Use a weekly hair mask to restore moisture. Condition regularly to combat dryness from heat.
For Your Tools
Clean the dryer filter monthly to improve airflow. Store brushes properly and don’t bend bristles. Replace damaged cords or malfunctioning units.
Frequently Asked Questions About Styling Hair with a Blow Dryer
How long should I blow-dry my hair?
Aim for 5 to 10 minutes total. Three to five minutes for initial drying, then 2 to 5 minutes for shaping and styling. Stop once hair is completely dry to avoid heat damage.
Should I use high or low heat for fine hair?
Use low to medium heat for fine or thin hair. High heat can damage fragile strands and cause breakage. Focus on root lifting with lower temperatures.
Can I blow-dry curly hair without frizz?
Yes. Use a diffuser attachment with low heat. Dry to about 80 percent, then let it air dry. Scrunch with fingers while drying to enhance natural curls without flattening them.
Do I need a brush to blow-dry my hair?
No. Fingers work well for textured, messy styles. Simply lift sections at the roots and direct the airflow while holding. This creates volume and piecey texture without a brush.
When should I use the cool shot button?
Use the cool shot as the final step. After shaping each section, blast it with cold air for 3 to 5 seconds. This locks in the style, adds shine, and prevents frizz throughout the day.
Should I apply product before or after blow-drying?
Apply pre-styling products like mousse or heat protectant before blow-drying. Apply finishing products like clay or pomade only after hair is fully dry and shaped. Applying product to damp hair locks in bad shape.
Key Takeaways for Styling Hair with a Blow Dryer
Blow-drying is the foundation of great men’s hairstyling, not an optional extra. Start with towel-dried, damp hair and work in sections: back first, then sides, then front and fringe. Use heat to shape and cold air to set. Keep your dryer 6 to 8 inches from the scalp. Focus on root lifting for volume and direct airflow in the direction you want hair to fall.
Always apply heat protectant before drying. Choose the right brush for your style goal. Practice consistently, and results improve significantly within days. Master blow-drying, and you’ll cut styling time in half while unlocking styles you thought needed a barber visit.



