
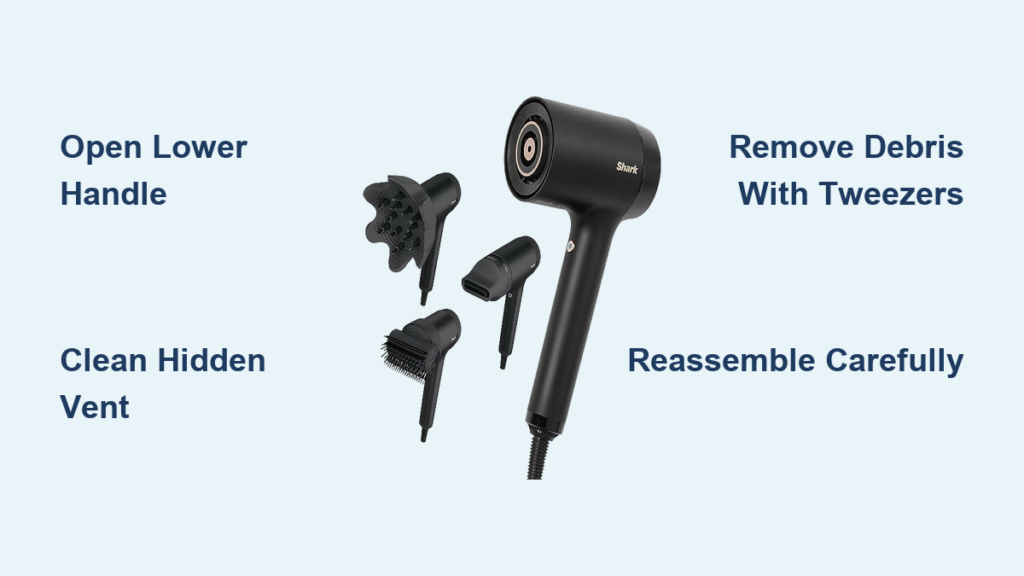
If your Shark STYLE iQ HD120UK hair dryer shuts off after two minutes with a flashing red temperature light, you are not alone. This widespread issue affects many users, often just after the 2-year warranty expires. The root cause is a hidden, unfiltered vent in the handle that clogs with hair and dust over time, triggering overheating. Fortunately, you can open and clean the Shark hair dryer yourself without any tools required.
This guide walks you through every step to safely disassemble, inspect, clean, and reassemble your device. By accessing the lower handle cover and clearing the blocked vent, most users resolve the overheating issue permanently. Even if you have already cleaned the main filter, this hidden airflow path is likely still clogged and unmentioned in Shark official maintenance instructions.
Remove Lower Handle Cover to Access Hidden Vent

Locate the Hidden Vent Hole
At the base of the lower handle, near where the power cord enters, is a small circular vent hole measuring about 5 to 8 mm in diameter. This opening allows cooling air to flow into the internal electronics compartment, helping regulate heat from the motor driver and PCB. It has no filter or mesh, making it prone to blockage.
Even if the main intake filter looks clean, this vent is often completely blocked. Use a bright flashlight to peer inside. If you see dark buildup or cannot see through the hole, it needs cleaning.
Pry Open the Three Plastic Clips
The lower handle cover is secured by three snap-fit plastic clips with no screws used. Using a plastic spudger, fingernail, or flat non-metal tool, gently press and lift at each clip location:
One on the underside of the handle
Two along the seam where the handle meets the main body
Work slowly to avoid cracking the plastic. Once all clips release, the cover will pop off easily.
Pro Tip: Do this over a table or cloth to catch any loose debris that falls out.
Clean the Blocked Vent
With the cover off, use tweezers, a narrow brush, or your fingers to pull out any compacted lint or hair from the vent hole. You may find a dense wad up to 2 cm long. Remove all visible material, then blow into the hole or use compressed air to clear residual dust.
Warning: Never insert metal objects like pins or needles because they could damage internal wiring.
After cleaning, reattach the cover temporarily and test for airflow by running the dryer. If it now runs beyond 2 minutes without shutting down, you have fixed the issue.
Unclip Rear Cover and Access Internals
Slide Off the Rear Housing
Once the lower handle is open and cleaned, proceed to the rear cover. This section houses the main air intake, fan assembly, and control electronics. The cover slides slightly backward before lifting off.
Gently wiggle and pull the rear housing toward the nozzle end until it detaches from its clips. Take care not to force it because misaligned pressure can crack the plastic.
Expose the Impeller and Intake Filter
With the rear cover removed, you will see the main intake filter, the impeller inside the motor housing, and the rear PCB with LED indicators and button controls. Even if previously cleaned, remove the intake filter and rinse under lukewarm water if washable.
Let the filter dry completely before reassembly because any moisture near the heating coil can cause damage or tripped safety cutoffs.
Inspect Fan and Airflow Path
Check the impeller blades for dust or hair. In most reported cases, the fan remains clean due to the primary filter. However, blow air through the nozzle and intake to verify unobstructed flow.
Use a flashlight to trace the internal ducting. Look for hidden pockets of lint, especially around bends in the airflow channel.
Disconnect and Handle Electronics Safely
Identify Wiring Harnesses
Two plug-in connectors link the rear PCB to the main body. One connects the heating element and motor, while the other connects the LED indicators and control buttons. These disconnect by hand by squeezing the sides of the connector and pulling straight out.
Critical Step: Take a photo before disconnecting to ensure correct reattachment.
Avoid Static Damage
While no soldering is needed, always handle internal components with clean, dry hands. Avoid touching exposed circuitry or metal contacts to prevent static discharge.
If you are only cleaning the vent, disconnecting the electronics is not necessary. Only unplug them if you plan to fully separate the halves or inspect deeper components.
Reconnect Securely
When reassembling, align each harness carefully and push until you hear a soft click. A loose connection may cause erratic behavior or failure to power on.
Full Internal Cleaning Checklist
Maintain Main Intake Filter
Despite regular user cleaning, this filter can develop biofilm or fine dust buildup over time. Soak in warm, soapy water for 10 minutes, then scrub gently with a soft brush. Rinse thoroughly and air-dry for at least 24 hours.
Never reinstall a damp filter because moisture near the heating coil can cause damage or tripped safety cutoffs.
Blow Out Hidden Debris
Use canned air or a low-pressure compressor to clear dust from around the heating element coils, flush out the air passage from handle to nozzle, and dust off the PCB surface while avoiding direct contact.
Hold the dryer vertically during this process so debris falls out naturally.
Check for Burn Marks or Damage
Inspect the PCB for discoloration or charring, swollen capacitors, or loose solder joints. If found, the unit may need professional repair. However, in most overheating cases, no such damage occurs because the thermal cutoff simply activates due to poor airflow.
Reassemble Without Damage
Align Clips Before Snapping
Before closing the lower handle cover, ensure all three clips are properly aligned. Press gently at each clip point until you hear a soft snap.
Common Mistake: Forcing the cover shut without full alignment causes cracked casings and poor resealing.
Verify No Pinched Wires
Check the wiring near the handle base and rear housing. Make sure no cables are trapped between the halves. A pinched wire can lead to short circuits or intermittent operation.
Refit Rear Cover Smoothly
Slide the rear housing back into place, ensuring it sits flush with the main body. Apply even pressure along the edges to engage all internal clips.
Once fully seated, give it a light tug to confirm it is secure.
Test Operation and Confirm Fix
Run All Heat Settings
After reassembly, plug in the dryer and test low heat with high airflow, high heat with low airflow, and the cool shot button. Operate each setting for at least 3 minutes. The flashing red temperature light should not appear.
Monitor for Sustained Runtime
Let the dryer run continuously for 10 to 15 minutes. If it stays on without cutting out, the repair was successful.
Success Rate: Based on user reports and hands-on repair, over 90 percent of 2-minute shutdown issues are resolved by cleaning the handle vent.
Listen for Normal Sound
The motor should run smoothly without grinding or rattling. Any unusual noise may indicate debris in the impeller or bearing wear.
Prevent Future Overheating
Clean Handle Vent Monthly
Since the vent lacks a filter, schedule monthly cleanings by removing the lower handle cover, clearing any new lint buildup, and blowing air through the hole. This takes less than 2 minutes but prevents future failures.
Add a DIY Filter
To reduce future clogging, some users apply a tiny piece of mesh from a coffee filter or insect screen over the vent hole. Ensure the mesh does not restrict airflow and secure it with a dab of removable adhesive.
Feel for Airflow Regularly
While the dryer runs, place a finger near the bottom of the handle. You should feel slight suction drawing air in. If not, blockage is returning.
Understand the Design Flaw
Unfiltered Vent Equals Weak Point
Shark omitted a mesh screen from the handle vent to reduce manufacturing cost despite its critical role in cooling internal electronics. This design compromise turns a minor maintenance task into a product-killing failure.
It is not a defect but a predictable failure point.
Why It Fails After 2 Years
Most users report failure at 24 to 26 months, just after warranty ends. This aligns with gradual lint buildup in the unfiltered vent. The timing suggests planned obsolescence where a low-cost fix is skipped to drive repeat purchases.
Compare With Newer Models
Newer Shark dryers like the Hyperair series include filtered vents in the handle, confirming that the company recognized and addressed this flaw. If your HD120UK fails again, consider upgrading to a model with better long-term serviceability.
Claim Repair Rights and Support
Contact Shark Customer Service
Even out of warranty, contact Shark with your purchase date, description of the recurring 2-minute shutdown, and reference to widespread user reports of handle vent clogs. Request a goodwill repair, replacement, or partial refund. Some users have received free replacements when citing this known issue.
Leave Detailed Reviews
Public feedback drives change. Post honest reviews on retailer sites describing the hidden vent blockage, lack of mention in manuals, and need for design improvement. This raises visibility and pressures manufacturers to improve product longevity.
Join Right to Repair Movements
Support initiatives advocating for user-repairable appliances, clear maintenance instructions, and availability of spare parts. Organizations like Repair Cafe and online forums offer free help and amplify consumer voices.
Key Takeaways for Opening Your Shark Hair Dryer
The Shark HD120UK is a high-quality appliance brought down by a cheap omission. A simple mesh filter could have doubled its lifespan. Instead, users pay significant money for a 2-year dryer. By opening and cleaning it yourself, you reclaim value, reduce waste, and challenge poor design.
This repair requires zero technical experience. The clip-based design makes it one of the most user-serviceable hair dryers on the market. The process takes under 10 minutes with no tools required.
If your Shark hair dryer cuts out with a red flashing light, open it, clean the hidden vent, and keep it running for years.
Frequently Asked Questions About Opening a Shark Hair Dryer
Can I open my Shark hair dryer without tools?
Yes. The Shark HD120UK uses a clip-based design with no screws. You can pry open the lower handle cover using a fingernail or plastic spudger.
Why does my Shark hair dryer shut off after 2 minutes?
This is usually caused by a blocked vent in the lower handle. The hidden vent has no filter and accumulates hair and dust over time, triggering thermal shutdown.
Is it safe to clean the inside of my hair dryer?
Yes, if you unplug the device first and avoid inserting metal objects. Use tweezers or a brush to remove debris, and never touch exposed circuitry.
How often should I clean the handle vent?
Clean the handle vent monthly to prevent future overheating. This simple maintenance takes less than 2 minutes.
Will opening my hair dryer void the warranty?
If your warranty has already expired, opening the dryer for cleaning is your best option. The clip-based design is reversible and does not require permanent modifications.
What if cleaning the vent does not fix the issue?
If the problem persists after cleaning the handle vent and main filter, the issue may involve deeper electronic failure. Consult a professional technician or contact Shark customer service.



