

Is your ghd hair dryer not performing like it used to? Maybe it’s taking longer to dry your hair, feels hotter than normal, or seems less powerful. These issues often stem from a simple, fixable problem: a clogged filter. Over time, hair, lint, and dust build up in the back filter, restricting airflow and reducing efficiency. The good news? Cleaning your ghd hair dryer is quick, easy, and requires no special tools. In just a few minutes, you can restore peak performance, extend the life of your dryer, and prevent overheating risks. This step-by-step guide shows you exactly how to clean your ghd Air Hairdryer safely and effectively—keeping it running smoothly for years.
Remove the Back Filter Cap
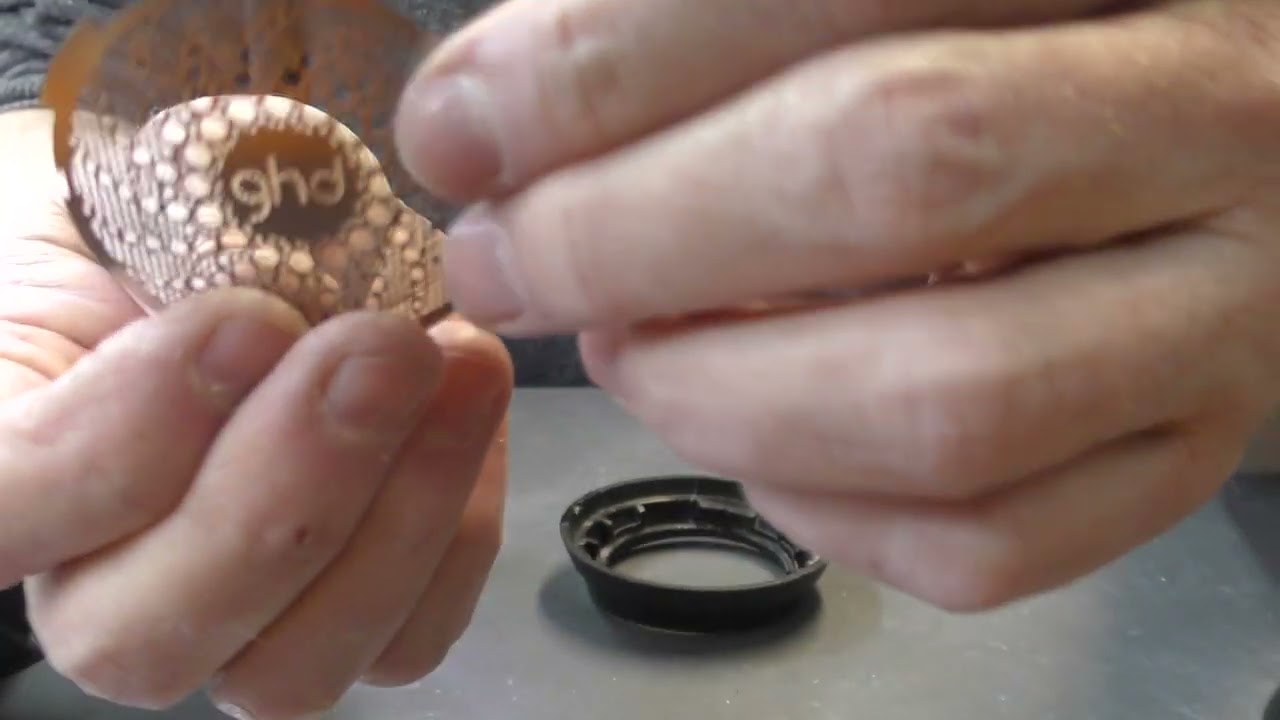
The first step in cleaning your ghd hair dryer is accessing the filter. The filter cap is located at the back of the dryer, where air is drawn in. This part is designed for easy removal and reassembly.
Turn Cap Anticlockwise
Place your fingers around the metal filter cap and turn it slightly anticlockwise. It only needs a small rotation—about a quarter turn—to unlock. Once loosened, the cap pulls straight off. Don’t yank it; a gentle tug is all that’s needed. Underneath, you’ll find the metal filter screen and the internal sponge.
Pro Tip: Always unplug the dryer and let it cool completely before starting. Safety first—never handle internal components while the device is powered or warm.
Clean the Internal Sponge Filter
The sponge inside your ghd dryer traps fine particles that the metal screen misses. When clogged, it restricts airflow and forces the motor to work harder.
Rinse Sponge Under Tap Water
Pull the sponge out gently—it’s soft and can tear if handled roughly. Hold it under running lukewarm water. Use your fingers to gently rub the surface and squeeze it repeatedly to flush out trapped lint and debris.
Keep rinsing until the water runs completely clear. Avoid using soap or cleaning chemicals—these can degrade the sponge material. Never wring or twist the sponge aggressively; this can damage its structure. Let the sponge air dry fully before reinstalling. This usually takes 1–2 hours. Never use the dryer with a damp filter—moisture can damage internal components and create electrical hazards.
Reinstall Filter with Correct Alignment
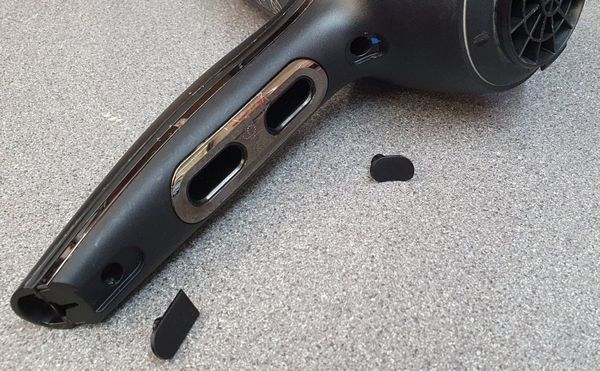
Putting the filter back correctly is crucial. A misaligned filter won’t seal properly, leading to reduced performance and potential long-term damage.
Align Splines and ghd Logo
The filter has two internal splines (plastic ridges) that must match up with grooves inside the dryer housing. This ensures a snug, airtight fit.
Position the filter so the ghd logo faces outward. Insert the splines into the matching slots. If the filter doesn’t slide in smoothly, do not force it—recheck alignment.
Common Mistake: Forcing the filter can crack the housing or misshape the splines. If it resists, rotate it slightly or flip it to test orientation.
Lock Cap at 5 to 6 O’Clock
Once the filter is seated, place the cap over it and turn clockwise until it locks. Aim to start the rotation from the 5 to 6 o’clock position—this gives you the best grip and ensures full engagement.
You’ll feel a slight resistance when it’s properly secured. Check for gaps around the edge. A seamless fit means correct installation. If there’s a gap, remove and realign—likely the splines aren’t seated.
Expert Note: Some users find it easier to temporarily place the filter upside down during reassembly to hold it in place before securing the cap. Just remember to flip it back so the logo faces out.
Maintain Optimal Airflow Regularly
Cleaning isn’t a one-time fix—it’s part of routine maintenance. A clean filter means better airflow, faster drying, and less strain on the motor.
Clean Every Few Weeks
How often should you clean your ghd hair dryer? That depends on usage:
Daily use: Clean every 2–3 weeks. Occasional use: Clean every 4–6 weeks. Visible debris or reduced airflow? Clean immediately. Even if you don’t see buildup, a quick check can prevent long-term issues.
Signs Your Filter Needs Cleaning
Watch for these red flags: longer drying times, dryer feels hotter than usual, unusual noise or motor strain, or visible hair or dust around the back cap. Address these early. A clogged filter doesn’t just reduce performance—it can lead to overheating and shorten your dryer’s lifespan.
Prevent Damage with Proper Handling
Your ghd dryer is a precision tool. How you handle it affects both safety and longevity.
Never Force Components
Forcing the filter cap or misaligning the splines can cause cracked housing, warped filter, or air leaks that reduce efficiency. If it doesn’t fit, stop and reposition. The design ensures only one correct way to install it.
Avoid Moisture Before Reassembly
Using the dryer with a damp sponge is dangerous. Water can reach the motor or electrical parts, leading to short circuits, permanent damage, or safety hazards. Always allow the sponge to dry completely—overnight is safest if you’re unsure.
Frequently Asked Questions About Cleaning a ghd Hair Dryer
How often should I clean my ghd hair dryer filter?
For daily use, clean the filter every 2–3 weeks. For occasional use, every 4–6 weeks is sufficient. If you notice reduced airflow, longer drying times, or visible debris around the back cap, clean it immediately regardless of schedule.
Can I use soap or cleaning chemicals on the sponge filter?
No, avoid using soap or cleaning chemicals. These can degrade the sponge material and leave residues that may affect dryer performance. Plain lukewarm water is all you need to rinse the sponge clean.
What happens if I use the dryer with a damp filter?
Using the dryer with a damp filter can cause water to reach the motor or electrical components. This creates serious safety hazards including short circuits and permanent damage to the device. Always let the sponge dry completely—overnight is recommended—before reinstalling.
Why won’t the filter cap close properly after cleaning?
If the filter cap doesn’t close properly, the splines likely aren’t aligned with the grooves in the dryer housing. Remove the filter and reposition it so the ghd logo faces outward and the splines insert correctly. Never force it—forcing can crack the housing.
How do I know if my filter needs cleaning without taking it apart?
Signs that indicate your filter needs cleaning include longer drying times, the dryer feeling hotter than usual, unusual motor noise or strain, and visible debris or dust around the back cap area.
Can a clogged filter damage my ghd hair dryer?
Yes, a clogged filter restricts airflow and forces the motor to work harder. This can lead to overheating, reduced performance, and a significantly shortened lifespan for your dryer. Regular cleaning prevents these issues.
Key Takeaways for Maintaining Your ghd Hair Dryer
Cleaning your ghd hair dryer is one of the simplest yet most effective ways to maintain its power, safety, and longevity. By removing the back filter cap, rinsing the sponge, and reinstalling with proper alignment, you ensure optimal airflow and prevent overheating. Make this a regular habit—every few weeks—and your ghd will continue delivering salon-quality results. Keep the logo facing out, the splines aligned, and the cap securely locked. A few minutes of care goes a long way.



