

If your hair feels dry, brittle, or lacks shine, a hot oil treatment could be the game-changer you have been missing. This deeply nourishing ritual uses warmed natural oils to penetrate the hair shaft, delivering intense moisture and strengthening benefits where they are needed most. When heat is applied, the hair cuticle temporarily opens, allowing oils like coconut, argan, or jojoba to absorb more effectively than when used cold. The result is softer, shinier, stronger hair with less frizz, breakage, and split ends.
Used for generations across cultures, hot oil treatments are especially beneficial for curly, coily, or high-porosity hair types, which struggle to retain moisture. But even fine or oily hair can benefit when the right lightweight oils and application methods are used. Whether you are using a DIY blend or a store-bought kit, applying the oil correctly and safely is key to maximizing results. In this guide, you will learn exactly how to use hot oil hair treatment for your specific hair type, avoid common mistakes, and get salon-quality results at home.
Choose the Right Oil for Your Hair
Picking the best oil or blend sets the foundation for an effective treatment. Not all oils work the same for every hair type, so matching the oil to your needs ensures optimal hydration without greasiness or buildup.
Match Oil to Hair Type
Consider these recommendations when selecting your oils.
Dry, damaged, or coarse hair benefits from penetrating oils like coconut, olive, or avocado, which sink deep into the cortex to repair and strengthen.
Curly or textured hair responds well to a combination of coconut oil for penetration and castor oil for sealing and growth support, with jojoba added for scalp balance.
Fine or oily hair should opt for lightweight options like grapeseed, jojoba, or argan, avoiding heavy oils on the scalp.
Color-treated or chemically processed hair benefits from argan and sweet almond oil, which help restore lipids and protect color from fading.
Thinning or slow-growing hair responds to blends of castor oil with a few drops of peppermint essential oil, diluted in carrier oil, to stimulate circulation.
Create a Custom Oil Blend
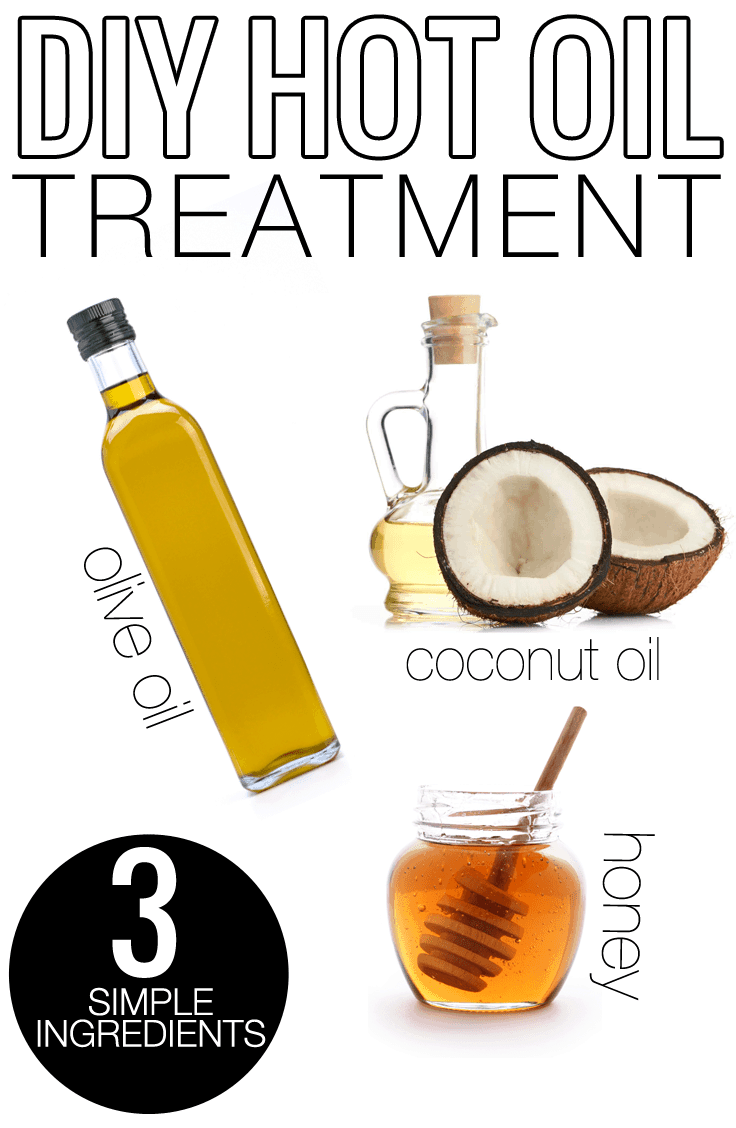
For maximum benefits, mix oils to balance penetration, sealing, and scalp health.
Recommended DIY Blend:
One ounce coconut oil penetrates deeply. One ounce olive oil provides moisture retention. One ounce avocado oil delivers nourishment. One ounce grapeseed oil is lightweight and scalp-friendly. One ounce argan oil adds shine and heat protection. One ounce jojoba oil mimics natural sebum. One-half to one ounce castor oil supports growth, using less for fine hair. Twenty drops vitamin E oil act as an antioxidant and preservative.
Optional additions include ten to fifteen drops of rosemary or peppermint essential oil, always diluted in carrier oil.
Store in a dark glass bottle and use within three to six months.
Warm Oil Safely and Effectively
Heating the oil properly enhances absorption, but overheating can damage your scalp or degrade the oil is nutrients. Never microwave oil directly, especially in plastic, as it can overheat unevenly and leach chemicals.
Safe Warming Methods
Water Bath Method:
Fill a heat-safe bowl with hot, not boiling, water. Place the sealed oil bottle or container in the water. Let it sit for five to ten minutes until warm to the touch.
Double Boiler Technique:
Use a small pot with simmering water. Place a heat-safe bowl on top, not touching the water. Add oil and warm for two to three minutes, stirring occasionally.
Test Temperature Before Use
Always check the oil on the inside of your wrist or back of your hand. It should feel warm, not hot. If it stings or feels too warm, let it cool down before applying.
Prep Hair for Maximum Absorption
Starting with the right hair condition ensures the oil penetrates deeply and evenly.
Wash and Dampen Hair
Begin with clean, damp hair, not soaking wet. Use a sulfate-free shampoo to avoid stripping natural oils. Towel-dry gently until hair is about seventy percent dry.
Why clean hair? Product buildup or sebum blocks oil absorption, making the treatment less effective.
Detangle and Section
Use a wide-tooth comb to detangle. Divide hair into four main sections, two front and two back. Clip three sections up and work on one at a time. For thick or dense hair, split each section into smaller subsections for even coverage.
This method prevents missed spots and ensures every strand gets treated.
Apply Oil with Precision

How you apply the oil determines how well it works and whether your scalp gets clogged or your roots weighed down.
Use the Right Tools
Fingers work best for scalp massage and control. An applicator bottle is ideal for precise root application. A dropper is good for small amounts or essential oil mixing. A brush, preferably natural bristle, distributes oil evenly through mid-lengths to ends.
Apply in the Correct Order
Start at the ends, which are the oldest, driest part of your hair. Work upward toward the roots, avoiding excessive oil on the scalp if you have fine or acne-prone skin. For growth-focused treatments, massage oil directly into the scalp using circular motions.
Focus on Problem Areas
Apply extra oil to split ends or dry zones. Use jojoba or grapeseed oil directly on the scalp for dryness or dandruff. Target thinning areas with castor-peppermint blends.
Avoid dumping oil on the crown, as this leads to greasiness and transfer to pillows.
Boost Absorption with Heat and Covering
Heat opens the cuticle, and covering traps warmth and moisture. Skipping this step reduces effectiveness by up to fifty percent.
Use the Double Cap Method
Cover hair with a plastic shower cap. Wrap a warm towel around it by heating a towel in the dryer for two to three minutes or microwaving a damp towel for thirty seconds, testing temperature first. Leave on for thirty minutes to three hours.
This mimics salon steam treatments and dramatically improves oil penetration.
Alternative Heat Sources
Microwavable heating caps are reusable and convenient. A hooded dryer lets you sit under it for fifteen to thirty minutes on low heat. A hair steamer provides professional-grade moisture infusion.
Never sleep with hot oil in your hair, as oil transfer can clog facial pores and stain bedding.
Rinse and Cleanse Thoroughly
Leaving oil residue behind causes buildup, dullness, and flat hair. A proper wash-out is non-negotiable.
Rinse with Cool Water
Use cool or lukewarm water to seal the cuticle and lock in moisture. Hot water keeps cuticles open, leading to moisture loss and frizz.
Shampoo Twice if Needed
Use a sulfate-free, clarifying shampoo. The first wash breaks down oil. The second wash ensures complete removal. Focus on the scalp and roots where oil accumulates.
Condition Afterward
Apply a hydrating conditioner and rinse thoroughly. Style as usual.
Skipping conditioner can leave hair feeling stripped, even after an oil treatment.
Customize Frequency for Your Hair Type
Overdoing it can lead to greasiness, and underdoing it will not deliver lasting results. Tailor your schedule to your hair is needs.
Recommended Treatment Frequency
Dry, coarse, curly, or 4c hair benefits from treatment once a week to every two weeks, increasing in winter.
Normal or healthy hair needs treatment every two to four weeks to maintain shine and strength.
Fine or oily hair should treat every three to four weeks using light oils and avoiding the scalp.
Color-treated or processed hair benefits from weekly or bi-weekly treatment to prevent brittleness and fading.
Children or those with sensitive scalps should treat once a month using mild oils only.
Avoid Common Mistakes
Even small errors can reduce results or damage your hair. Steer clear of these frequent pitfalls.
Never Microwave Oil Directly
This causes uneven heating and chemical leaching from plastic. Always use a water bath or double boiler.
Do Not Apply to Dirty Hair
Product buildup blocks oil absorption. Always start with clean, damp hair.
Skip Hot Water Rinsing
Hot water opens cuticles, letting moisture escape. Cool water seals in hydration and boosts shine.
Never Use Undiluted Essential Oils
Peppermint, rosemary, or tea tree oil must be diluted in carrier oil, ten drops per four ounces. Undiluted use can cause burns, irritation, or hair loss.
Do Not Skip the Shampoo
Residual oil attracts dirt and weighs hair down. Always wash out completely.
Maximize Results with Pro Tips
Go beyond basics with these expert-backed strategies for stronger, shinier hair.
Use as a Pre-Poo Treatment
Apply oil before shampooing to protect hair from cleansing damage, especially in natural or fragile textures. This reduces wash-day breakage by up to fifty percent.
Pair with Protein Treatments
Alternate hot oil with protein treatments every two to three weeks. This balances moisture and strength, which is critical for healthy hair growth.
Track Your Progress
Take photos and notes every four weeks. Look for improvements in shine, softness, breakage, and scalp health. Adjust oils or frequency based on results.
Store Blends Properly
Use dark glass bottles to prevent oxidation. Keep in a cool, dark cabinet or refrigerator. Discard if oil smells rancid or changes color.
Final Thoughts on Hot Oil Hair Treatment
A hot oil treatment is not a one-time fix but a powerful, science-backed ritual that transforms hair over time. With consistent use, you will notice less frizz, fewer split ends, and stronger strands that retain length. The key is customization: choose the right oils, apply them correctly, and wash thoroughly.
Whether you are using a simple coconut oil treatment or a custom blend with castor and argan, this routine delivers deep hydration, scalp stimulation, and long-term protection. By avoiding common mistakes and using heat strategically, you can achieve results that outperform most commercial deep conditioners.
Make hot oil treatments a regular part of your regimen. Your hair will look healthier, feel softer, and grow stronger with every application.
Frequently Asked Questions About Hot Oil Hair Treatment
How often should I do a hot oil treatment?
Frequency depends on your hair type. Dry, coarse, or curly hair benefits from weekly to bi-weekly treatments. Normal hair every two to four weeks. Fine or oily hair every three to four weeks. Color-treated hair weekly or bi-weekly.
Can I leave hot oil treatment overnight?
It is not recommended. Sleeping with hot oil in your hair can cause oil transfer to pillows, clog facial pores, and lead to breakouts. Maximum leave-on time is three hours for deep penetration.
Which oil is best for hair growth?
Castor oil is widely used for growth support due to its ricinoleic acid content. Combine it with peppermint essential oil, properly diluted, to stimulate scalp circulation. Results vary, and consistent use over several months is typically needed.
Do I need to shampoo after a hot oil treatment?
Yes, thorough shampooing is essential. Use a sulfate-free clarifying shampoo, and shampoo twice if needed to remove all oil residue. Follow with a hydrating conditioner to restore softness.
Can I use hot oil treatment on fine hair?
Yes, but choose lightweight oils like jojoba, grapeseed, or argan. Avoid heavy oils at the roots, and limit treatment to every three to four weeks to prevent greasiness.
Is hot oil treatment safe for colored hair?
Absolutely. Hot oil treatments help restore the lipid layer and can actually protect color from fading. Use argan or sweet almond oil for best results, and treat weekly or bi-weekly.



