
If your BaByliss hair dryer isn’t blowing as hard as it used to, overheats quickly, or shuts off mid-use, the problem likely isn’t a failing motor. It’s a clogged filter. Over time, hair, lint, and dust build up in the filter and intake area, restricting airflow and forcing the motor to work harder. This not only reduces drying efficiency but can shorten the lifespan of your dryer and even pose a fire risk. The good news? Cleaning your BaByliss hair dryer takes just minutes, requires no special tools, and can restore it to like-new performance. In this guide, you’ll learn exactly how to safely remove, clean, and reassemble your BaByliss dryer’s filter, plus how to deep-clean the intake chamber for maximum airflow.
Remove the Back Filter
Check Your Filter Type
BaByliss dryers typically use one of two filter types: slide-out or screw-on. Most modern models feature a slide-out filter on the back panel. Look for two reference lines and an arrow. If the filter has threads, it’s a screw-type, common on professional or older models. Confirm your type before attempting removal to avoid damage.
Slide-Out Filter Removal
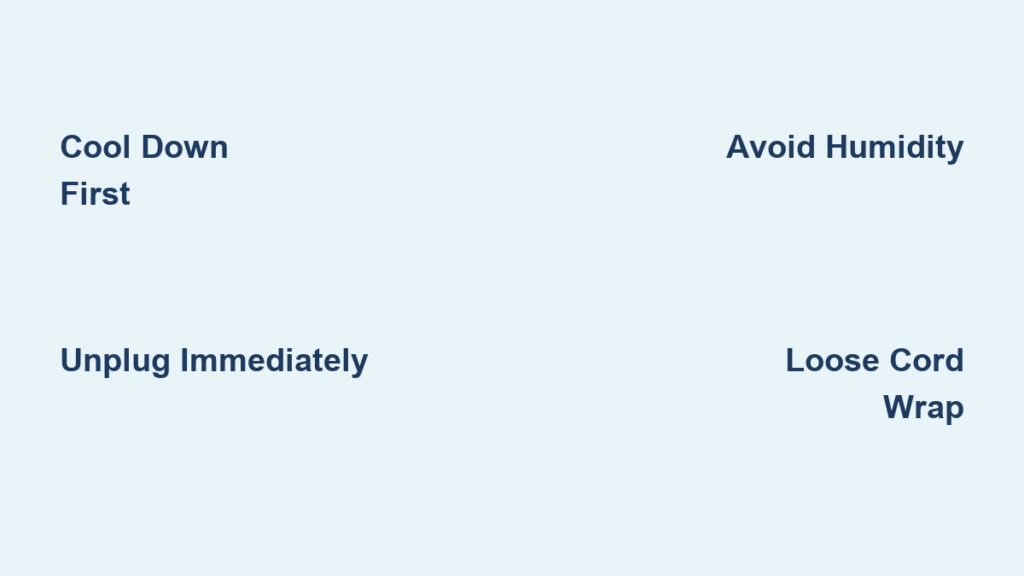
Unplug the dryer and let it cool completely before starting. Turn the dryer so the back faces up, then press the filter upward until the arrow aligns with the top reference line. Gently pull the filter straight out.
Pro Tip: Don’t force it. If it won’t budge, double-check alignment. Forcing can crack the housing.
Screw-On Filter Removal
Hold the dryer body firmly and rotate the filter counterclockwise to unscrew. Remove once fully loosened.
Warning: Never use pliers or tools. Finger-tight is sufficient. Overtightening during reassembly can strip the threads.
Clean the Filter Properly
Wipe With a Damp Cloth
For light buildup, a quick wipe works effectively. Use a microfiber or lint-free cloth dampened with water. Gently rub the mesh surface and edges to remove surface lint. Avoid soaking the filter, as moisture shouldn’t enter the internal housing.
This method works best for biweekly maintenance or light daily use.
Rinse Under Running Water
For deeper cleaning, hold the filter under hot running water. Use your fingers to gently scrub the mesh, then rinse until water flows clear with no debris.
Critical: Let the filter air-dry completely for at least 1 to 2 hours or overnight. Never reinstall a damp filter. Moisture can damage the motor or cause electrical issues.
Clear the Intake Chamber
Vacuum Loose Debris First
With the filter removed, you’ll see the intake chamber, the main airflow path into the motor. Start by using a handheld vacuum with a narrow nozzle. Insert the tip gently and suction out visible hair and lint. This prevents debris from being pushed further in during brushing.
Visual Cue: If you see a thick layer of fluff or clumps, vacuuming alone won’t be enough.
Brush Stubborn Buildup
Use a soft-bristled toothbrush or horsehair brush to scrub the mesh and surrounding area. These brushes are firm enough to dislodge compacted dust but won’t scratch the surface.
Brush in circular motions to loosen debris. Focus on corners and edges where lint packs tightly. Vacuum again to remove loosened particles.
User-Tested: Multiple users report this two-step brush-and-vacuum method restores full airflow and stops overheating.
Use Compressed Air (Optional)
If you don’t have a vacuum, take the dryer outside or to a well-ventilated area. Use a can of compressed air to blast out debris. Hold the nozzle at a safe distance. Don’t force air deep into electronics.
Avoid: Spraying directly into the motor or switch areas. Keep bursts short and angled toward the intake mesh.
Reinstall the Filter Correctly

Align and Slide Into Place
For slide-out models, position the filter so the arrow aligns with the lower reference line. Slide it downward until it clicks or locks securely. Gently tug to test. No movement means it’s properly seated.
Screw It Back On (Screw Models)
Place the filter against the housing and turn clockwise until snug. Don’t over-tighten, as this can crack the casing or strip threads.
Final Check: Power on the dryer and listen. A clean unit runs quieter and smoother.
Spot Cleaning Signs You Need

Reduced Airflow
If it takes longer to dry your hair or the stream feels weak, the filter is likely clogged. This is the most common sign and often fixed with a simple clean.
Overheating or Auto Shut-Off
BaByliss dryers have thermal protection. When airflow is blocked, the motor overheats and shuts off automatically. Cleaning the filter usually resolves this.
Unusual Noises
Grinding or rattling sounds may indicate debris vibrating in the intake. A thorough clean often eliminates the noise.
Visible Lint Buildup
Check the filter edges. If you see hair strands or grayish dust clinging around the rim, it’s time to clean.
Follow a Cleaning Schedule
Every 2 Weeks: Filter Wipe or Rinse
If you use your dryer daily, clean the filter every 1 to 2 weeks. A quick rinse or wipe keeps performance consistent and prevents deep buildup.
Monthly: Deep Clean Intake
Use the brush-and-vacuum method once a month to clear the internal chamber. This prevents long-term damage and maintains motor efficiency.
As Needed: Immediate Clean
If you notice any of the warning signs, reduced power, heat, or noise, clean immediately. Delaying can lead to permanent motor strain.
Avoid Common Mistakes
Never Immerse the Dryer
Only the removable filter should get wet. Never submerge the dryer body or spray water into the intake. Water exposure can short-circuit the motor.
Skip Harsh Cleaners
Avoid alcohol, solvents, or abrasive wipes. These can degrade the plastic housing or filter mesh. Water and brushing are all you need.
Don’t Use Metal Tools
Tweezers or pins may seem like a quick fix for deep lint, but they can puncture the filter or scratch internal parts. One user reported pushing debris further in, making the problem worse.
Avoid Wet Reassembly
Installing a damp filter is a common error. Moisture can cause corrosion or electrical faults. Always air-dry the filter overnight if unsure.
Restore Performance Fast
Airflow Returns Immediately
After cleaning, you’ll notice stronger, more focused airflow. Drying time drops significantly. Many users report results in half the time.
Motor Runs Cooler
With unrestricted airflow, the motor doesn’t overheat. This reduces wear and prevents automatic shut-offs during styling.
Noise Levels Drop
A clogged dryer often sounds louder or strained. Once cleaned, the motor hums smoothly and quietly.
Extend Dryer Lifespan
Regular cleaning prevents premature motor burnout. BaByliss dryers are built to last. Proper maintenance ensures you get every year of performance.
Real User Result: One user confirmed this method worked really well after using the brush-and-vacuum technique.
Store and Maintain Long-Term
Keep It Dry and Dust-Free
Store your dryer in a cool, dry place, preferably in a drawer or pouch. Humidity and dust accelerate buildup.
Don’t Wrap the Cord Tightly
Coiling the cord around the dryer body stresses internal wires. Instead, loosely loop it and use a velcro tie.
Check Warranty Terms
Routine cleaning does not void the warranty. BaByliss encourages maintenance. Just avoid disassembling internal parts or using unauthorized tools.
Frequently Asked Questions About Cleaning a BaByliss Hair Dryer
How often should I clean my BaByliss hair dryer filter?
Clean the filter every 1 to 2 weeks if you use your dryer daily. Monthly deep cleaning of the intake chamber is also recommended for optimal performance.
Can I wash the BaByliss filter with soap?
Yes, you can rinse the filter under hot running water. Use your fingers to gently scrub the mesh. Avoid using soap or cleaning chemicals, as residue can affect airflow or cause odors.
Why does my hair dryer overheat after cleaning?
If overheating persists after cleaning, debris may still be trapped in the intake chamber. Use the brush-and-vacuum method again, or check if the filter wasn’t properly reinstalled.
Can I use a toothpick to remove lint from the filter?
No. Metal tools and sharp objects can puncture the filter mesh or push debris deeper. Use a soft-bristled toothbrush instead for stubborn buildup.
Does cleaning my BaByliss hair dryer void the warranty?
No. Regular cleaning does not void the warranty. BaByliss recommends routine maintenance to preserve performance and extend the dryer’s lifespan.
What if my model doesn’t have a slide-out filter?
Some professional or older BaByliss models have a screw-on filter. Simply rotate it counterclockwise to remove. Clean it the same way and screw back on clockwise until snug.
Key Takeaways for Maintaining Your BaByliss Hair Dryer
Cleaning your BaByliss hair dryer is simple, safe, and essential for maintaining peak performance. By removing the filter, rinsing it thoroughly, brushing the intake chamber, and vacuuming debris, you can restore full airflow in under 15 minutes. Stick to a biweekly filter clean and monthly deep clean, and your dryer will run efficiently for years. No special skills or tools are needed, just consistency. Keep your BaByliss powerful, safe, and quiet with this easy maintenance routine. If you notice reduced airflow, unusual noises, or overheating, clean immediately to prevent permanent motor damage.