
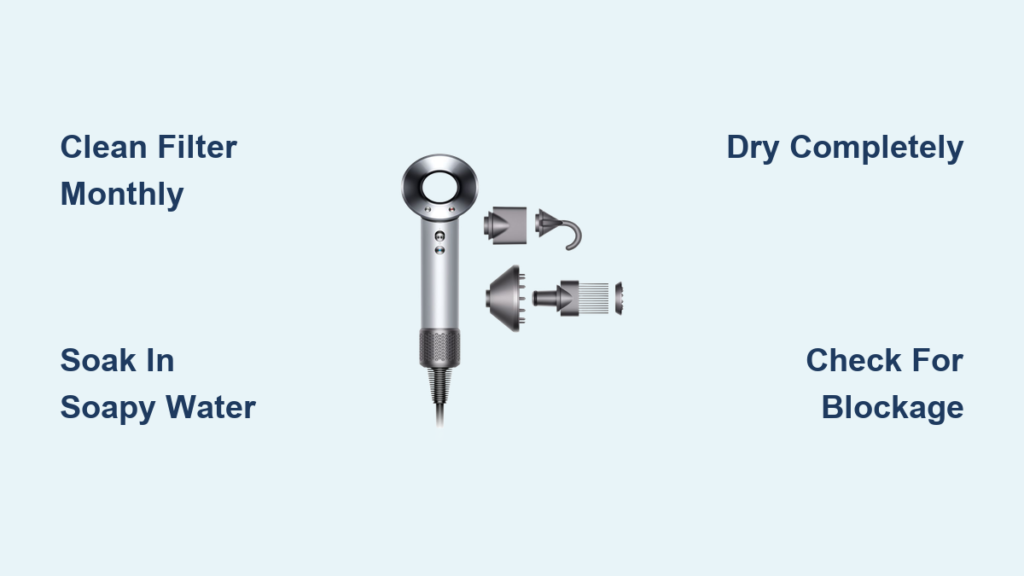
If your Dyson Supersonic is not drying as fast as it used to, or the LED light keeps flashing white, the culprit is likely a clogged filter. The Dyson hair dryer filter plays a crucial role in maintaining airflow, preventing overheating, and protecting the motor. Over time, hair, lint, and dust accumulate in the fine mesh, especially if you use it daily or have thick hair. Left uncleaned, this buildup can trigger automatic shutdowns, reduce performance, or even cause permanent damage. Cleaning the filter is simple, takes less than 10 minutes, and can restore your dryer to like-new condition. In this guide, you will learn exactly how to remove, clean, dry, and reinstall the filter, plus troubleshooting tips for persistent LED warnings and expert-backed maintenance schedules.
Access the Filter Cage
Locate the circular filter cage at the base of your Dyson Supersonic, near the power cord. The cage locks with a twist mechanism on most models. Always unplug the dryer and let it cool before handling the filter. Work on a clean, dry surface to avoid introducing debris.
Twist and Slide for Standard Models
Rotate the cage from the closed-circle symbol to the open-circle position. Once unlocked, slide the cage down along the cord and remove it completely. This exposes the stainless steel mesh filter inside.
Pull and Release for Supersonic Pro
Newer models like the Supersonic Pro use a magnetic filter cage. Hold the dryer by the handle and gently pull the cage downward along the cord. It will detach with a slight magnetic release. Open the two halves of the cage and remove the inner filter for cleaning.
Dry Brush for Light Debris
Use the Dyson C-brush included with your dryer or a soft, dry toothbrush. Gently scrub the surface of the filter mesh, brushing up and down to dislodge trapped hair and lint. Rotate the filter as you go to clean all sides. Wipe the plastic cage exterior with a dry microfiber cloth to remove surface dust.
When to Use This Method
This method works well for monthly maintenance or when you notice minor lint accumulation. It keeps the filter clear between deeper maintenance sessions and is ideal for light buildup. Never use water at this stage unless you plan to do a full soak, because even small amounts of moisture can trigger the LED warning if the filter is not fully dried.
Deep Clean With Soak and Scrub
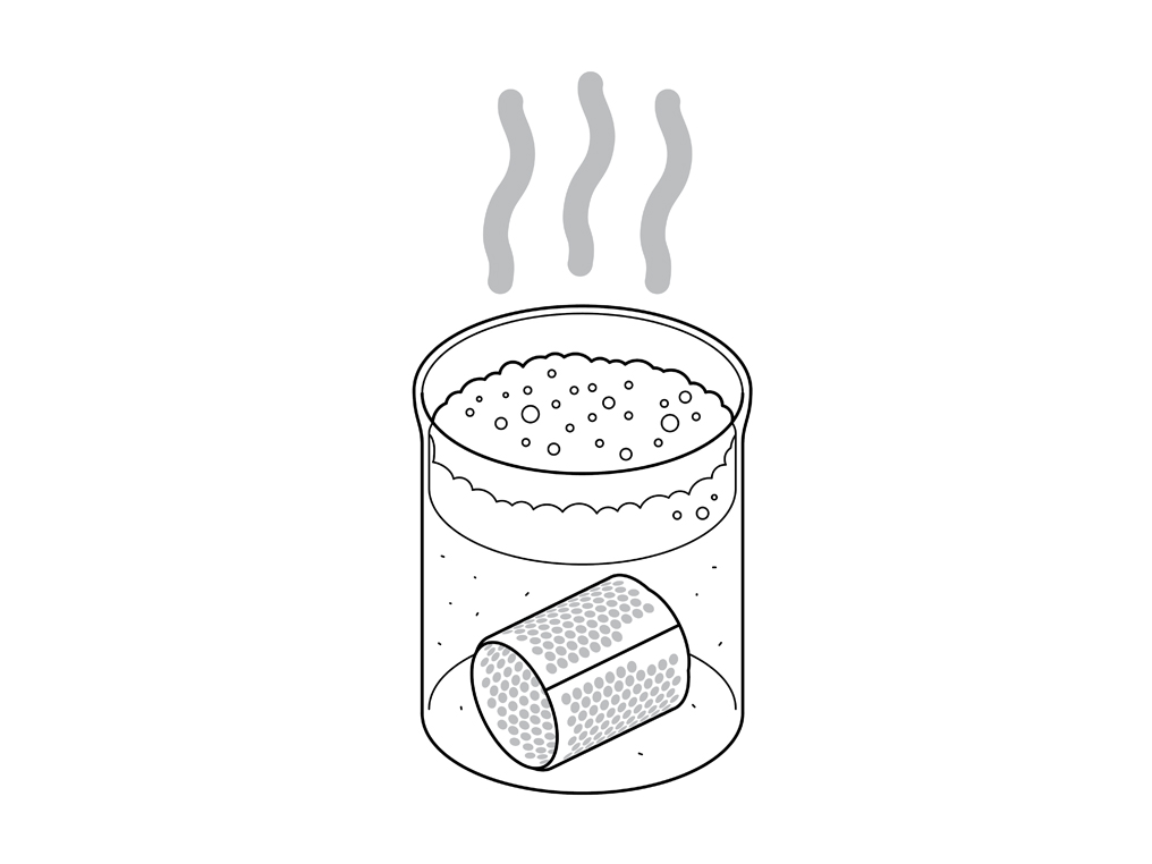
For regular or heavy users, a weekly soak is essential. Fill a bowl with warm water and mild dish soap. Submerge the entire filter cage and inner mesh for at least 30 minutes. This loosens deeply embedded particles that brushing alone cannot remove.
Remove Stubborn Buildup
After soaking, use the cleaning brush to scrub the mesh thoroughly. Focus on areas that look darker or clogged. Rinse under running water until the water runs clear and no suds remain.
Inspect and Repeat if Needed
Hold the filter up to a bright light. If you cannot see light passing evenly through the mesh, it is still blocked. Repeat the soak-scrub-rinse cycle until the mesh appears fully transparent. This ensures maximum airflow and prevents false LED alerts. Users with thick or curly hair often need to deep clean every 1 to 2 days to prevent performance drops.
Dry Completely Before Reinstalling

After rinsing, shake off excess water and place the filter in a warm, well-ventilated area. Even a slightly damp filter can trigger the flashing white LED. Allow at least 2 to 4 hours for complete drying. In humid climates, it may take longer.
Speed Up Drying Time
Lay the filter near a radiator, but not directly on it. Place it in direct sunlight if safe in your environment. Use a fan to circulate air. Never reinstall a filter that feels cool or looks shiny. It must be bone dry. Keep a spare filter cage so you can rotate them while the other dries.
Reinstall Filter Correctly
Slide the dry filter cage back onto the power cord. Push it up until it clicks into position. For twist models, rotate the indicator dot below the closed-circle symbol to lock. For magnetic models, ensure both halves snap shut securely.
Verify Proper Installation
Check that the cage is flush with the dryer body with no gaps or wobbling. Ensure the LED does not flash immediately after powering on. A properly installed filter ensures safety and optimal performance.
Fix Persistent LED Flashing
A continuously flashing white LED after cleaning usually means one of three things. Residual moisture remains in the filter or cage. There is hidden blockage in the inner metal mesh. Hair is wrapped around the motor.
Test for Moisture and Blockage
First, remove the filter again and let it dry for several more hours, preferably overnight. If the light still flashes, disassemble the inner filter completely and soak it in hot water. Use a toothbrush to clean every microscopic hole. Dry thoroughly before reinstalling.
Check for Internal Hair Buildup
If airflow remains weak or the dryer makes a pulsing sound before shutting off, hair may be wrapped around the internal motor. This requires careful disassembly. Use thin tweezers to extract trapped strands. Refer to trusted repair guides for step-by-step instructions. Avoid forcing parts. Use gentle pressure. Never operate the Dyson without the filter, because doing so can destroy the motor and void your warranty.
Follow Recommended Cleaning Schedule
Match your cleaning frequency to your usage level. Occasional users should dry brush once per month. Regular users should soak and scrub once per week. Daily users or those with thick hair should full deep clean every 1 to 2 days.
Recommended Frequency by Usage
Occasional users benefit from dry brushing once per month. Regular users need the soak and scrub method once per week. Daily users or those with thick or curly hair require full deep cleaning every 1 to 2 days. After volumizing or diffusing, clean immediately. Even if the LED is not flashing, clean proactively. Waiting for alerts can lead to long-term performance issues.
Recognize Warning Signs Early
Do not wait for the LED to flash. Watch for slower drying times, reduced airflow from the nozzle, unusual noises like grinding or pulsing, and overheating during use. These are early signs of filter blockage. Address them immediately with a full clean. Many users report restored airflow and quieter operation after just one deep clean, even on dryers used for over a year.
Preserve Warranty and Longevity
Dyson offers a 2-year warranty, but it will not cover damage from operating without the filter, liquid damage due to improper drying, or attempted repairs that void seals. Always reinstall the filter before use. Never use harsh chemicals or ultrasonic cleaners. Contact Dyson support if issues persist. In areas without service centers, consider third-party electronics repair specialists familiar with small appliances.
Visual Filter Inspection Guide
A clean filter has mesh that is silver, shiny, and transparent when held to light. A dirty filter has mesh that appears dull, gray, or opaque in spots. A blocked filter has light barely passing through with visible clumps of hair or lint.
Quick Test After Cleaning
After reassembly, run the dryer on high for 30 seconds. If airflow feels strong and no LED flashes, the filter is properly clean and installed. Use this visual check after every clean to confirm effectiveness.
Frequently Asked Questions About Cleaning Dyson Hair Dryer Filters
How often should I clean my Dyson hair dryer filter?
Cleaning frequency depends on usage. Occasional users should clean once per month with dry brushing. Regular users should deep clean once per week. Daily users or those with thick hair should clean every 1 to 2 days.
Why does my Dyson LED still flash after cleaning the filter?
A flashing LED after cleaning usually means the filter is not completely dry, there is hidden blockage in the inner mesh, or hair is wrapped around the motor. Remove the filter, dry it thoroughly, and check for deeper blockages.
Can I use water to clean the Dyson filter?
Yes, but you must soak and scrub the filter in warm soapy water, then rinse thoroughly. The filter must be completely dry before reinstalling. Any moisture left behind will trigger the LED warning.
What happens if I do not clean the filter?
A clogged filter reduces airflow, causes overheating, and triggers automatic shutdowns. Over time, it can damage the motor permanently and void your warranty. Regular cleaning prevents these issues.
How do I know if my filter is clean enough?
Hold the filter up to a bright light. If light passes through evenly and the mesh looks transparent, the filter is clean. If the mesh appears opaque or blocked, repeat the cleaning process.
Key Takeaways for Maintaining Your Dyson Hair Dryer
Cleaning your Dyson hair dryer filter is one of the easiest ways to maintain peak performance and extend the life of your device. Whether you use the dry brush method for quick maintenance or the soak-and-scrub technique for deep cleaning, consistency is key. Pay attention to drying time, proper reassembly, and early warning signs to avoid frustrating shutdowns and costly repairs. With this guide, you can keep your Dyson Supersonic running smoothly for years. No guesswork, no surprises.



